Keeping plants healthy during vacations, busy schedules, or extended absences can be a challenge for gardeners and indoor plant enthusiasts alike. A lack of water can quickly stress plants, causing wilted leaves, stunted growth, or even plant death. Fortunately, a variety of clever DIY watering systems can ensure your plants stay hydrated without requiring daily attention. These methods are inexpensive, easy to set up, and rely on readily available household materials. This article explores eight creative DIY watering systems, their benefits, and step-by-step instructions, providing practical solutions for maintaining thriving plants while you’re away.
1. Self-Watering Bottles
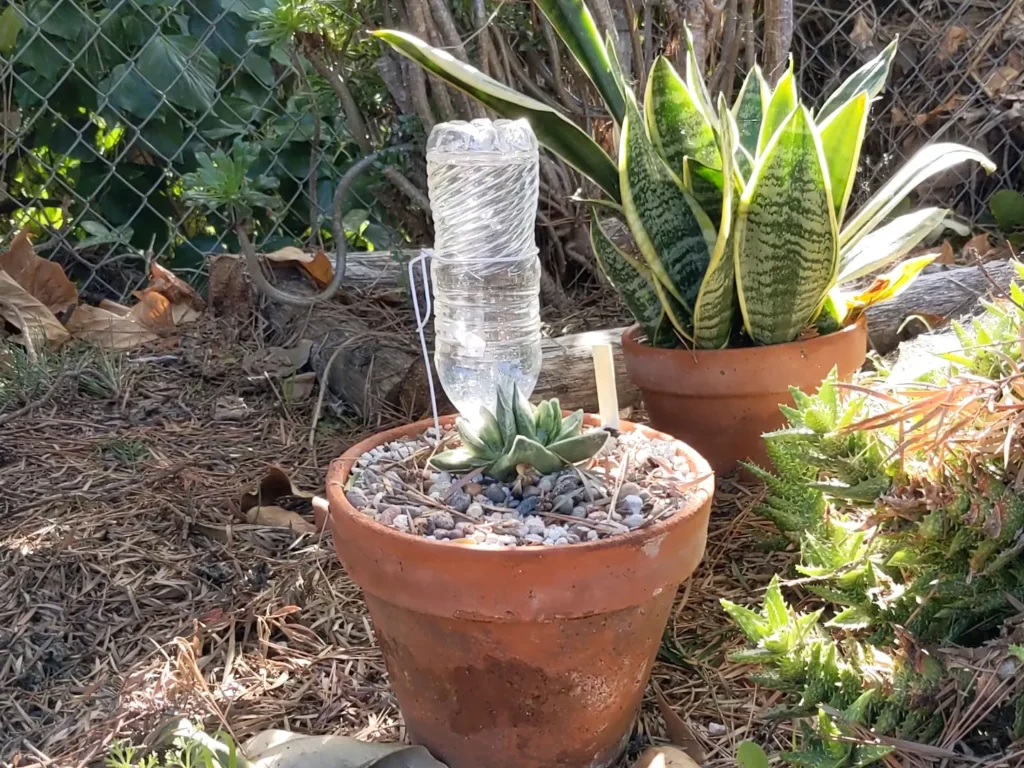
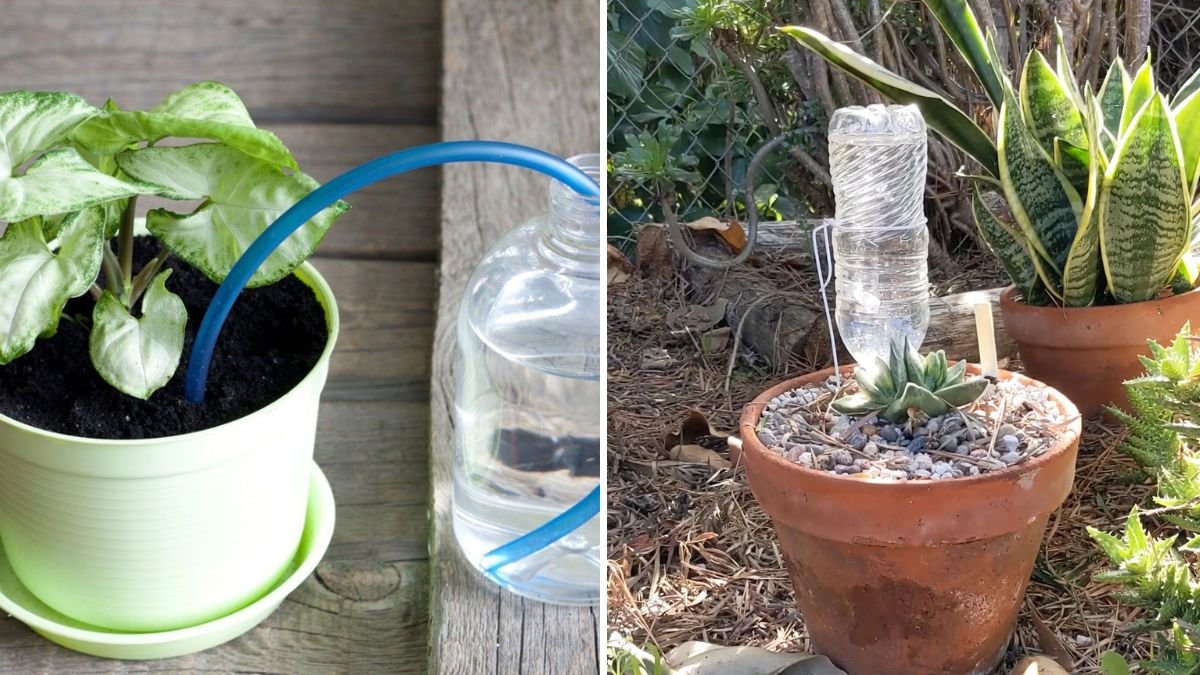
Self-watering bottles are one of the simplest and most popular DIY systems for potted plants.
How It Works:
- Fill a plastic bottle with water, make small holes in the cap or bottom, and invert it into the soil.
- Water slowly seeps into the soil over time, keeping it consistently moist.
Steps:
- Clean a 1–2 liter plastic bottle.
- Poke 3–5 small holes in the cap using a nail or needle.
- Fill the bottle with water, screw the cap on, and quickly invert it into the soil near the plant base.
- Adjust hole size depending on the watering rate required.
Benefits:
- Low cost and simple setup.
- Suitable for most small to medium potted plants.
- Adjustable depending on plant size and potting medium.
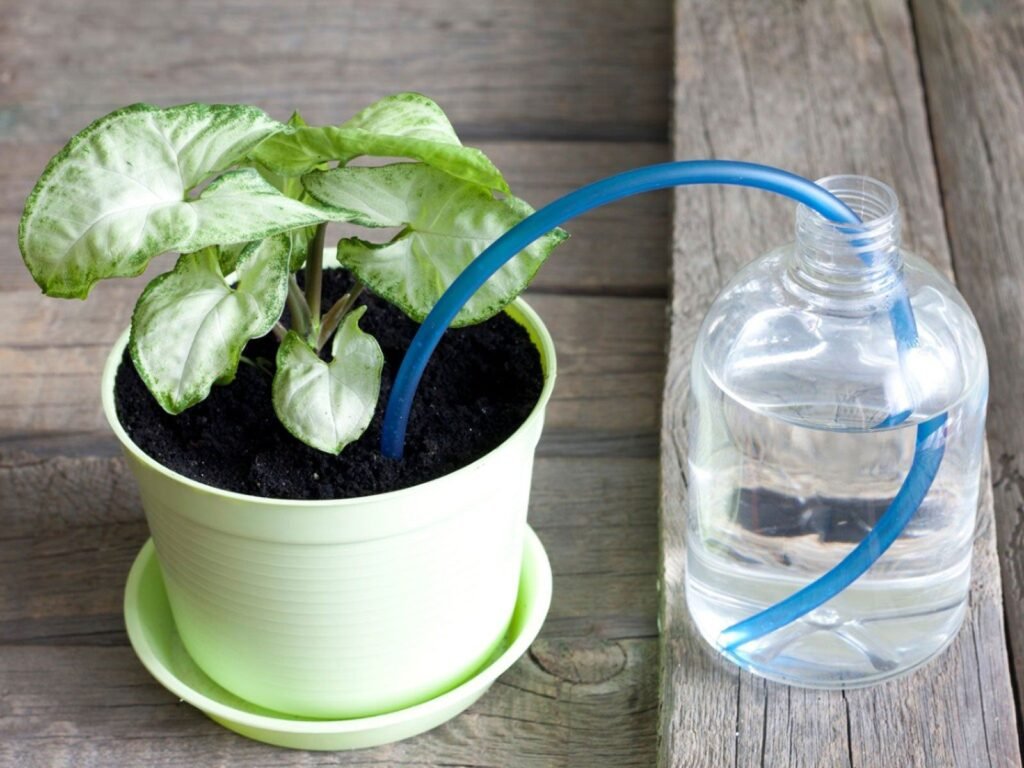
2. Drip Irrigation with Cotton or String
Using cotton wicks or thick strings creates a slow-drip system that transfers water from a reservoir to the soil.
How It Works:
- One end of the string rests in a water container, and the other end is buried slightly in the soil.
- Water gradually moves along the wick, providing a steady supply to the plant.
Steps:
- Fill a jar or bottle with water.
- Insert one end of the cotton string or rope into the water.
- Bury the other end 1–2 inches into the soil of your plant pot.
- Ensure the wick remains in contact with both water and soil for continuous moisture.
Benefits:
- Allows precise watering control.
- Can service multiple plants by splitting one string to several pots.
- No electricity or special equipment required.
3. Capillary Mat System
Capillary mats are absorbent fabrics or mats that transfer water through capillary action to plant containers.
How It Works:
- Place the mat under plant pots, and keep one end in a water reservoir.
- Water moves through the mat into the pots as needed, keeping soil consistently moist.
Steps:
- Use a piece of absorbent fabric, old towel, or specialized capillary mat.
- Position it so one end is in a water tray.
- Place pots on the mat. Ensure pots have drainage holes to allow water uptake.
- Refill the water reservoir as necessary before leaving.
Benefits:
- Great for multiple plants arranged together.
- Reduces the risk of overwatering.
- Simple, reusable setup.
4. Terracotta Spike Watering System
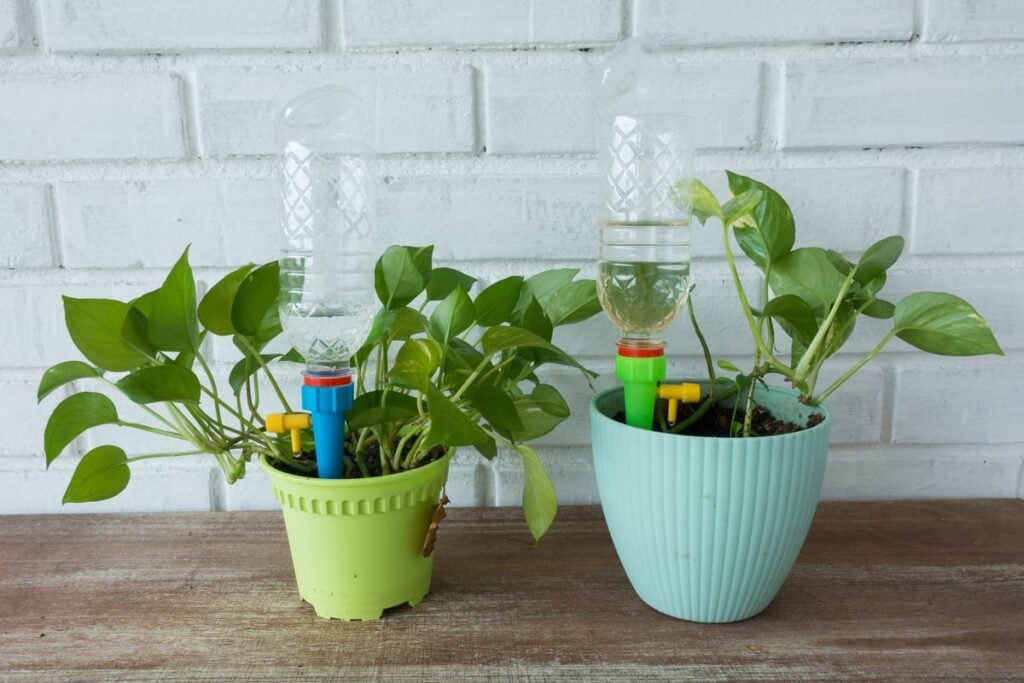
Terracotta spikes or ceramic watering spikes create a slow, consistent drip directly into plant soil.
How It Works:
- The porous terracotta releases water gradually from a bottle or reservoir into the soil.
Steps:
- Fill a plastic bottle with water.
- Insert a terracotta spike into the bottle opening.
- Insert the spike into the soil near the plant base.
- Adjust bottle size for desired watering duration.
Benefits:
- Provides slow, deep watering directly to roots.
- Long-lasting; ideal for vacations of several days.
- Requires minimal monitoring.
5. DIY Sub-Irrigation Tray
Sub-irrigation trays allow plants to absorb water from below through their drainage holes.
How It Works:
- Fill a tray with water and place pots on top. Soil wicks water upward to hydrate plants.
Steps:
- Select a shallow tray large enough for your pots.
- Fill the tray with water.
- Place pots with drainage holes directly on the tray.
- Check water levels occasionally, especially for long absences.
Benefits:
- Encourages consistent moisture without wetting leaves.
- Ideal for indoor plants sensitive to overhead watering.
- Easy to refill and monitor.
6. Plastic Bag Greenhouse Watering
Plastic bag mini-greenhouses create a self-watering and humidity-retaining system.
How It Works:
- Water evaporates inside the bag, condenses on the inner surface, and drips back onto the soil.
Steps:
- Water the plant lightly.
- Cover the entire plant and pot with a clear plastic bag, ensuring it doesn’t touch leaves directly.
- Poke a few small holes for air circulation.
- Place in indirect sunlight.
Benefits:
- Provides short-term hydration for a few days to a week.
- Ideal for small indoor plants during short absences.
- Reduces water loss through evaporation.
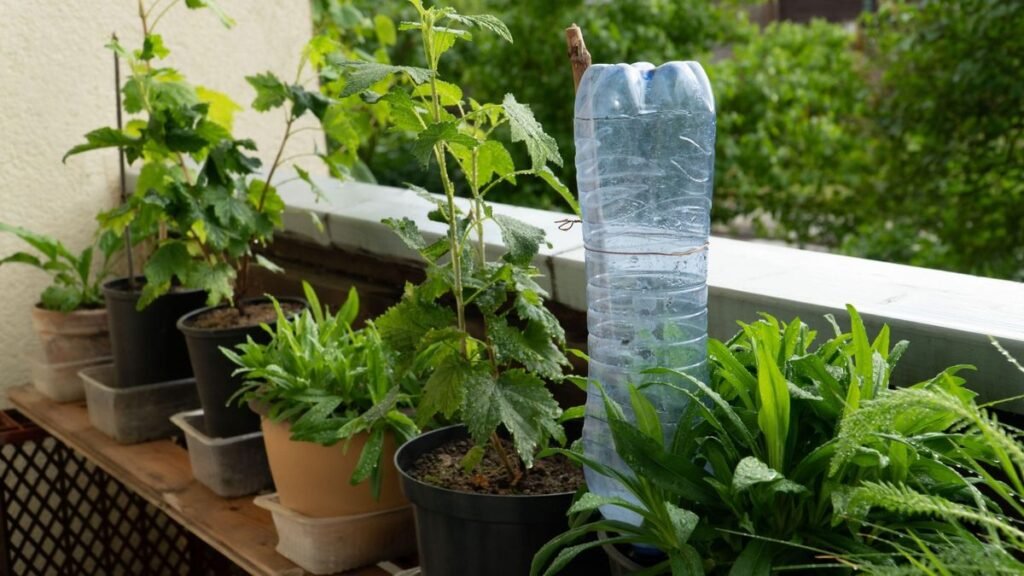
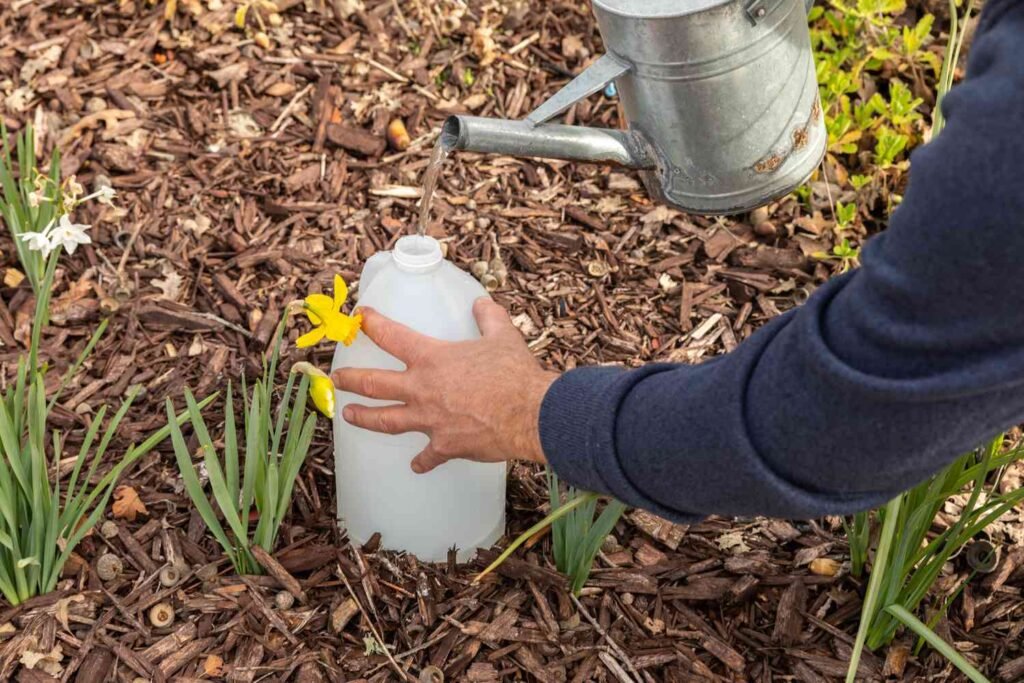
7. Bottle Drip Stakes for Garden Beds
This method is perfect for outdoor gardens where multiple plants need watering.
How It Works:
- Water slowly drips from an inverted bottle inserted into the soil via a DIY stake.
Steps:
- Fill a plastic bottle with water.
- Make a few pinholes in the cap or bottom.
- Attach the bottle to a stick or garden stake and insert it into the soil.
- Position bottles strategically for even coverage.
Benefits:
- Excellent for vegetable gardens and flower beds.
- Customizable drip rate based on hole size.
- Reduces water waste by delivering directly to roots.
8. Hydrogel or Water Beads in Pots
Water-absorbing gels or beads store water and release it gradually to plant roots.
How It Works:
- Beads or hydrogels swell when soaked and slowly release moisture into the soil.
Steps:
- Soak hydrogel crystals in water for several hours until fully expanded.
- Mix them into the potting soil.
- Water as usual; the beads will continue releasing moisture over time.
Benefits:
- Minimizes the frequency of watering.
- Reduces risk of overwatering.
- Excellent for indoor plants or planters in sunny spots.
Tips for Successful DIY Watering While Away
- Test Before Leaving: Set up your system a few days in advance to monitor effectiveness and adjust water release.
- Group Plants: Place plants with similar water needs together for consistent hydration.
- Use Mulch: Top-dress soil with mulch to retain moisture longer.
- Avoid Direct Sunlight: Especially for indoor plants, reduce light intensity to slow down water consumption.
- Label Systems: If using multiple setups, label each to avoid confusion when refilling or adjusting.
Advantages of DIY Watering Systems
- Cost-Effective: Uses household items like bottles, strings, and trays.
- Customizable: Adjustable to plant type, pot size, and absence duration.
- Sustainable: Reduces water waste and reliance on automated systems.
- Versatile: Works for indoor plants, balcony gardens, and outdoor garden beds.
- Stress-Free Gardening: Allows plant care without daily intervention, ensuring healthy growth during vacations or busy periods.
Conclusion
DIY watering systems provide practical, affordable, and effective ways to keep plants hydrated while you’re away. From self-watering bottles and terracotta spikes to sub-irrigation trays and hydrogel beads, these creative methods ensure your plants receive consistent moisture, preventing stress, wilting, and potential damage. By testing systems in advance, grouping plants with similar needs, and employing simple household items, gardeners can maintain thriving indoor and outdoor plants even during extended absences. These solutions combine convenience, sustainability, and ingenuity, offering plant lovers peace of mind while ensuring healthy, vibrant greenery all year round.