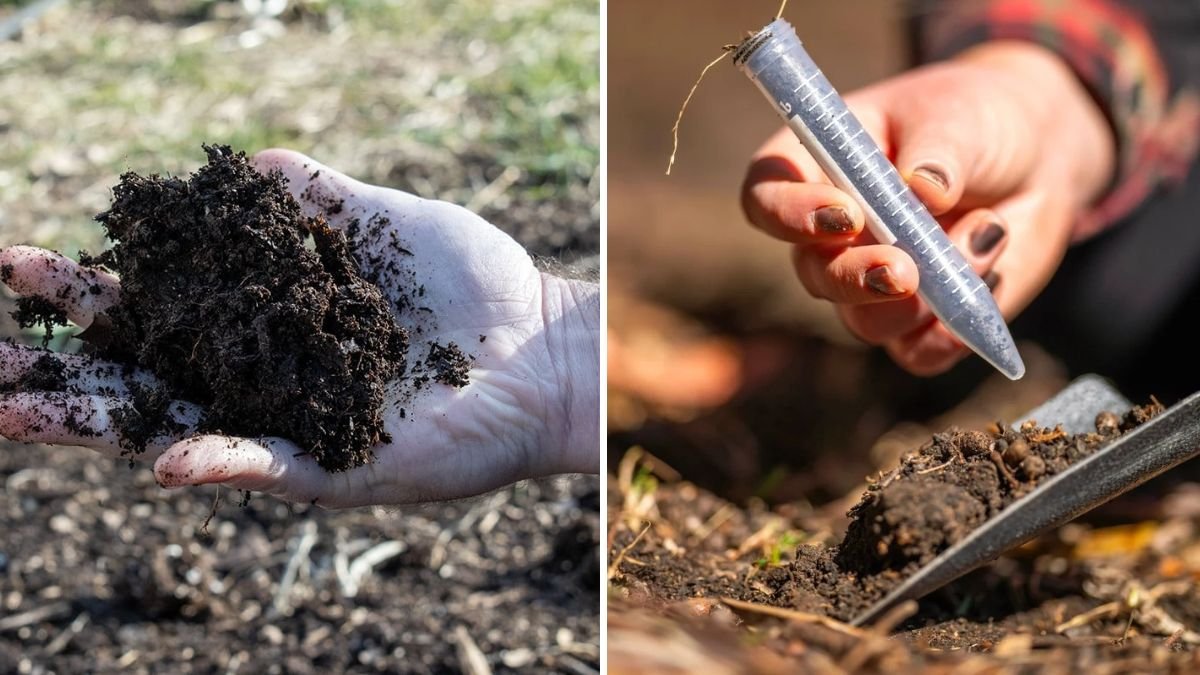
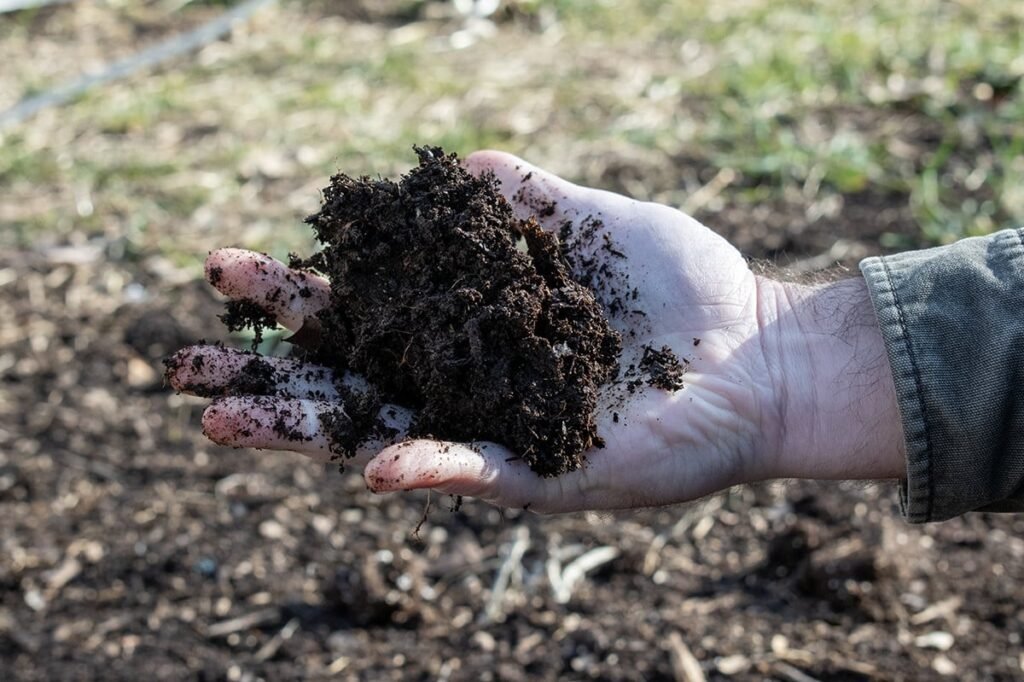
A healthy garden begins with healthy soil. Even the most dedicated gardeners can struggle with poor plant growth, low yields, or pest problems if the soil isn’t right. Understanding your soil’s condition is key to successful gardening, and the good news is that many important tests can be done at home with simple tools.
This guide explores five essential soil tests every gardener should try, what they reveal about your soil, and how to use the results to optimize plant growth.
1. The pH Test: Understanding Soil Acidity and Alkalinity

Why It Matters
Soil pH measures how acidic or alkaline your soil is, typically on a scale of 0 to 14. Most plants thrive in slightly acidic to neutral soils (pH 6–7). If the soil is too acidic (low pH) or too alkaline (high pH), plants may struggle to absorb nutrients, even if the soil is rich in them.
Signs of pH problems:
- Yellowing leaves despite proper fertilization
- Poor growth or stunted plants
- Leaf tip burn in vegetables like tomatoes or peppers
How to Test pH at Home
- pH Test Kits: Available at garden centers; usually involve mixing soil with a chemical solution or test strip and observing a color change.
- DIY Vinegar and Baking Soda Test:
- Place a small amount of soil in two containers.
- Add vinegar to one; fizzing indicates alkalinity.
- Add baking soda mixed with water to the other; fizzing indicates acidity.
How to Correct pH
- For acidic soils, add lime (calcium carbonate).
- For alkaline soils, add elemental sulfur or organic matter like compost.
Tip: Adjust pH gradually; sudden changes can stress plants.
2. Soil Texture Test: Know Your Soil Type
Why It Matters
Soil texture—whether clay, sand, or loam—affects water retention, drainage, and root growth. Clay soils hold water but may drain poorly, while sandy soils drain quickly but retain few nutrients. Loam, a balanced mix of sand, silt, and clay, is ideal for most plants.
How to Test at Home
- Jar Test:
- Fill a clear jar about 1/3 with soil and 2/3 with water.
- Shake vigorously and let it settle for 24 hours.
- Observe layers: sand (bottom), silt (middle), clay (top).
- Feel Test: Rub moist soil between your fingers:
- Gritty = sandy
- Smooth = silty
- Sticky = clay
How to Improve Soil Texture
- For clay soils: add sand, compost, or organic matter to improve drainage.
- For sandy soils: add compost or mulch to retain moisture.
- Loamy soils generally require minimal adjustment.
Tip: Understanding your soil type helps determine watering schedules and fertilizer strategies.
3. Drainage Test: Prevent Root Problems

Why It Matters
Poor drainage can lead to root rot, fungal infections, and nutrient deficiencies, especially in container gardens or heavy clay soils. Testing drainage helps you know whether to amend soil or choose raised beds.
How to Test at Home
- Dig a hole about 12 inches deep and 6 inches wide.
- Fill it with water and let it drain completely.
- Refill with water and observe how long it takes to drain:
- 1–2 inches per hour: Excellent drainage
- Less than 1 inch per hour: Poor drainage, may need soil amendment
How to Improve Drainage
- Add organic matter, sand, or perlite to garden beds.
- Create raised beds or mound soil for water-sensitive plants.
- Avoid compacting soil with heavy machinery or excessive foot traffic.
Tip: Consistently wet soil is more harmful than occasional dryness for most plants.
4. Nutrient Availability Test: Know What Your Plants Need
Why It Matters
Plants require macronutrients (N-P-K) and micronutrients to grow properly. Deficiency in nitrogen, phosphorus, potassium, or other elements can stunt growth, reduce blooms, and compromise fruit and vegetable production.
How to Test at Home
- DIY Nitrogen Test: Rub a small handful of soil with vinegar; release of bubbles may indicate the presence of nitrogen compounds (simplified method).
- Soil Test Kits: Most garden centers sell kits for testing N-P-K levels and sometimes micronutrients like iron or magnesium.
- Observation: Look for symptoms in plants—yellowing leaves, purple stems, poor fruiting—to identify potential deficiencies.
How to Correct Nutrient Deficiencies
- Nitrogen: apply compost, manure, or nitrogen fertilizer.
- Phosphorus: add bone meal or rock phosphate.
- Potassium: use potash or wood ash carefully.
- Micronutrients: apply chelates or specific micronutrient fertilizers.
Tip: Avoid overfertilizing, which can harm plants and soil life.
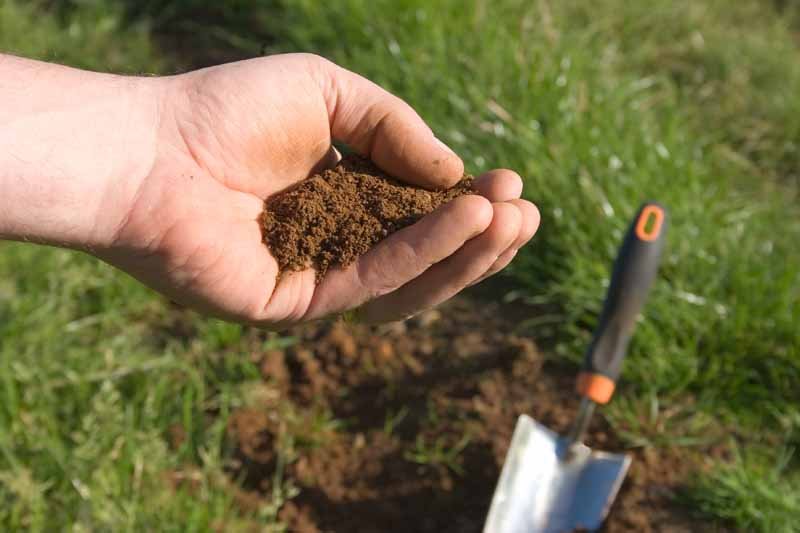
5. Soil Life Test: Check for Healthy Microorganisms
Why It Matters
Healthy soil contains beneficial bacteria, fungi, earthworms, and other microorganisms that break down organic matter, release nutrients, and protect plants from pathogens. Poor soil life can lead to weak, disease-prone plants.
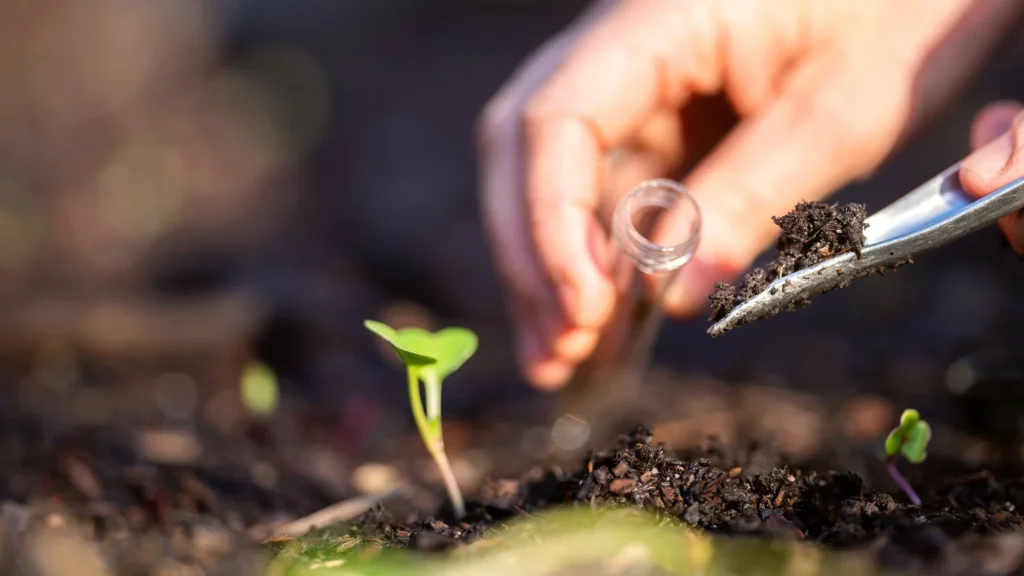
How to Test at Home
- Earthworm Count: Dig a small section of soil and count the earthworms. More worms = healthier soil.
- Simple Observation: Smell and feel soil; healthy soil should crumble easily, smell earthy, and support small insects.
- Compost Tea Test: Brew compost tea in water; a bubbly, aromatic solution indicates active microbial life.
How to Improve Soil Life
- Add compost, leaf mold, or well-rotted manure.
- Minimize chemical use that kills beneficial microbes.
- Use cover crops like clover to improve soil fertility and microbial diversity.
Tip: Thriving soil life supports plants naturally, reducing the need for chemical fertilizers.
Practical Tips for Home Soil Testing
- Collect Samples Properly: Take soil from multiple areas of your garden, especially different beds or containers, and mix them for an average reading.
- Test Regularly: Seasonal testing helps detect changes in nutrient levels, pH, and soil structure.
- Record Results: Keep a journal of soil conditions, plant growth, and interventions to track trends over time.
- Act Gradually: When amending soil, make small adjustments to avoid shocking plants.
- Combine Tests: Use pH, texture, nutrient, drainage, and soil life tests together for a complete soil health assessment.
Tip: Consistent monitoring and small improvements produce long-term benefits.
Conclusion
Understanding your soil is the first step toward a thriving garden. By performing these five simple tests—pH, soil texture, drainage, nutrient availability, and soil life—home gardeners can identify potential problems, take corrective action, and create optimal conditions for plants to grow strong and healthy.
Soil testing is not just a technical task; it’s a tool that empowers gardeners to make informed decisions, prevent plant stress, and improve yields. By paying attention to your soil, you ensure that your garden becomes a sustainable, productive, and vibrant space year after year.
Tip: Healthy soil is the silent partner in every successful garden. Treat it well, and your plants will reward you generously.