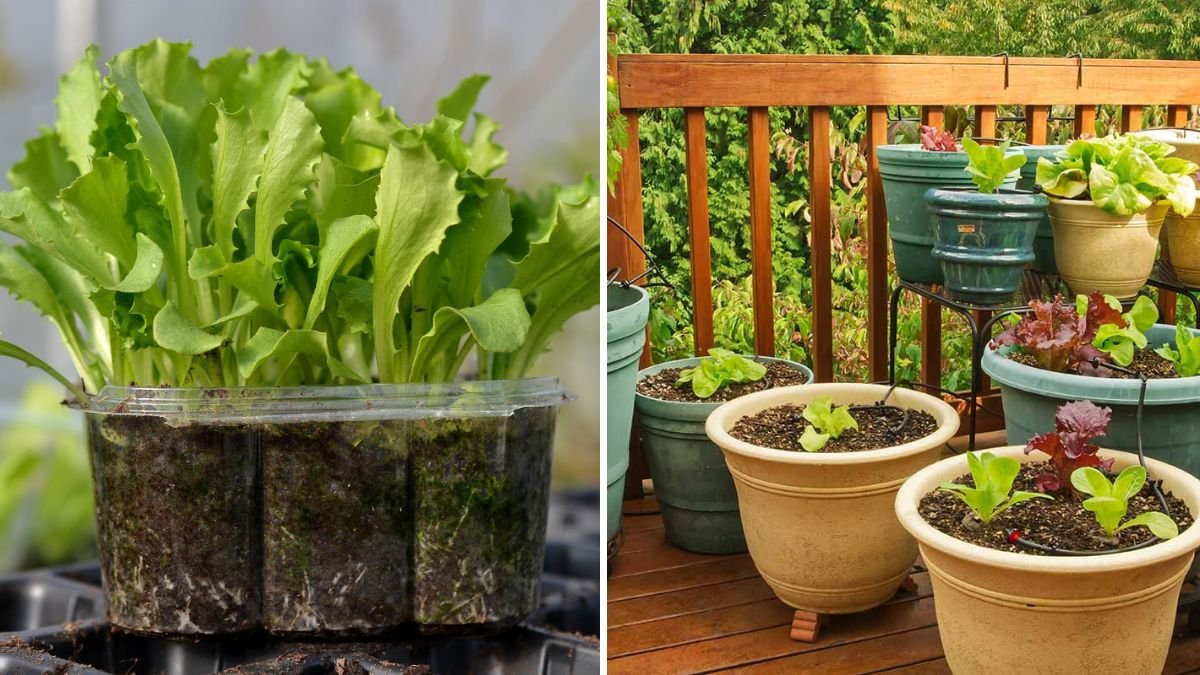
Lettuce is a fast-growing, versatile, and nutritious leafy green that is ideal for small-space gardening. Whether you live in an apartment, have a balcony, or want to optimize limited garden space, growing lettuce in shallow containers is a practical and rewarding option. With the right techniques, you can enjoy fresh, crisp leaves throughout the season.
This guide explores the best containers, soil mixes, planting techniques, care practices, and harvesting tips for growing lettuce successfully in shallow containers.
Why Grow Lettuce in Shallow Containers?

Shallow container gardening is ideal for lettuce because:
- Compact Growth: Lettuce has a shallow root system, making deep soil unnecessary.
- Space Efficiency: Containers can fit balconies, windowsills, patios, or small decks.
- Mobility: Containers can be moved to optimize sunlight, protect from pests, or extend the growing season.
- Ease of Maintenance: Managing water, nutrients, and pests is simpler in containers.
- Year-Round Gardening: Indoor or covered container setups allow for continuous production in cooler climates.
By growing in shallow containers, gardeners can maximize productivity in small spaces while enjoying fresh greens at home.
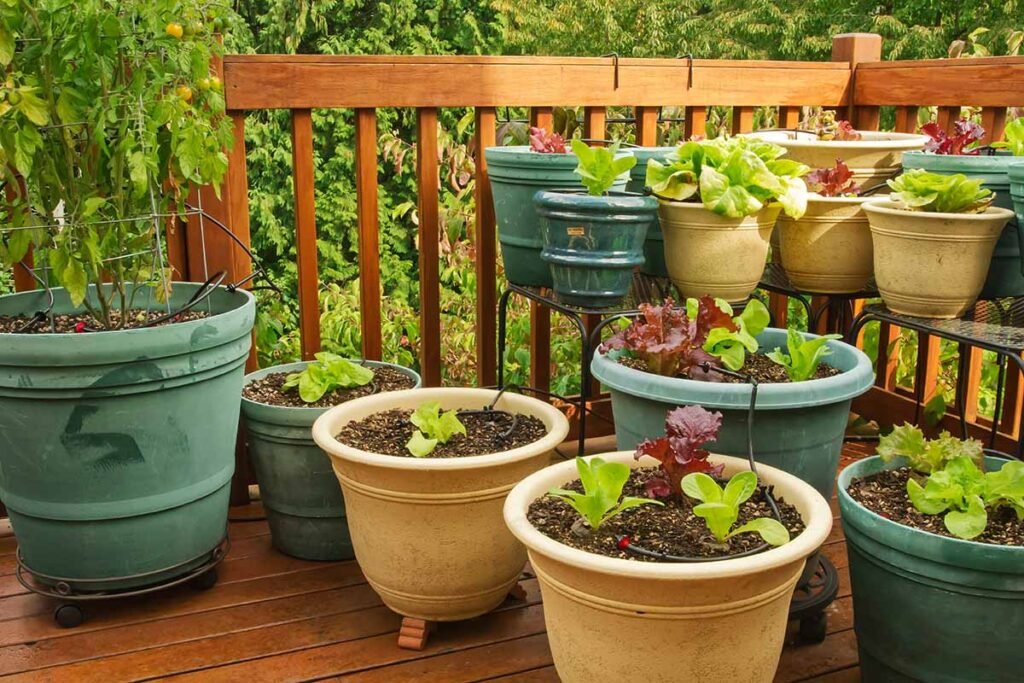
Step 1: Choosing the Right Container
The success of lettuce in shallow containers depends on selecting the right type and size.
- Depth: Lettuce roots are shallow; a container 4–6 inches deep is sufficient for most leaf varieties.
- Width: Wider containers allow more plants and better airflow. A container at least 12 inches wide accommodates multiple plants.
- Material: Plastic, ceramic, or wooden containers work well, but ensure they are lightweight, durable, and have drainage holes.
- Drainage: Proper drainage is crucial. Shallow containers dry out quickly, so multiple holes or a drainage layer prevents waterlogging and root rot.
Selecting the right container creates an optimal environment for healthy root growth and leaf development.
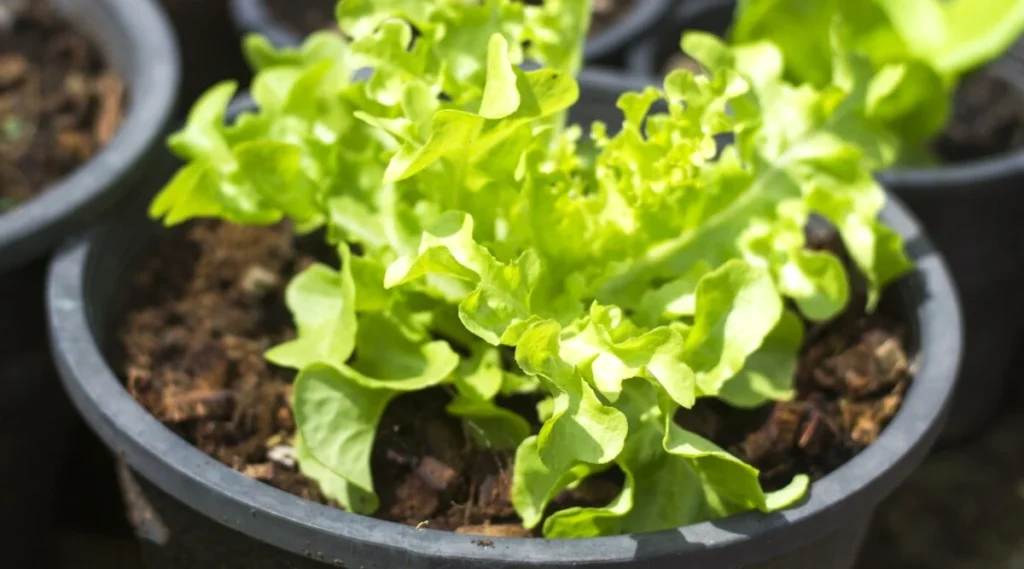
Step 2: Selecting Lettuce Varieties
Not all lettuce varieties are equally suited for container growth. Consider the following:
- Leaf Lettuce: Loose-leaf varieties such as ‘Black Seeded Simpson’ or ‘Green Ice’ grow quickly and tolerate shallow soil.
- Butterhead Lettuce: Compact heads like ‘Buttercrunch’ or ‘Boston’ are ideal for limited spaces.
- Romaine or Cos Lettuce: Tall, upright varieties require slightly deeper containers but still perform well in shallow setups.
- Microgreens or Baby Leaf: Grow rapidly and are perfect for very shallow trays (2–3 inches).
Choosing the right variety ensures faster growth, high yields, and easier maintenance.
Step 3: Preparing the Soil
Lettuce thrives in light, fertile, well-draining soil. Shallow containers require careful soil preparation:
- Use a Potting Mix: Avoid garden soil, which may compact in shallow containers. Use a mix with peat moss, coconut coir, and perlite for aeration.
- Add Organic Matter: Incorporate compost to provide nutrients and improve moisture retention.
- Check pH: Lettuce prefers slightly acidic to neutral soil, around pH 6.0–7.0.
- Light Fertilization: Mix in a balanced, slow-release fertilizer or use liquid feed every 2–3 weeks for continuous growth.
Proper soil preparation ensures strong root development and abundant leaf production.
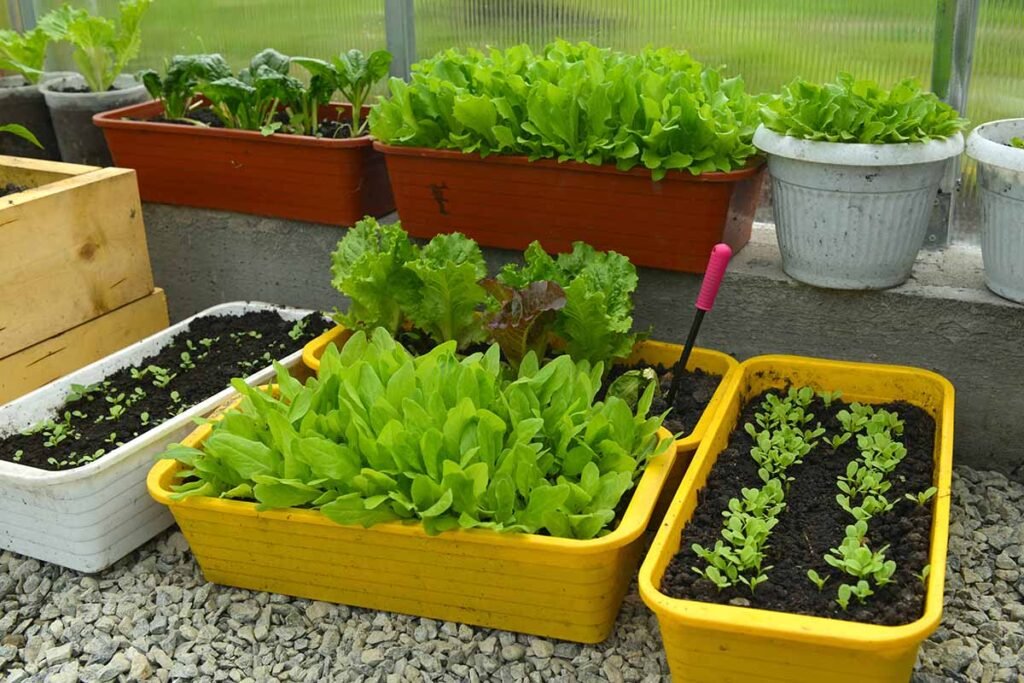
Step 4: Planting Lettuce in Shallow Containers
Planting technique is crucial for maximizing yields in small spaces:
- Sowing Seeds: Sprinkle seeds evenly across the soil surface. Lightly cover with a thin layer of soil (1/8–1/4 inch).
- Thinning Seedlings: Once seedlings emerge, thin them to 4–6 inches apart for leaf lettuce and 6–8 inches for head varieties. Overcrowding reduces airflow and encourages disease.
- Succession Planting: Sow seeds every 2–3 weeks to ensure a continuous harvest.
- Transplants: If using seedlings, plant them carefully, keeping roots straight and soil intact to reduce transplant shock.
These techniques help maximize space, airflow, and light exposure for each plant.
Step 5: Watering and Moisture Management
Lettuce prefers consistent moisture but is sensitive to waterlogging.
- Frequent Light Watering: Shallow containers dry out faster than deep beds. Water daily or as needed to keep soil evenly moist.
- Avoid Wet Foliage: Water at the base to prevent leaf diseases such as downy mildew.
- Mulch: A thin layer of organic mulch, like straw, reduces evaporation and keeps soil cool.
- Monitor Soil: Check moisture regularly with fingers; shallow containers can dry faster during hot weather.
Proper water management ensures tender, non-bitter leaves and steady growth.
Step 6: Sunlight and Temperature Requirements

Lettuce prefers cool temperatures and moderate sunlight:
- Light: 4–6 hours of indirect or filtered sunlight is sufficient for most leaf varieties. Full sun may cause heat stress and bolting.
- Temperature: Ideal daytime temperatures range from 60–70°F (15–21°C). Above 75°F (24°C), lettuce may bolt, producing bitter leaves.
- Indoor Growing: If sunlight is limited, supplement with fluorescent or LED grow lights for 12–14 hours daily.
- Seasonal Protection: In hot climates, use shade cloth to prevent overheating; in cold weather, use frost cloth or move containers indoors.
Meeting light and temperature needs promotes healthy leaves and prevents premature flowering.
Step 7: Fertilizing Shallow Containers
Because container soil can quickly lose nutrients, fertilization is key:
- Liquid Fertilizer: Apply diluted balanced fertilizer every 2–3 weeks.
- Slow-Release Fertilizer: Mix into soil at planting for continuous nutrient supply.
- Organic Options: Compost tea, worm castings, or seaweed extracts provide gentle nutrients and improve soil life.
- Avoid Excess Nitrogen: Too much nitrogen encourages leaf growth but can reduce flavor or promote disease.
Balanced feeding ensures lush, tender, and flavorful lettuce leaves.
Step 8: Pest and Disease Management
Even in containers, lettuce is vulnerable to pests and diseases:
- Common Pests: Aphids, slugs, snails, and leaf miners. Use handpicking, neem oil, or natural predators for control.
- Common Diseases: Downy mildew, powdery mildew, and fungal root rot. Ensure proper spacing, air circulation, and avoid overwatering.
- Regular Monitoring: Inspect leaves and soil frequently for early signs of pests or disease.
Early intervention keeps your container lettuce healthy and productive.
Step 9: Harvesting Lettuce
Shallow container lettuce can be harvested multiple times:
- Leaf Lettuce: Harvest outer leaves as needed, leaving the inner leaves for continued growth (cut-and-come-again method).
- Head Lettuce: Wait until the head forms fully and cut at the base.
- Baby Leaves or Microgreens: Harvest entire tray once leaves reach 2–4 inches for salad greens.
- Succession Harvesting: Stagger planting to ensure a continuous supply throughout the growing season.
Proper harvesting encourages longer production and reduces waste.
Tips for Maximizing Success in Shallow Containers
- Succession Planting: Sow every 2–3 weeks to avoid gaps in your harvest.
- Rotate Varieties: Mix fast-growing and slow-growing varieties for continuous harvests.
- Use Companion Plants: Plant herbs like chives or basil nearby to deter pests naturally.
- Maintain Clean Containers: Wash pots between plantings to prevent disease carryover.
- Adjust Watering Seasonally: Shallow containers dry quickly in summer and retain moisture longer in cooler months.
Attention to these details ensures consistent, high-quality lettuce harvests.
Conclusion
Growing lettuce in shallow containers is an ideal solution for small-space and urban gardening, allowing fresh, tender greens year-round. By carefully selecting varieties, preparing fertile soil, managing water and sunlight, fertilizing appropriately, controlling pests, and harvesting strategically, gardeners can maximize yields and enjoy flavorful lettuce in even limited spaces.
Shallow container gardening demonstrates that space constraints are no barrier to productive, sustainable home gardening. With proper care and planning, lettuce grown in shallow containers can thrive, providing nutritious, crisp leaves for salads, sandwiches, and cooking while making the most of every square inch of your garden space.