Celery is a crunchy, nutrient-rich vegetable commonly used in salads, soups, and stews. While it is often purchased fresh from grocery stores, few realize that celery can be regrown easily at home from kitchen scraps. This not only reduces food waste but also provides a continuous supply of fresh celery for your kitchen. Regrowing celery is an engaging and sustainable gardening practice, ideal for both indoor windowsills and small outdoor gardens. This article details step-by-step instructions for regrowing celery, the science behind it, and tips for ensuring healthy, flavorful growth.
Why Regrow Celery?
Regrowing celery from kitchen scraps offers several advantages:
- Sustainability: Reduces food waste by giving new life to the base of a previously used stalk.
- Cost-Effective: A single celery stalk can provide weeks or months of fresh growth.
- Convenience: Provides fresh celery for cooking without frequent grocery trips.
- Educational: A practical project for teaching gardening principles and plant biology.
Celery regrowth is possible because the base of the plant contains meristem tissue, which can produce new leaves and roots when given the right conditions.
Materials Needed for Regrowing Celery
To successfully regrow celery, you will need:
- Celery Base: The bottom 2–3 inches of a celery bunch. Choose a fresh, healthy stalk base.
- Container: A shallow bowl, glass, or small container for water propagation.
- Water: Clean, room-temperature water.
- Potting Soil: For transplanting after initial root growth.
- Plant Pot: With drainage holes for healthy soil growth.
Optional items include grow lights or a sunny windowsill to ensure consistent light for leaf growth.
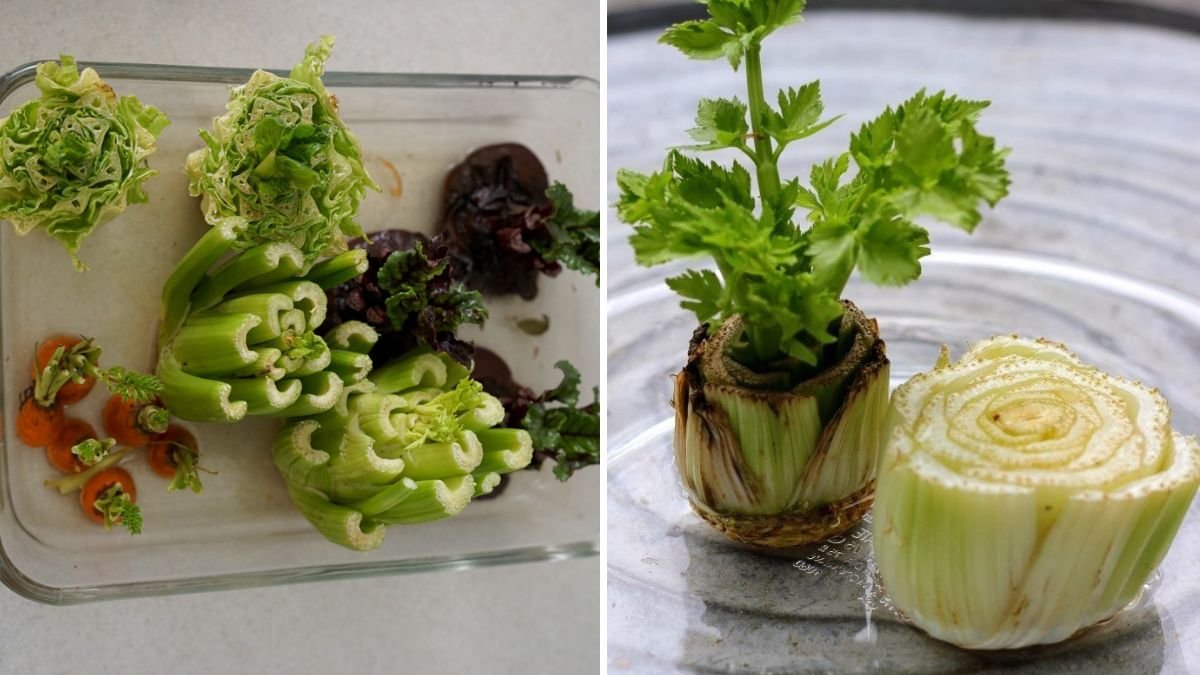
Step 1: Preparing the Celery Base
- Cut the celery stalks, leaving the bottom 2–3 inches intact.
- Remove any wilted or damaged outer leaves.
- Leave a small section of the stalks above the base to protect the meristem tissue.
The healthier the base, the more successful the regrowth. Choose celery that has a firm, fresh, and green base rather than older, wilted stalks.
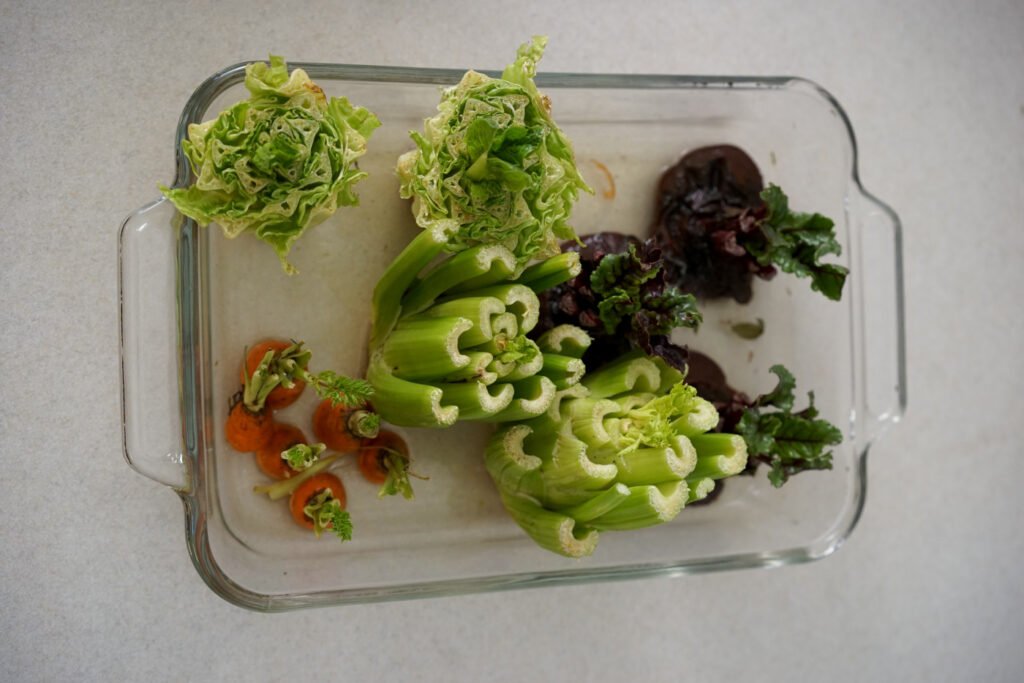
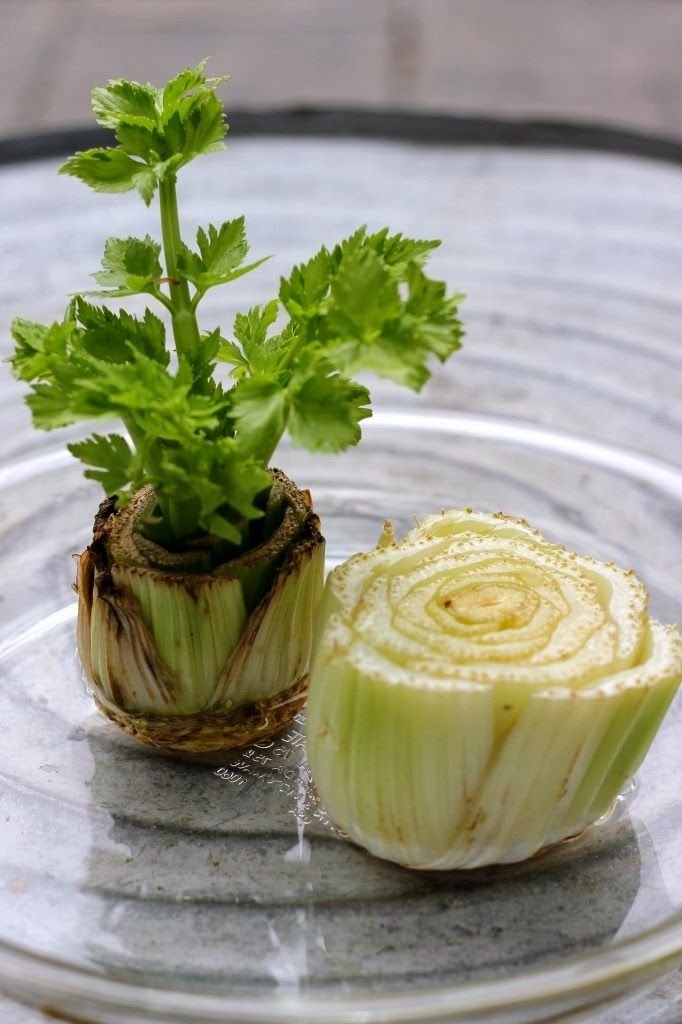
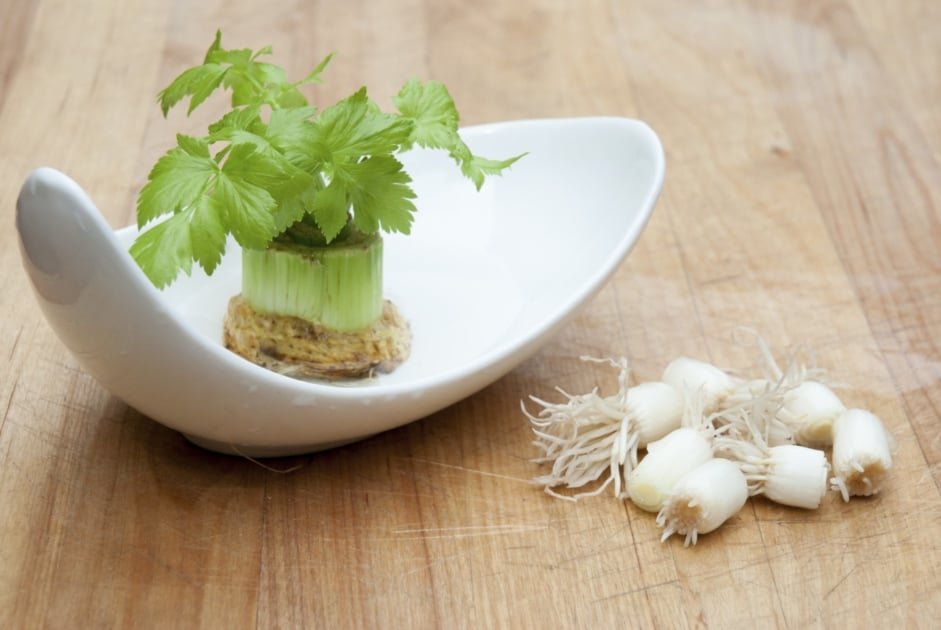
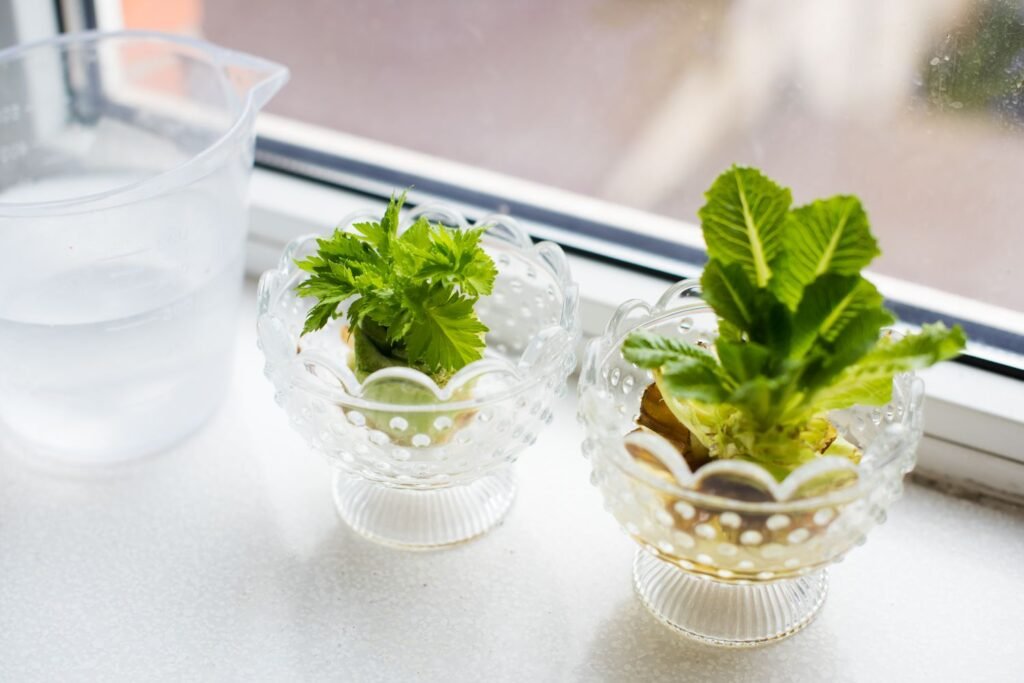
Step 2: Water Propagation
Water propagation encourages root development before transplanting into soil:
- Place the celery base cut-side down in a shallow bowl or glass.
- Add enough water to cover the base but not submerge the remaining stalk.
- Place the container in a bright area with indirect sunlight. Direct sunlight may cause overheating.
- Change the water every 1–2 days to prevent bacterial growth.
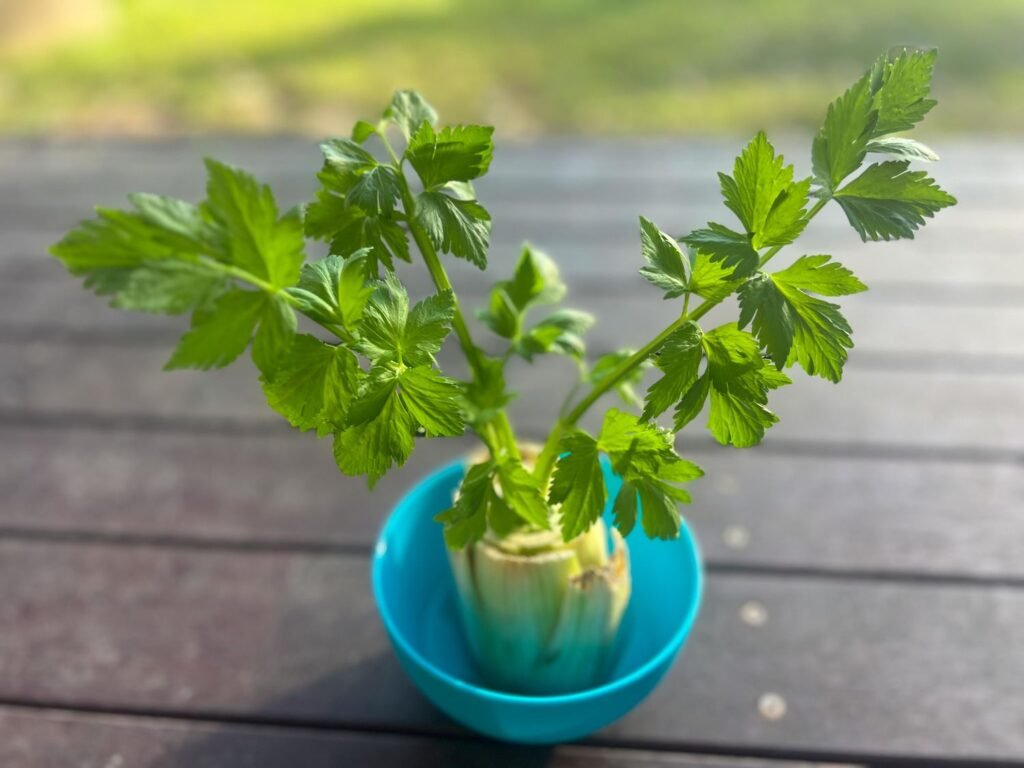
Within 5–10 days, you should see new roots forming from the base, and small leaves may begin to sprout in the center.
Step 3: Transplanting to Soil
Once roots are well-established, transferring the celery to soil allows it to grow fully:
- Select a pot with good drainage and fill it with rich, well-draining potting mix.
- Make a small hole in the soil and gently place the celery base with roots down.
- Cover the roots lightly with soil while keeping the growing tip exposed.
- Water thoroughly to settle the soil around the roots.
For outdoor gardens, plant in well-drained soil with 6–8 hours of sunlight per day. Celery prefers slightly acidic to neutral soil (pH 6.0–7.0).
Step 4: Caring for Regrown Celery
Celery requires consistent care to thrive and produce crisp stalks:
- Watering: Keep soil consistently moist, as celery has shallow roots that dry out quickly. Avoid waterlogging, which can lead to root rot.
- Light: Provide 6–8 hours of bright, indirect sunlight daily. Indoor growers may use a grow light if natural light is insufficient.
- Fertilization: Apply a balanced, water-soluble fertilizer every 2–4 weeks to encourage healthy leaf and stalk growth.
- Temperature: Celery grows best in cool conditions, ideally between 60–70°F (16–21°C). Extreme heat can cause bolting, leading to tough stalks.
- Mulching: Mulch around outdoor plants to conserve moisture, regulate soil temperature, and reduce weed competition.
Regular attention ensures that the regrown celery produces flavorful, crisp stalks suitable for harvest.
Step 5: Harvesting Regrown Celery
Patience is key when harvesting regrown celery:
- Outer Stalks First: Harvest the larger outer stalks by cutting them near the base. Leave the central stalks to continue growing.
- Continuous Harvesting: Celery is a cut-and-come-again vegetable; regular harvesting encourages new growth.
- Timing: Indoor-grown celery may take 3–4 weeks after transplanting to produce harvestable stalks. Outdoor plants may take longer depending on season and climate.
By harvesting selectively, you can maintain a continuous supply of fresh celery throughout the growing period.
Tips for Maximizing Regrowth Success
- Use Fresh Celery: Older, wilted bases are less likely to regrow successfully.
- Provide Consistent Water and Light: Both are critical for root development and leaf growth.
- Avoid Crowding: Give each celery base enough space to expand roots and stalks.
- Protect from Pests: Indoor plants are usually less vulnerable, but watch for aphids or fungal growth in high humidity.
- Experiment with Varieties: Different celery types (such as stalk celery vs. celeriac) may have varying success rates with regrowth.
Following these tips increases the likelihood of success and ensures healthy, robust celery plants.
Scientific Background: Why Celery Regrows
Celery can regrow because the base contains meristematic tissue—specialized cells capable of rapid division. When provided with water, light, and warmth, these cells differentiate into new roots and leaves. This process is similar to cloning, as the new plant is genetically identical to the parent. Understanding this mechanism highlights the potential of kitchen scraps as valuable propagation material, making regrowth a sustainable and educational practice.
Benefits of Regrowing Celery at Home
- Reduces Waste: Turns kitchen scraps into a productive, renewable resource.
- Cost Savings: Reduces the need for repeated celery purchases.
- Convenient Supply: Fresh stalks are available year-round without relying on grocery availability.
- Engaging Activity: Ideal for teaching children about plant biology and sustainable gardening.
- Organic Options: Homegrown celery can be grown without pesticides or chemical fertilizers, promoting healthier consumption.
Regrowing celery combines environmental responsibility with practical culinary benefits.
Common Challenges and Solutions
- Rotting Base: Change water frequently and avoid submerging the growing tip.
- Slow Growth: Ensure adequate light and maintain consistent moisture. Indoor conditions may require supplemental grow lights in winter.
- Leggy Stalks: Prune small leaves and rotate the plant for even light exposure.
- Pest Infestations: Inspect leaves regularly and use organic pest deterrents if necessary.
Being proactive and attentive mitigates potential problems, ensuring a thriving regrowth process.
Conclusion
Regrowing celery from kitchen scraps is an accessible, sustainable, and rewarding practice for gardeners of all levels. By starting with a healthy base, propagating in water, transplanting to soil, and providing consistent care, you can cultivate fresh, crisp celery at home year-round. This method not only reduces food waste but also enhances culinary experiences, allowing you to enjoy vibrant, flavorful stalks directly from your indoor windowsill or garden.
With patience and attention, even small kitchen scraps can become productive, long-lasting plants. Regrowing celery exemplifies how simple gardening techniques can promote sustainability, reduce costs, and provide continuous access to nutritious, delicious vegetables—turning a humble vegetable base into a thriving, green, and productive crop.