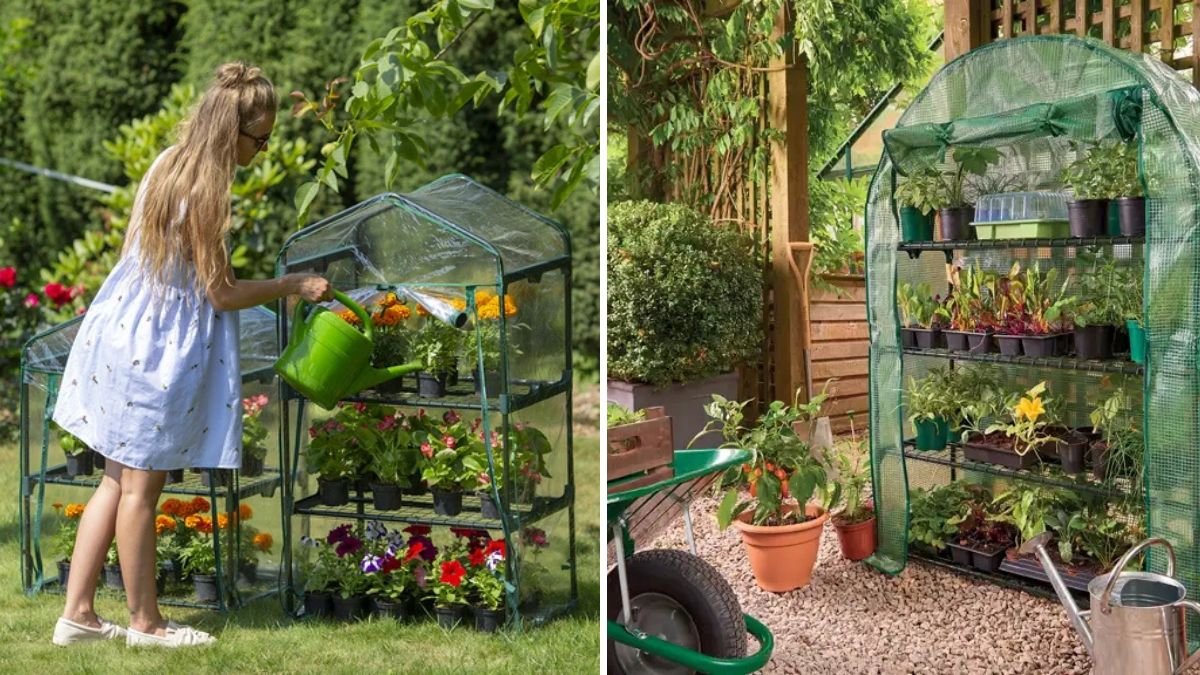
Balconies offer a unique opportunity for urban gardening, providing space for fresh vegetables, herbs, flowers, and small plants even in city apartments. However, urban gardeners often face challenges such as limited space, temperature fluctuations, and exposure to wind or pests. A mini greenhouse on a balcony can solve these problems by creating a controlled environment that extends growing seasons, protects plants, and boosts productivity. This guide will provide step-by-step instructions, materials, and tips for building a mini greenhouse on a balcony.
1. Benefits of a Mini Greenhouse on a Balcony
Before diving into construction, it’s important to understand the advantages of a mini balcony greenhouse:
- Extended Growing Season: Protects plants from early frost and temperature swings.
- Controlled Environment: Regulates humidity, light, and temperature for healthier plant growth.
- Pest Protection: Reduces exposure to insects, birds, and pollution.
- Space Efficiency: Optimized for small areas, perfect for urban apartments.
- Versatility: Ideal for vegetables, herbs, flowers, or starting seedlings.
A mini greenhouse allows balcony gardeners to grow plants year-round and maximize productivity in small spaces.
2. Planning Your Mini Greenhouse
Proper planning ensures a functional and safe structure:
- Measure Your Space: Measure the balcony area available, including height, width, and depth. Leave space for easy access and movement.
- Weight Consideration: Ensure the balcony can support the weight of soil, pots, and the greenhouse structure. Lightweight materials are ideal.
- Sunlight Exposure: Position the greenhouse where it receives 4–6 hours of sunlight daily, ideally in a south-facing direction.
- Ventilation Needs: Plan for airflow to prevent overheating, mold, or mildew.
Planning guarantees the greenhouse is safe, accessible, and productive.
3. Choosing Materials
The right materials make the greenhouse durable, lightweight, and weather-resistant:
Frame Options
- PVC Pipes: Lightweight, flexible, and inexpensive; ideal for temporary structures.
- Wood: Sturdy and attractive, suitable for semi-permanent designs.
- Metal (Aluminum or Steel): Durable and long-lasting, suitable for permanent mini greenhouses.
Covering Materials
- Polyethylene Sheets: Affordable, lightweight, and transparent; ideal for DIY mini greenhouses.
- Polycarbonate Panels: Durable, insulating, and UV-resistant; slightly more expensive.
- Clear Acrylic or Plexiglass: Lightweight, rigid, and visually appealing; perfect for balcony aesthetics.
Additional Materials
- Zip ties, clamps, screws, or brackets for assembly.
- Hinges or Velcro for doors or ventilation flaps.
- Lightweight shelving for plant pots inside the greenhouse.
Selecting the right materials balances cost, durability, and ease of assembly.
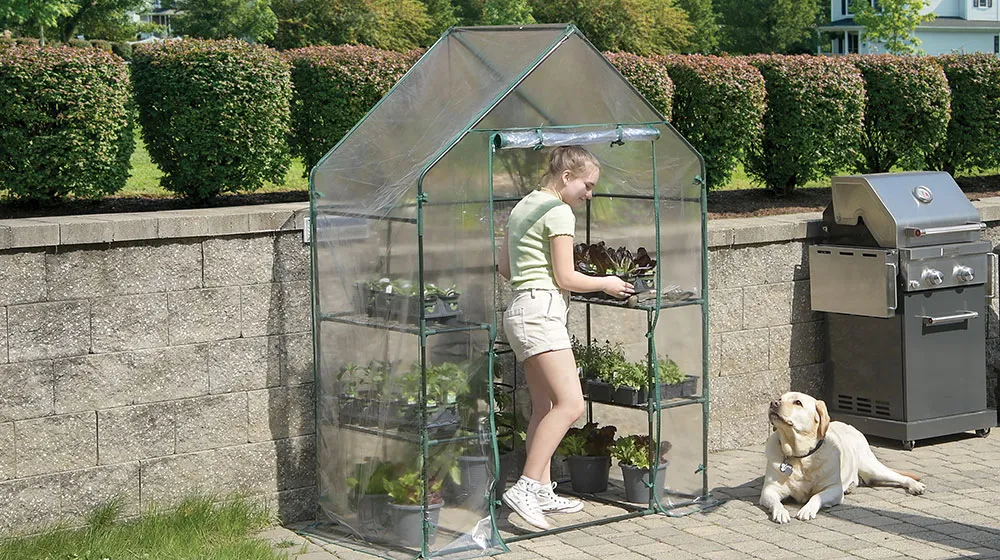
4. Designing the Greenhouse Structure
A well-designed structure ensures stability, accessibility, and proper airflow:
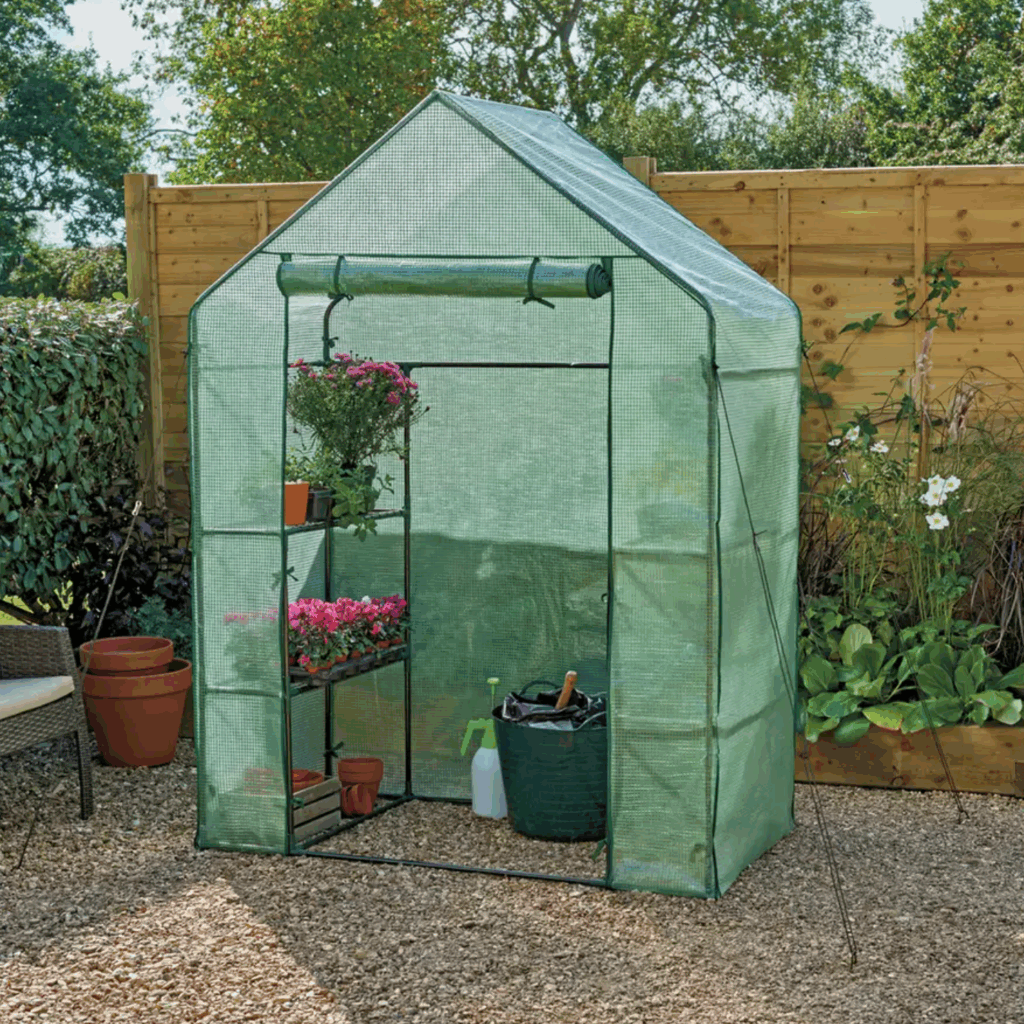
- Shape: Common shapes include A-frame, dome, rectangular box, or lean-to against a wall.
- Doors and Openings: Include at least one door or flap for easy access and ventilation.
- Shelving: Incorporate shelves or hanging racks to maximize vertical space.
- Anchoring: Secure the greenhouse to prevent tipping in strong winds. Use brackets, rope, or bungee cords for extra stability.
A thoughtful design ensures your mini greenhouse is functional, safe, and visually appealing on your balcony.
5. Step-by-Step Construction of a Mini Balcony Greenhouse
Step 1: Build the Frame
- Cut PVC pipes or wooden beams to the desired size.
- Assemble the base rectangle using connectors or screws.
- Construct vertical supports at each corner.
- Connect the top with horizontal beams or a dome structure.
Step 2: Attach Covering
- Drape polyethylene sheets or attach polycarbonate panels over the frame.
- Secure edges with clamps, zip ties, or adhesive.
- Ensure the covering is tight but not overly stretched to allow expansion and prevent tearing.
Step 3: Create Door and Ventilation
- Cut a flap in the covering for a door or use a hinged frame.
- Add Velcro or magnets to keep it closed.
- Consider additional small vents for cross ventilation, preventing overheating.
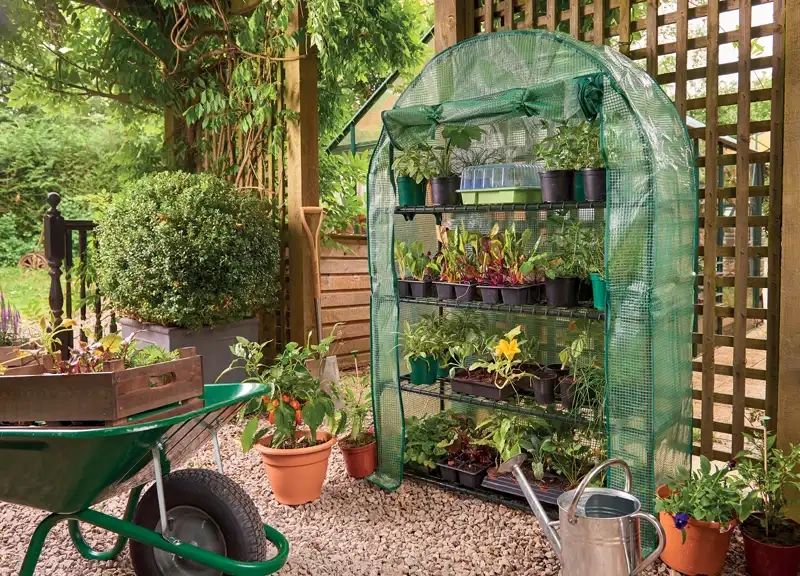
Step 4: Add Shelves and Plant Supports
- Install lightweight shelving inside for pots and trays.
- Use hooks or strings for hanging plants or seedlings.
- Keep heavier plants at the bottom for stability.
Step 5: Position and Secure
- Place the greenhouse on the balcony in a sunny location.
- Anchor to the railing or balcony floor using brackets or bungee cords.
- Ensure easy access for watering, pruning, and harvesting.
Following these steps ensures a sturdy, functional, and productive mini greenhouse.
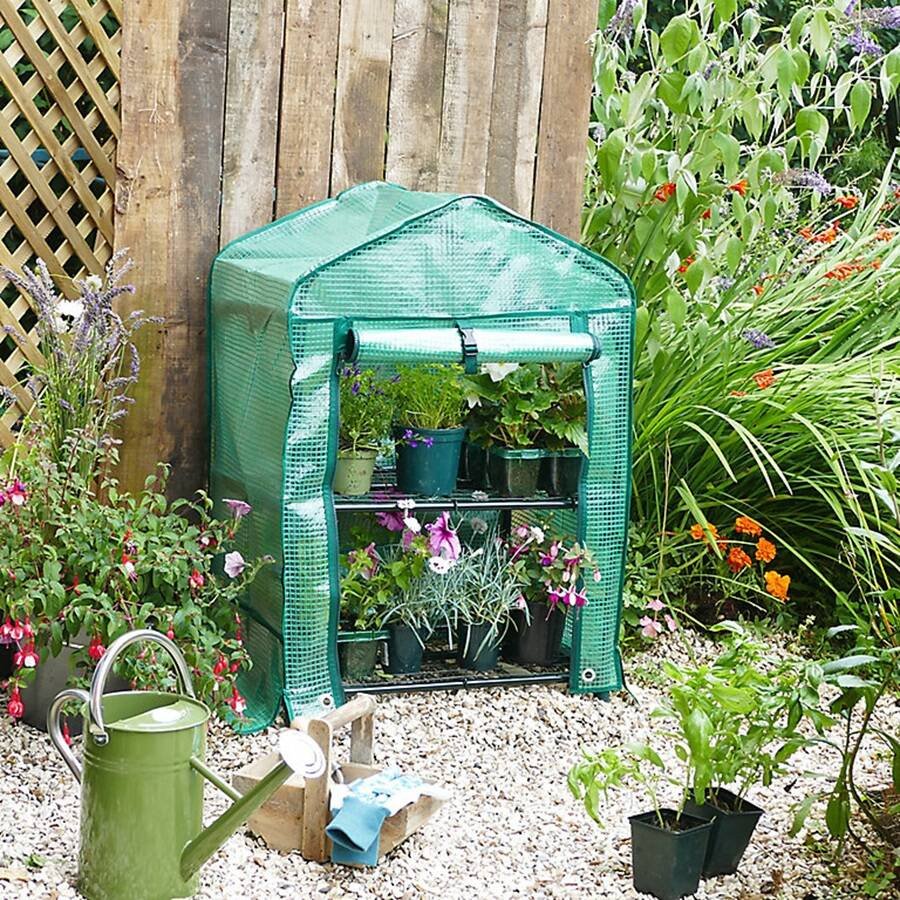
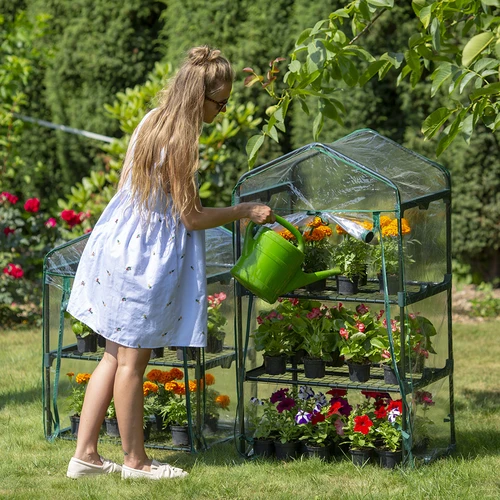
6. Planting Inside a Balcony Greenhouse
A mini greenhouse is suitable for various plants:
- Vegetables: Tomatoes, cucumbers, peppers, lettuce, and spinach.
- Herbs: Basil, mint, oregano, thyme, and parsley.
- Flowers: Petunias, marigolds, begonias, and pansies.
- Seedlings: Start seeds early for transplanting outdoors.
Tips for planting:
- Use lightweight pots or grow bags for easy rearrangement.
- Arrange taller plants at the back and smaller plants in front for optimal sunlight exposure.
- Rotate pots periodically to ensure even growth.
7. Watering and Maintenance
Proper watering and maintenance are essential for a thriving balcony greenhouse:
- Watering: Use a watering can or drip system to avoid overwatering.
- Humidity Control: Open vents or doors on hot days to prevent overheating and mold.
- Cleaning: Wipe down the greenhouse covering to maximize sunlight penetration.
- Pest Control: Inspect plants regularly for pests and remove affected leaves.
Consistent care ensures plants grow healthy, vigorous, and productive in the confined space.
8. Temperature and Light Management
A mini greenhouse intensifies sunlight and warmth, which can be beneficial or harmful depending on conditions:
- Temperature Monitoring: Maintain daytime temperatures between 70–85°F for most vegetables.
- Shade Cloth: Use during extreme heat to prevent leaf burn.
- Artificial Lighting: In winter, supplement with LED grow lights for consistent growth and flowering.
- Night Protection: Cover the greenhouse with insulating material during frost to protect sensitive plants.
Proper temperature and light management maximize growth and yield year-round.
9. Seasonal Considerations
A mini greenhouse can be adapted for all seasons:
- Spring: Start seedlings early to transplant outdoors later.
- Summer: Protect plants from extreme heat; ventilate regularly.
- Autumn: Extend harvest by sheltering vegetables and herbs.
- Winter: Grow cold-tolerant plants like spinach, kale, and lettuce.
Seasonal adjustments allow the balcony greenhouse to produce fresh produce continuously.
10. Safety and Balcony Regulations
Before constructing a greenhouse on a balcony, consider safety and legal guidelines:
- Weight Restrictions: Check building codes and structural limits. Avoid overloading with soil, water, and pots.
- Fire Safety: Keep electrical components (grow lights, heaters) safely installed.
- Neighbor Consideration: Ensure the greenhouse does not block shared pathways or cause water runoff issues.
Following safety measures ensures a secure, compliant, and responsible balcony garden.
11. Benefits of a Balcony Mini Greenhouse
- Year-Round Gardening: Grow plants despite urban constraints or seasonal changes.
- Higher Yield: Controlled environment promotes healthier growth and increased harvest.
- Space Optimization: Vertical shelving and compact design maximize usable area.
- Aesthetic Appeal: Adds greenery and charm to urban balconies.
- Educational and Therapeutic: Encourages learning about plants and provides stress relief.
A balcony mini greenhouse is both practical and decorative, combining functionality with aesthetic appeal.
Conclusion
Building a mini greenhouse for your balcony is an effective solution for urban gardeners seeking fresh produce, flowers, or herbs in limited spaces. By carefully planning the design, selecting lightweight materials, and providing adequate ventilation, sunlight, and care, a balcony greenhouse can transform a small area into a thriving, productive garden.
Key Takeaways:
- Measure and plan your balcony space carefully.
- Choose lightweight, durable materials for the frame and covering.
- Provide ventilation, a secure door, and access for maintenance.
- Incorporate shelves and vertical space to maximize growing area.
- Select plants suited to container growth and greenhouse conditions.
- Maintain proper watering, temperature, and pest management.
- Follow safety and structural guidelines for balcony use.
With these steps, any urban gardener can create a mini greenhouse that enhances the balcony’s functionality, aesthetics, and productivity, bringing the joys of gardening to city living all year round.