Container gardening is a popular way to grow vegetables, herbs, and flowers, especially for those with limited outdoor space. However, busy schedules and inconsistent watering often limit plant growth and health. A self-watering container is the perfect solution, providing a steady supply of water directly to plant roots, reducing maintenance, and improving plant growth.
This guide explores step-by-step instructions, materials, and expert tips on building your own self-watering container, ensuring lush, healthy plants with minimal effort.
Why Self-Watering Containers Work
Self-watering containers operate on a capillary action system, delivering water from a reservoir directly to plant roots. This ensures plants receive consistent moisture, preventing common problems like overwatering, underwatering, and soil drying out.
Key Benefits:
- Time-Saving: Less frequent watering saves busy gardeners hours per week.
- Healthier Roots: Encourages deep, strong root growth without waterlogging.
- Water Efficiency: Reduces water waste by targeting roots directly.
- Extended Plant Life: Minimizes stress from fluctuating moisture levels.
- Versatile: Suitable for vegetables, herbs, flowers, and even indoor plants.
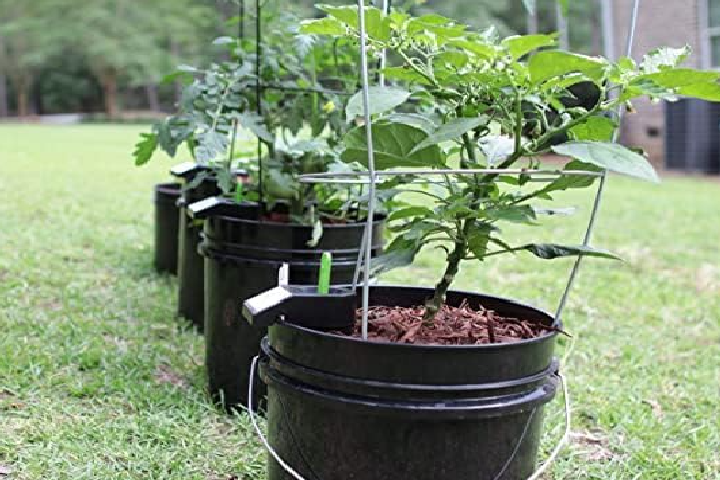
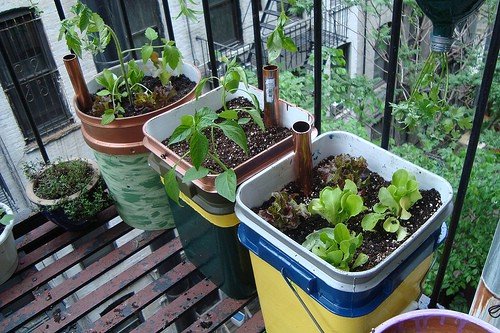
Step 1: Selecting the Right Container
Choosing the appropriate container is critical for a self-watering system. You need two components: a plant pot and a water reservoir.
Recommended Options:
- Plastic Pots: Lightweight and easy to modify for reservoirs.
- Fabric Grow Bags: Breathable and excellent for root aeration.
- Raised Planter Boxes: Perfect for large vegetable setups.
- Recycled Containers: Buckets, storage bins, or large flowerpots can be adapted.
Tips:
- Ensure the container is deep enough for root growth (6–12 inches for small plants, 12–18 inches for vegetables).
- The water reservoir should be watertight and slightly smaller than the planting container.
Step 2: Preparing the Water Reservoir
The reservoir stores water and supplies it gradually through capillary action.
Materials Needed:
- A plastic container or bucket.
- Perforated divider or mesh for soil support.
- PVC pipe or tubing for filling the reservoir.
Instructions:
- Cut the reservoir to fit inside the main container or beneath it.
- Drill small holes at the top of the reservoir for water distribution.
- Insert a PVC tube vertically to act as a refill channel.
Tips:
- Ensure even water distribution throughout the reservoir.
- Place the reservoir at the bottom of the container to maximize capillary action.
Step 3: Adding a Wicking System
The wicking system transports water from the reservoir to the soil and roots.
Materials:
- Cotton rope, fabric strips, or nylon wicks.
- Perlite or sand for better capillary action.
Instructions:
- Place wicks so that one end immerses in the water reservoir.
- Arrange the other end in the soil near plant roots.
- Cover wicks with soil to hide them and ensure moisture transfer.
Tips:
- Use multiple wicks for larger containers to ensure uniform watering.
- Check wicks periodically for wear and replace if necessary.
Step 4: Choosing the Right Soil
Self-watering containers require well-draining yet moisture-retentive soil.
Recommended Mix:
- 40% Potting Soil: Provides structure and nutrients.
- 30% Compost: Improves fertility and moisture retention.
- 20% Perlite or Vermiculite: Ensures aeration and prevents waterlogging.
- 10% Coconut Coir or Peat Moss: Retains moisture near roots.
Tips:
- Avoid heavy garden soil as it compacts and restricts water flow.
- Incorporate slow-release fertilizer for sustained nutrition.
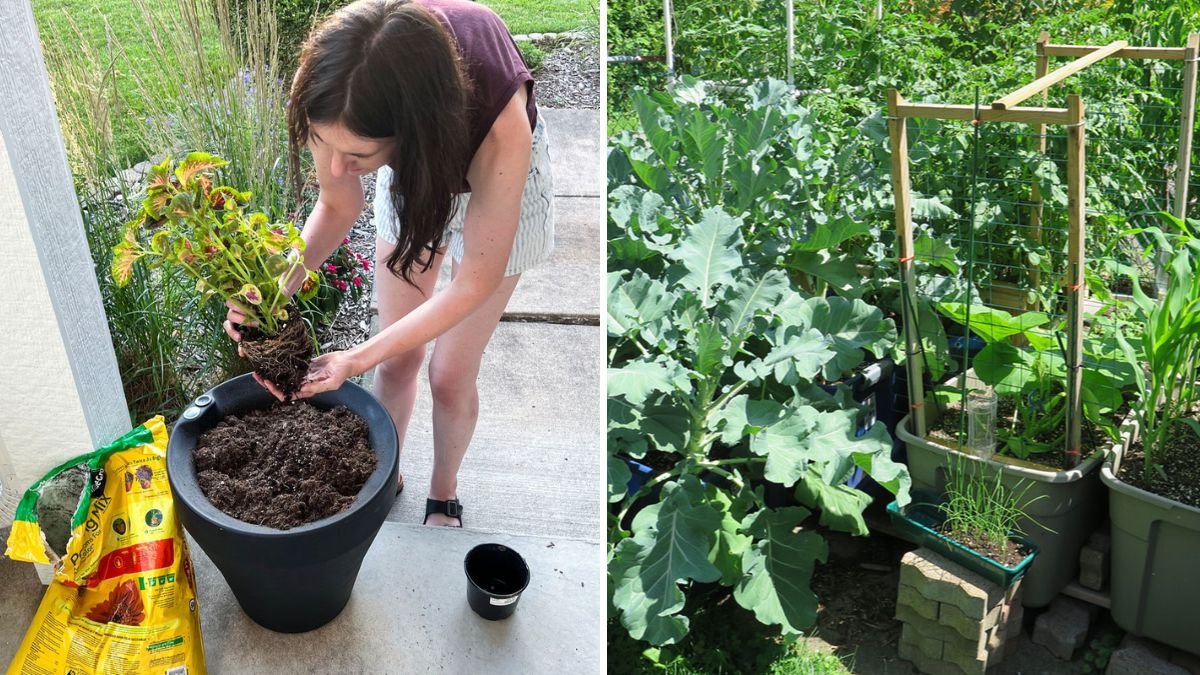
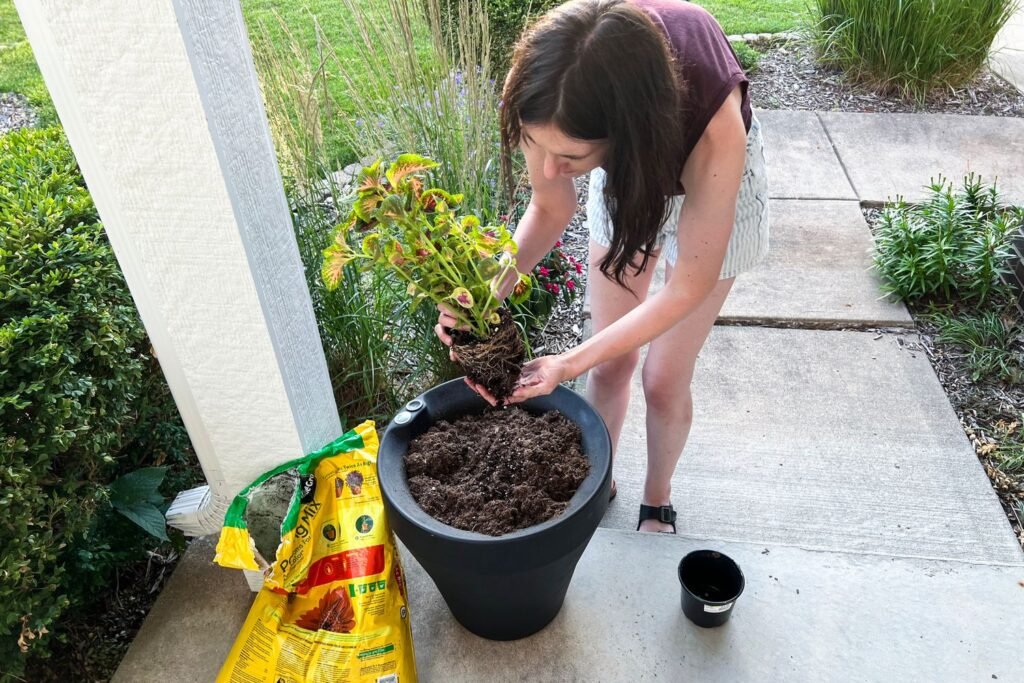
Step 5: Planting in a Self-Watering Container
Planting correctly ensures maximum root contact with the wicking system.
Instructions:
- Fill the container with prepared soil, leaving room for the plant.
- Dig a hole for the plant or seedling, ensuring roots touch the soil near the wicks.
- Cover the roots and wicks with soil and press gently to eliminate air pockets.
- Water lightly for initial establishment.
Tips:
- Use young seedlings or seeds compatible with container gardening.
- Avoid overcrowding; plants need space for root and leaf growth.
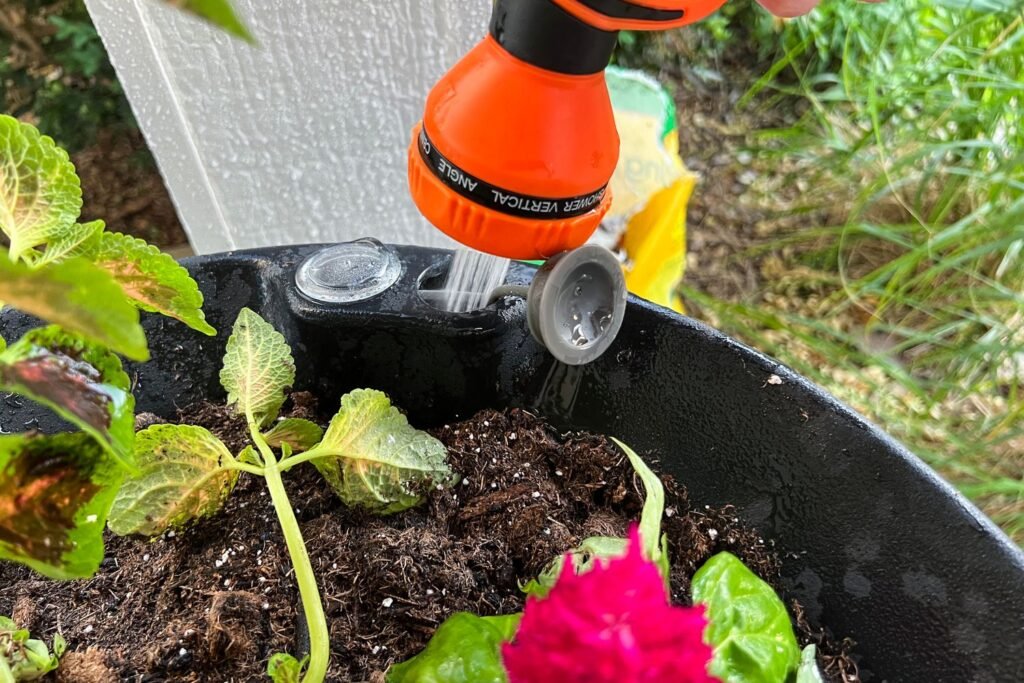
Step 6: Watering and Maintenance
Once set up, your self-watering container reduces routine maintenance, but some care is still needed.
Filling the Reservoir:
- Fill the reservoir through the PVC tube or refill hole.
- Check water level every few days depending on plant size and climate.
Monitoring Soil Moisture:
- Soil should remain evenly moist but not soggy.
- Adjust wick placement if some areas are too dry or too wet.
Tips:
- Mulch the soil surface to reduce evaporation.
- During extremely hot weather, check soil more frequently.
Step 7: Fertilization and Nutrition
Even with self-watering, container plants require adequate nutrients.
Fertilization Tips:
- Use liquid fertilizer in the reservoir for easy uptake.
- Apply slow-release or organic fertilizer directly into soil at planting.
- Avoid overfertilizing; excess nutrients can harm roots.
Tips:
- Monitor plants for nutrient deficiencies such as yellowing leaves or stunted growth.
- Rotate crops in containers for long-term productivity.
Step 8: Managing Pests and Diseases
Self-watering containers reduce some risks but do not eliminate pests and diseases.
Common Issues:
- Aphids, spider mites, and fungal diseases.
Management Tips:
- Inspect leaves regularly and remove infected plant material.
- Use insecticidal soap or neem oil for pest control.
- Ensure good air circulation to reduce fungal problems.
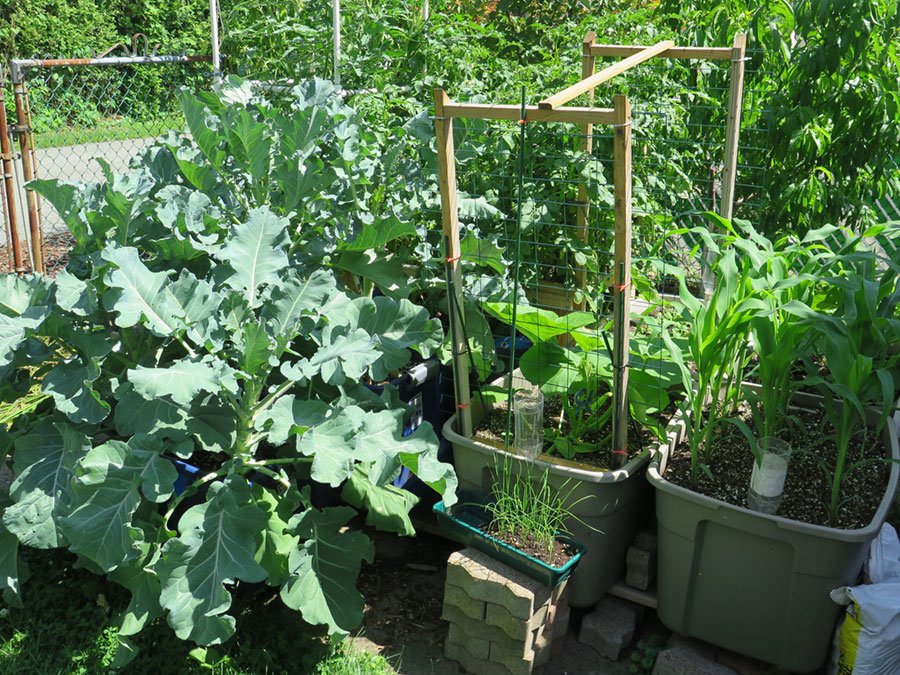
Step 9: Benefits for Busy Gardeners
Self-watering containers are especially useful for busy schedules, offering several advantages:
- Less Frequent Watering: Ideal for vacation periods or tight schedules.
- Improved Plant Health: Steady moisture encourages strong roots and vibrant growth.
- Water Conservation: Efficient water delivery reduces wastage.
- Versatility: Can grow vegetables, herbs, ornamental plants, and indoor greenery.
Step 10: Enhancing Your Self-Watering Container
To maximize productivity, consider these enhancements:
- Vertical Stacking: Combine multiple self-watering containers to save space.
- Integrated Fertilizer System: Use slow-release fertilizer in the reservoir.
- Mobility: Add wheels or lightweight containers for easy relocation.
- Temperature Management: Insulate containers or use cloches in extreme weather.
Conclusion
Building a self-watering container is a practical solution for busy gardeners seeking consistent, healthy plant growth with minimal effort. By carefully designing the reservoir, wick system, soil mix, and container size, gardeners can enjoy lush vegetables, herbs, and flowers year-round.
Key steps for success include:
- Selecting the right container and reservoir.
- Installing a reliable wicking system.
- Using well-draining, nutrient-rich soil.
- Planting carefully for root contact with wicks.
- Monitoring water and nutrient levels consistently.
- Maintaining pest and disease prevention practices.
With a well-built self-watering container, even gardeners with busy lifestyles or limited space can enjoy thriving plants, abundant harvests, and beautiful green spaces with minimal maintenance.