Dill is a versatile herb prized for its aromatic leaves and flavorful seeds, commonly used in pickles, sauces, salads, and soups. Its feathery fronds and delicate yellow flowers add both flavor and beauty to gardens and kitchens alike. Whether you want a continuous supply for fresh pickling or culinary use, growing dill successfully requires understanding its light, soil, water, and care requirements.
In this guide, we will explore how to grow dill both indoors and outdoors, along with tips for harvesting, maximizing yield, and maintaining healthy plants.
Why Grow Dill
Dill (Anethum graveolens) is more than just a pickling herb. Growing your own dill provides several benefits:
- Freshness and Flavor – Homegrown dill has a more robust aroma and flavor than store-bought herbs.
- Continuous Supply – You can harvest leaves repeatedly for pickling, cooking, and garnishing.
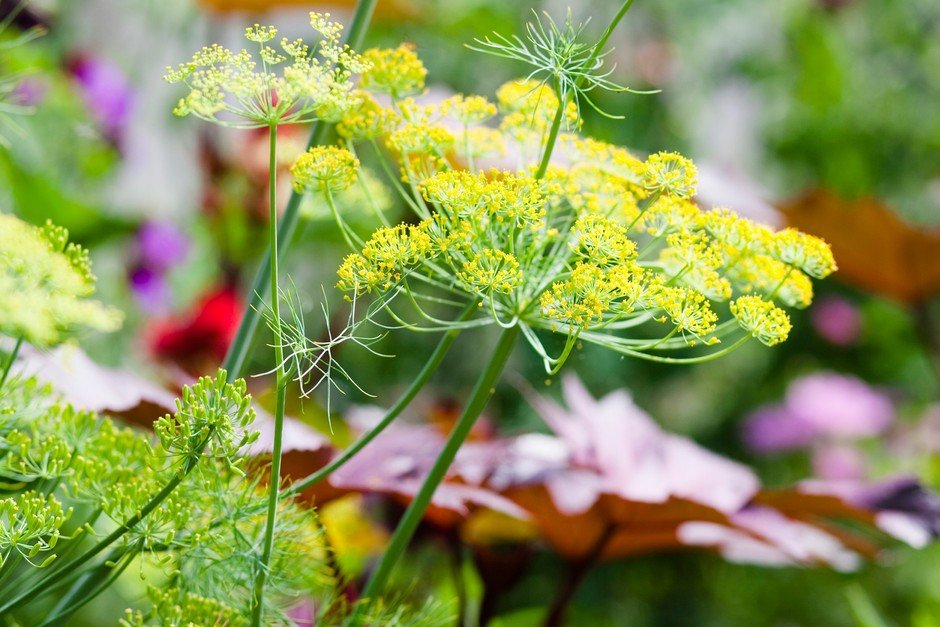
- Pollinator Friendly – Dill flowers attract beneficial insects like bees, ladybugs, and parasitic wasps, which help control garden pests.
- Easy to Grow – Dill is relatively low-maintenance and thrives in containers or garden beds with the right care.
Choosing the Right Dill Variety
There are a few popular dill varieties to consider:
- Bouquet Dill – Compact and ideal for small spaces and container gardening.
- Fernleaf Dill – Aromatic, fast-growing, and ideal for pickling.
- Dukat Dill – A tall variety with robust flavor and excellent seed production.
For indoor gardening, Bouquet Dill is recommended due to its compact size, while taller varieties like Dukat thrive better outdoors.
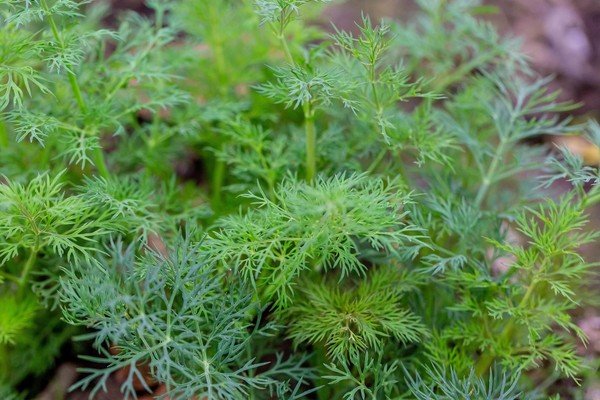
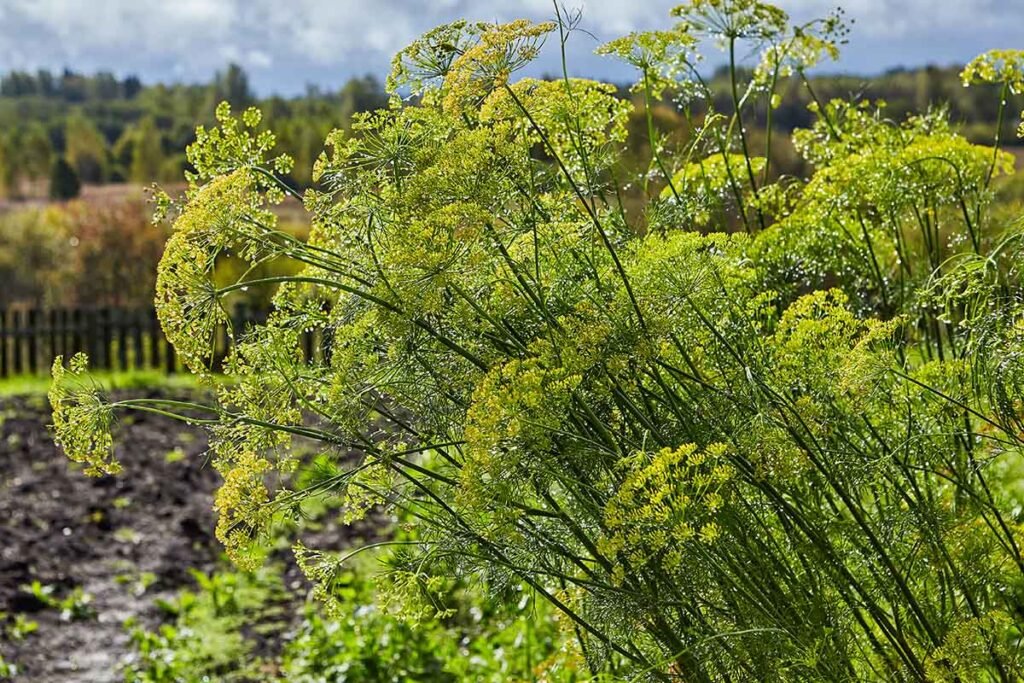
Growing Dill Outdoors
Dill grows best in garden beds where it has space, sunlight, and well-draining soil.
1. Soil Requirements
- Dill prefers loamy, well-drained soil with a pH of 5.5–6.5.
- Mix compost or well-rotted manure into the soil before planting to enhance fertility.
- Avoid heavy clay soils that retain water, as dill roots are prone to rot.
2. Sunlight Needs
- Dill requires full sun—at least 6–8 hours per day.
- Ensure that taller surrounding plants do not shade dill seedlings.
3. Sowing Seeds Outdoors
- Sow seeds directly in the garden, as dill does not transplant well due to its long taproot.
- Plant seeds ¼ inch deep, spaced 12–18 inches apart to allow airflow and prevent disease.
- Water lightly and consistently until germination, which usually takes 7–14 days.
4. Watering and Care
- Keep soil consistently moist but not soggy. Overwatering can lead to root rot.
- Mulch around the plants to retain moisture, suppress weeds, and maintain soil temperature.
- Thin seedlings to prevent overcrowding, which encourages strong growth and reduces disease risk.
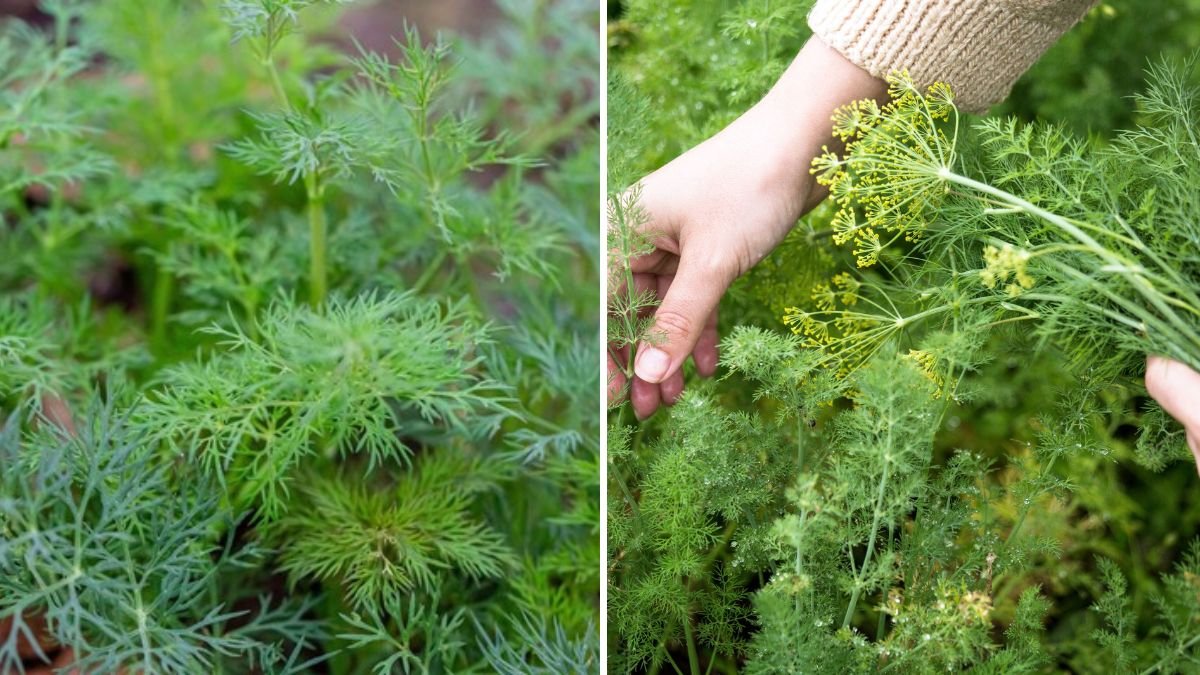
5. Harvesting Outdoor Dill
- You can begin harvesting leaves once the plant reaches 6–8 inches in height.
- Snip leaves selectively rather than cutting the whole plant to encourage continued growth.
- Dill seeds form after flowering; harvest seeds when they turn brown and dry for use in pickling.
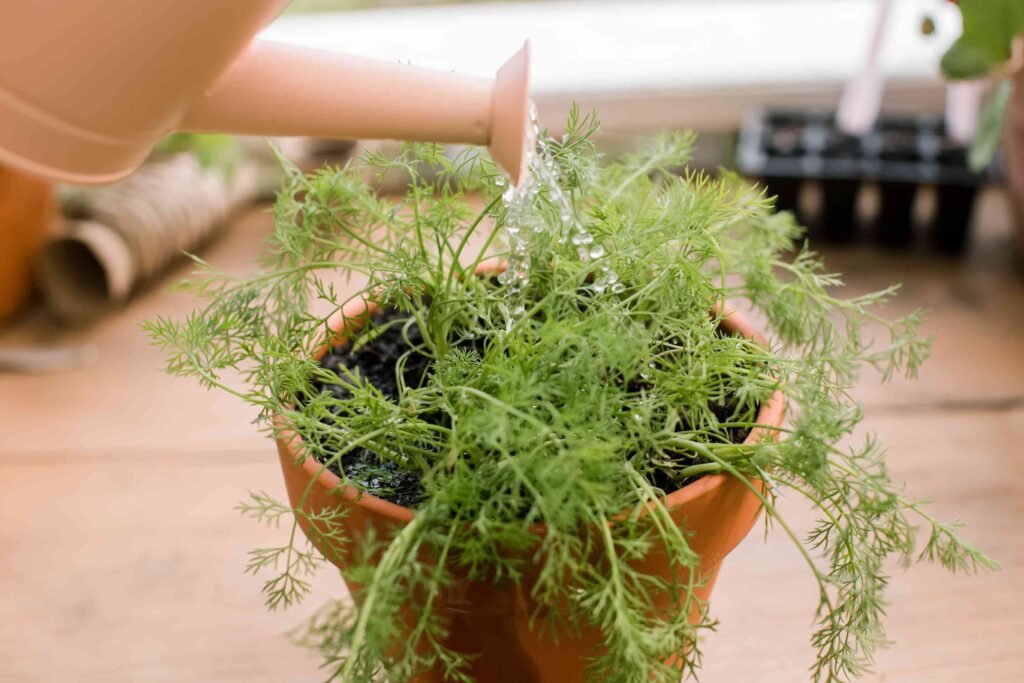
Growing Dill Indoors
Indoor gardening allows you to enjoy fresh dill year-round, even in winter or in small apartments.
1. Choosing Containers
- Use pots at least 8–12 inches deep to accommodate dill’s long taproot.
- Ensure containers have good drainage holes to prevent waterlogging.
2. Soil for Indoor Dill
- Use a well-draining potting mix enriched with compost or organic matter.
- Avoid heavy garden soil, which can compact and suffocate roots in containers.
3. Lighting Requirements
- Dill needs 6–8 hours of light daily.
- Place containers on a sunny south-facing windowsill or under a grow light for 12–14 hours daily if natural sunlight is insufficient.
4. Sowing Seeds Indoors
- Plant seeds ¼ inch deep in individual pots or seed trays.
- Keep soil moist until germination, usually 7–10 days.
- Thin seedlings to 1–2 inches apart after a few weeks to encourage strong, healthy growth.
5. Watering and Indoor Care
- Water when the top inch of soil feels dry; avoid overwatering.
- Rotate pots to ensure even light exposure and prevent plants from leaning.
- Fertilize lightly every 3–4 weeks with a balanced, water-soluble fertilizer.
6. Harvesting Indoor Dill
- Begin harvesting leaves once plants are 6–8 inches tall.
- Snip individual stems above a leaf node to encourage branching and prolonged harvest.
- For seeds, allow flowers to mature, then harvest when they turn brown and dry.
Tips for Maximizing Dill Yield
- Succession Planting – Sow seeds every 3–4 weeks outdoors or indoors to maintain a steady supply.
- Pinch Flowers Early – For leafy harvests, pinch off flower buds to encourage more foliage. Allow some plants to flower if you also want seeds.
- Companion Planting – Plant dill near cucumbers, cabbage, onions, or lettuce to attract beneficial insects and deter pests like aphids and spider mites. Avoid planting near carrots, as they can compete for nutrients.
- Pruning – Regularly trim outer leaves to encourage bushier growth and prevent legginess.
- Pest Management – Watch for aphids or caterpillars. Use insecticidal soap or introduce beneficial insects like ladybugs if needed.
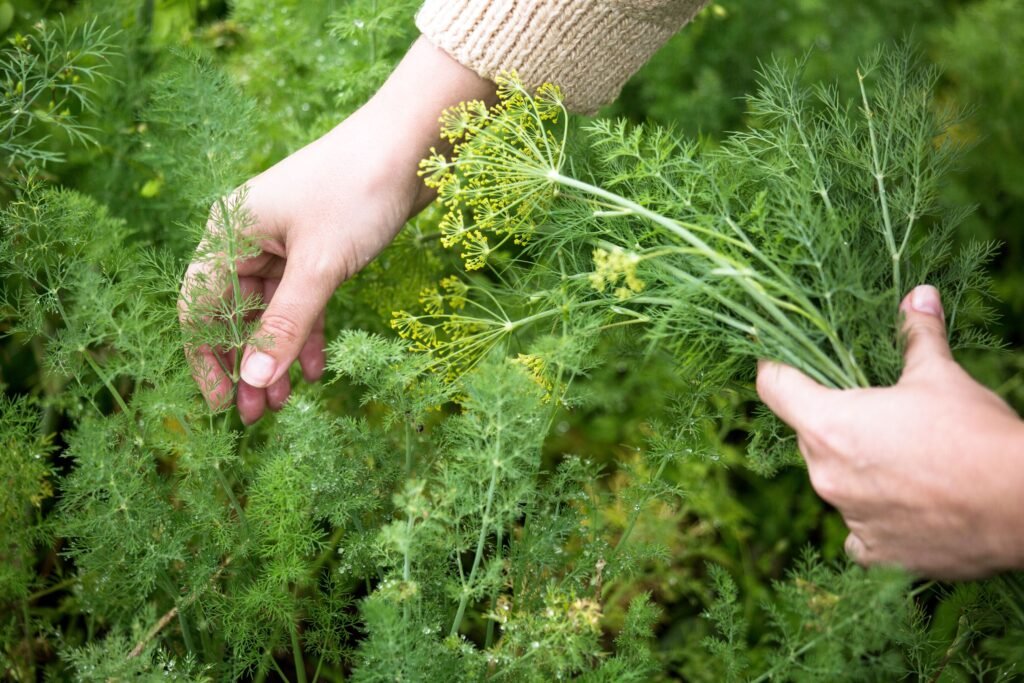
Harvesting for Pickling
Dill is a quintessential herb for pickling cucumbers, carrots, and other vegetables. For pickling:
- Use fresh fronds, including both leaves and stems, for flavor.
- Add dill seeds or flower heads to jars for aromatic pickles.
- Harvest right before flowering for the most intense flavor.
Proper harvesting techniques ensure a continuous supply of fresh dill while keeping the plant healthy for repeated harvests.
Common Mistakes to Avoid
- Overcrowding Plants – Dill needs space for airflow; overcrowding leads to weak stems and disease.
- Neglecting Sunlight – Insufficient light indoors can cause legginess and poor growth.
- Overwatering – Waterlogged soil promotes root rot.
- Harvesting Too Late – Allowing too many leaves or seeds to mature before harvest can reduce the plant’s lifespan.
- Transplanting Outdoors – Dill has a sensitive taproot and does not transplant well; direct sowing is best.
Conclusion
Growing dill successfully, whether indoors or outdoors, is simple with the right techniques. By understanding its soil, light, water, and spacing requirements, you can enjoy a steady supply of fresh, aromatic fronds and seeds for pickling and cooking.
Outdoor planting works well in sunny, well-drained garden beds, while container gardening allows for year-round growth indoors. Harvest leaves regularly, pinch off flowers when needed, and practice succession planting to maintain continuous production.
With careful attention to watering, light, and companion planting, dill can thrive in any environment. Fresh, homegrown dill elevates pickles, enhances culinary dishes, and attracts beneficial insects, making it an invaluable addition to any garden or kitchen.
Whether you are a seasoned gardener or a beginner, mastering dill cultivation indoors and outdoors ensures flavorful, aromatic herbs at your fingertips throughout the year.