Garlic is a kitchen essential and a gardener’s favorite, prized for its flavor, versatility, and health benefits. While traditionally grown in garden beds, garlic can also thrive in containers, making it an ideal crop for small spaces, patios, balconies, and urban gardens. Container gardening offers greater control over soil quality, moisture, and pests, while allowing easy harvesting without heavy digging. This guide provides detailed, practical steps for growing garlic in containers successfully, ensuring robust bulbs and flavorful harvests.
Why Grow Garlic in Containers?
Growing garlic in containers has several advantages:
- Space Efficiency: Perfect for those with limited garden space or no backyard.
- Mobility: Containers can be moved to optimize sunlight exposure or protect plants from harsh weather.
- Soil Control: You can provide the perfect soil mix without worrying about poor garden soil or soil-borne diseases.
- Pest Management: Elevated containers reduce the risk of pests such as slugs, rodents, and some insects.
- Ease of Harvest: No heavy digging is required; simply lift the bulbs from the container.
Garlic’s adaptability to container growing makes it an excellent choice for both novice and experienced gardeners.
Selecting the Right Garlic Variety
Garlic comes in two main types: hardneck and softneck.
- Hardneck Garlic: Produces a stiff central stalk with fewer, larger cloves. Hardneck varieties are well-suited to cooler climates and often have a rich, complex flavor. Examples include Rocambole, Purple Stripe, and Porcelain.
- Softneck Garlic: Produces multiple smaller cloves without a central stalk. Softneck varieties are ideal for container growing because they tend to have longer storage life and are more adaptable to milder climates. Examples include Artichoke and Silverskin.
When choosing a variety for containers, consider your climate, the size of your container, and flavor preferences. Softneck garlic is often preferred for container growing due to its compact growth habit.
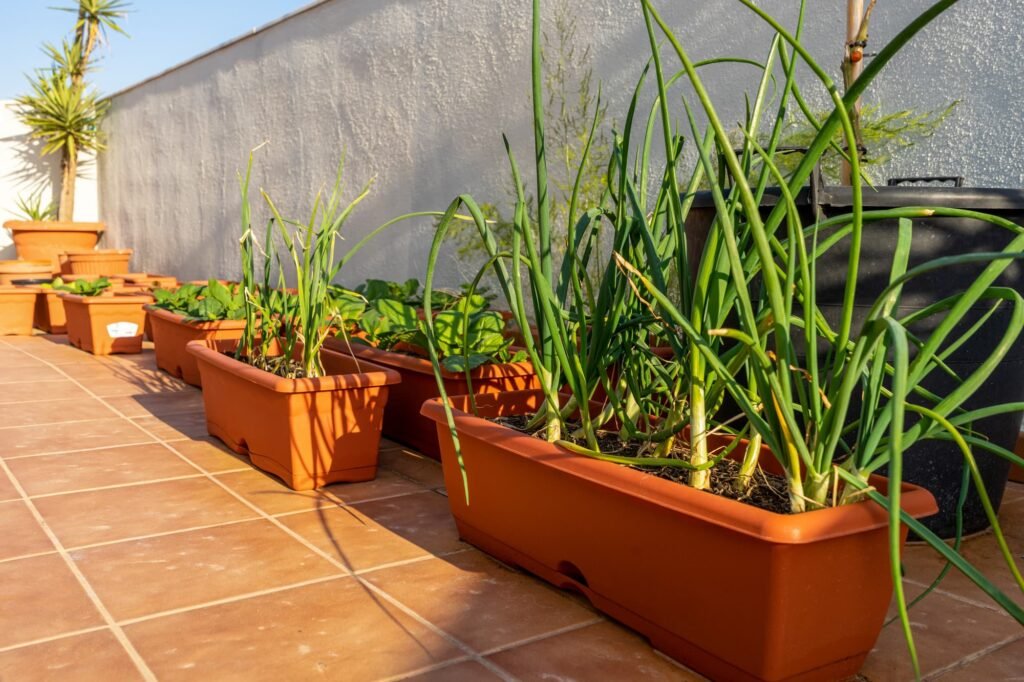
Choosing the Right Container
Container selection is crucial for successful garlic growth. Here are the key factors to consider:
- Size: A container should be at least 12 inches deep to allow room for root development. For multiple bulbs, a container with a width of 12–18 inches works well.
- Material: Terra cotta, ceramic, and plastic pots all work, but ensure the container has adequate drainage holes. Terra cotta is breathable and prevents overwatering, while plastic retains moisture longer.
- Drainage: Garlic bulbs are prone to rot in waterlogged soil, so a container with proper drainage is essential. Consider adding a layer of gravel or coarse sand at the bottom to improve drainage.
- Mobility: Lightweight containers can be moved to follow sunlight or shelter plants during extreme weather.
Preparing the Soil
Garlic prefers loose, fertile soil with excellent drainage. Container soil must mimic ideal garden conditions:
- Soil Mix: Combine 2 parts high-quality potting soil, 1 part compost, and 1 part coarse sand or perlite. This mix ensures fertility, drainage, and aeration.
- pH Level: Garlic thrives in slightly acidic to neutral soil, with a pH of 6.0–7.0. Adjust pH using garden lime (to raise) or sulfur (to lower) if needed.
- Nutrients: Incorporate a balanced, slow-release fertilizer or bulb-specific fertilizer at planting to give garlic a nutrient boost.
Proper soil preparation is key to strong roots and healthy bulb formation.
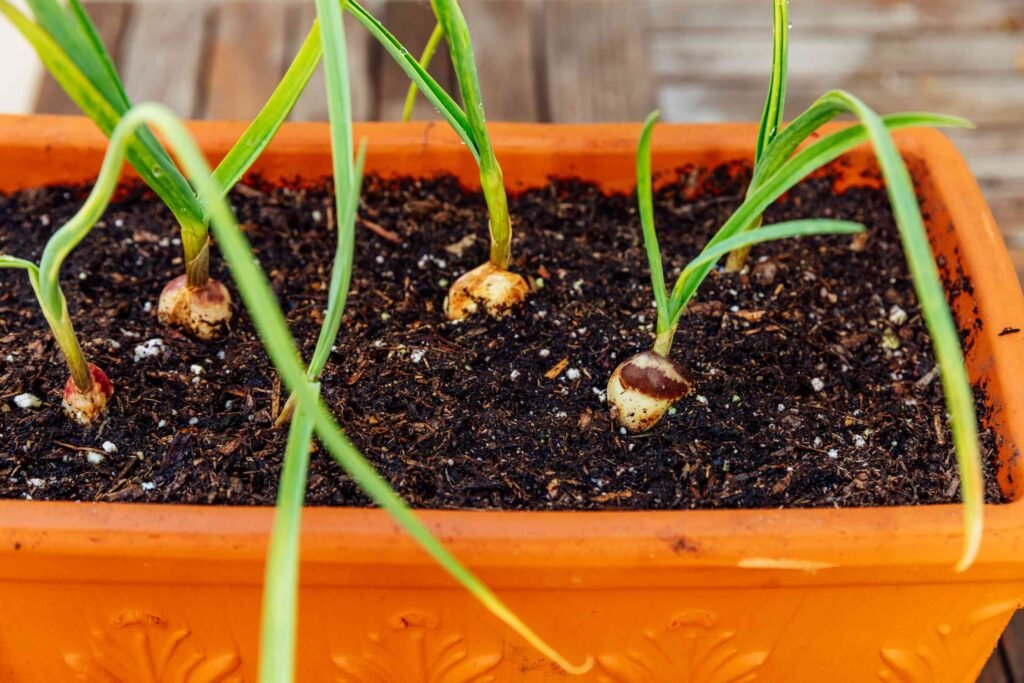
Planting Garlic in Containers
Step-by-Step Guide:
- Separate the Cloves: Break garlic bulbs into individual cloves, keeping the papery skin intact. Use the largest cloves for planting, as they will produce the biggest bulbs.
- Planting Depth: Plant cloves 2–3 inches deep with the pointed end facing upward. This allows the sprout to emerge easily.
- Spacing: Space cloves 4–6 inches apart in the container to prevent overcrowding and allow air circulation.
- Watering: Water the soil lightly after planting to settle the cloves, keeping it moist but not soggy. Overwatering can lead to rot.
- Mulching: Add a 1–2 inch layer of straw or shredded leaves on top to retain moisture and insulate against temperature fluctuations.
Caring for Container Garlic
Proper care is essential for healthy bulbs:
- Sunlight: Garlic requires at least 6–8 hours of direct sunlight daily. Place containers in a sunny south- or west-facing location.
- Watering: Water consistently, especially during dry periods. Reduce watering as the plant matures and leaves begin to yellow near harvest.
- Fertilization: Apply a balanced liquid fertilizer or compost tea every 3–4 weeks during active growth. Avoid excessive nitrogen, which encourages leafy growth at the expense of bulbs.
- Pruning and Flower Management: Hardneck varieties produce flower stalks (scapes) that can be removed to redirect energy to bulb development. Softneck varieties rarely produce scapes.
- Pest and Disease Management: Container garlic is relatively pest-resistant, but monitor for aphids, fungal issues, or mold. Proper spacing, sunlight, and air circulation minimize risks.
Overwintering Garlic in Containers
In cooler climates, container garlic can be overwintered outside or indoors:
- Outdoor Overwintering: Place containers in a protected area and mulch heavily to insulate against frost. Garlic can tolerate freezing temperatures, but heavy freeze-thaw cycles may stress the bulbs.
- Indoor Overwintering: In areas with extremely harsh winters, containers can be moved indoors to a cool, bright location (around 40–50°F). Ensure good light exposure to prevent leggy growth.
Overwintering allows bulbs to establish roots and produce an early spring harvest.
Harvesting Garlic from Containers
Timing the harvest is crucial for both yield and storage quality:
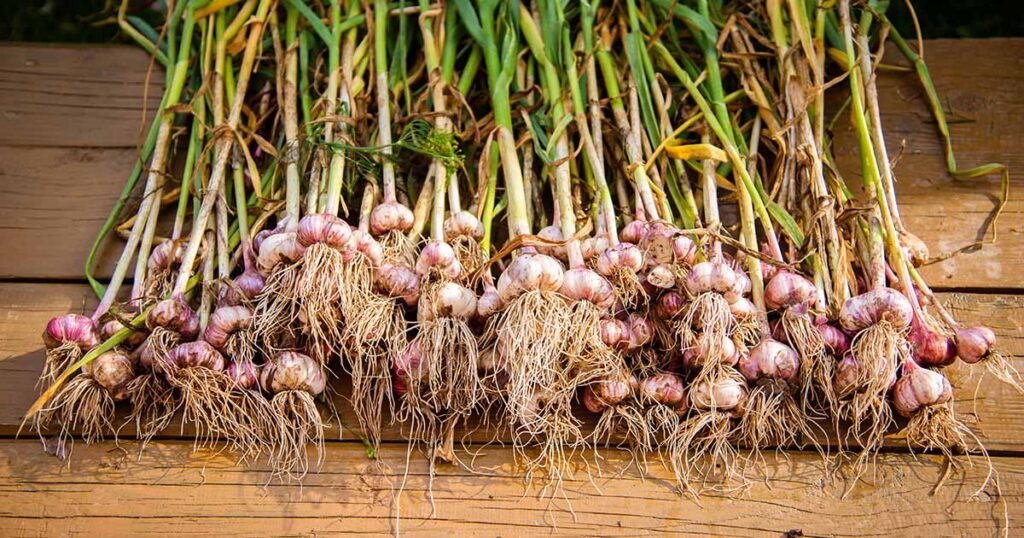
- Signs of Maturity: Garlic is typically ready to harvest when the lower leaves start to yellow and dry, while upper leaves remain green. Hardneck varieties usually mature earlier than softneck.
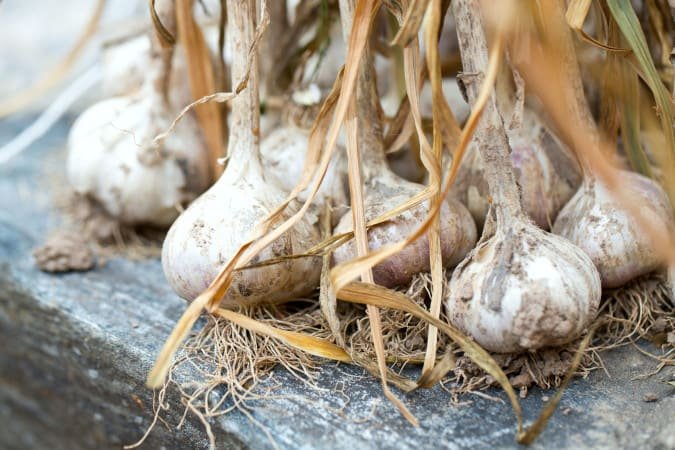
- Harvesting Technique: Gently loosen the soil around the bulbs with a hand trowel and lift the bulbs carefully. Avoid pulling them by the leaves, which can damage the bulbs.
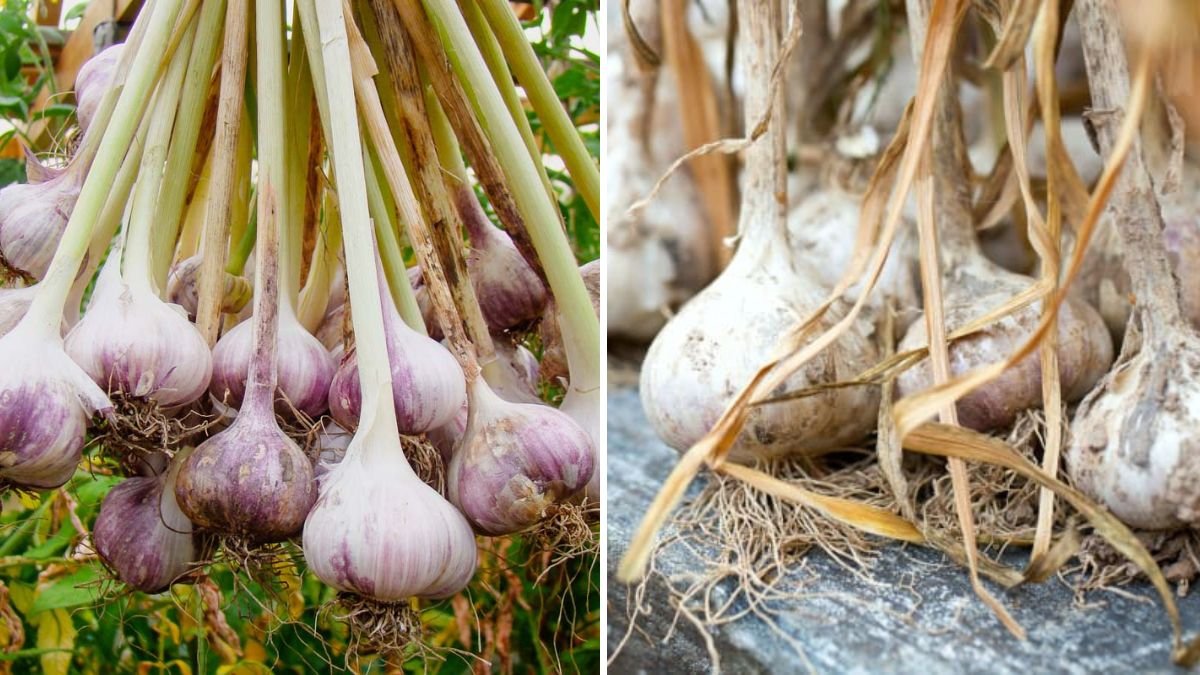
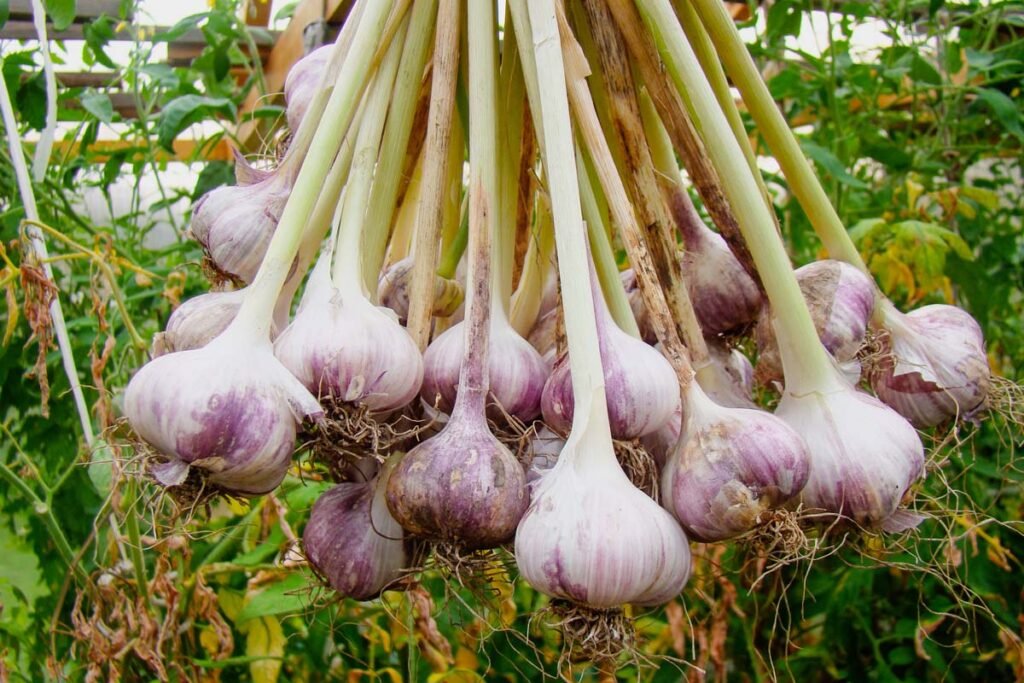
- Curing: After harvest, cure garlic by hanging it in a warm, dry, well-ventilated area for 2–3 weeks. This process dries the outer skin and extends storage life.
- Storage: Store cured garlic in a cool, dry place, preferably at 60°F with good air circulation. Softneck garlic can last up to 8–10 months, while hardneck varieties last 4–6 months.
Tips for Maximizing Container Garlic Success
- Rotate Containers: Avoid planting garlic in the same container year after year to reduce disease risk.
- Choose Large Cloves: Larger cloves produce stronger bulbs; select the healthiest cloves for planting.
- Monitor Watering Carefully: Containers dry out faster than garden soil. Regularly check moisture levels to prevent stress.
- Use Fertile, Light Soil: Heavy, compacted soil restricts root growth and reduces bulb size.
- Experiment with Varieties: Try both hardneck and softneck varieties to see which performs best in your container setup.
Conclusion
Growing garlic in containers is a practical, rewarding option for gardeners with limited space or those who want easy access to fresh, homegrown bulbs. With proper container selection, soil preparation, planting techniques, and care, garlic can thrive just as well in pots as in traditional garden beds. Overwintering, careful watering, and attentive fertilization ensure strong roots and flavorful bulbs, while container gardening simplifies harvesting and pest management. By following these guidelines, gardeners can enjoy an abundant, aromatic garlic harvest year after year, right from the comfort of their patio or balcony.
Container-grown garlic not only provides fresh flavor for the kitchen but also adds an attractive, low-maintenance element to small-space gardens, proving that even limited spaces can produce remarkable results.