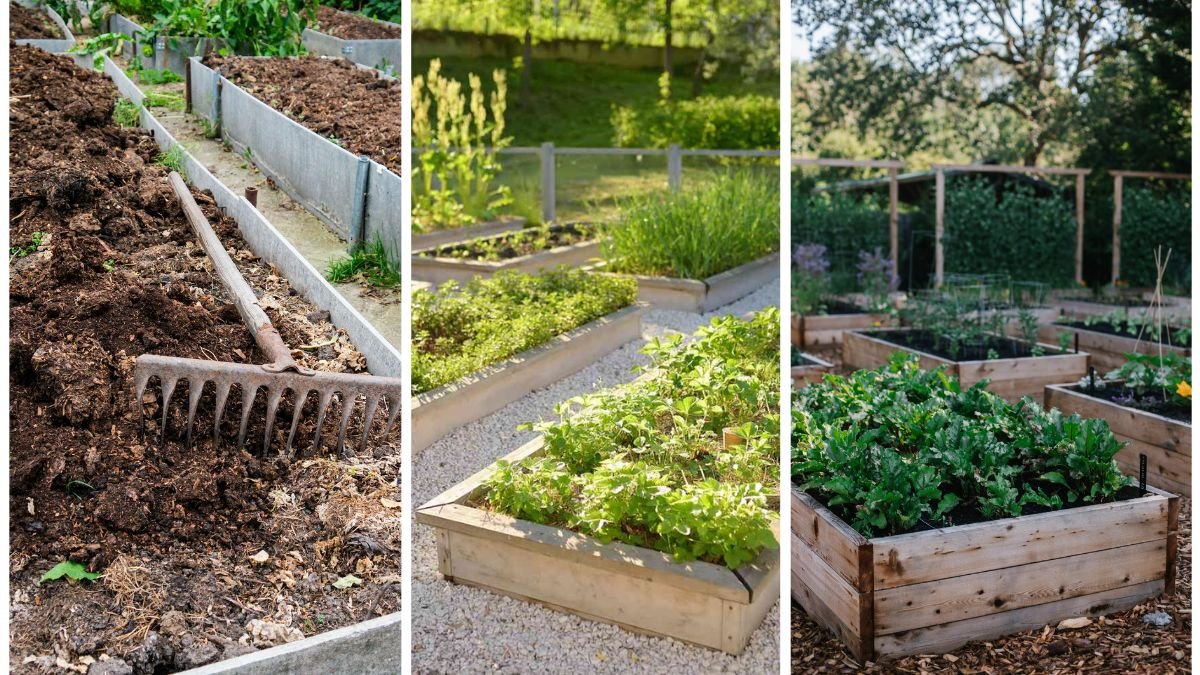
As the vibrant colors of fall fade and chilly winds signal the coming of winter, it’s time for gardeners to shift focus from planting to protecting. Preparing your garden beds before winter hits is essential to ensure soil health, reduce pests and diseases, and set the stage for a successful growing season in spring.
Whether you’re tending a backyard vegetable patch, a flower border, or raised beds, the steps you take now will save you time, money, and effort later. With proper preparation, your garden will rest during winter and be ready to burst back to life when the warm days return.
This article will guide you through everything you need to know about how to prepare your garden beds before winter hits, with practical tips and detailed steps for both beginner and experienced gardeners.
Why Preparing Garden Beds for Winter Matters
Many gardeners make the mistake of leaving their beds unattended at the end of the season. However, neglecting this step can cause:
- Nutrient depletion: Soil becomes exhausted without replenishment.
- Pest problems: Insects and larvae overwinter in debris and old plant matter.
- Disease carryover: Fungal spores and bacteria survive in plant residue.
- Weed growth: Dormant weed seeds can sprout early in spring.
By taking time now, you’ll improve soil fertility, protect your plants, and prevent bigger problems when the growing season resumes.
Step 1: Clear Out Spent Plants and Debris
The first step in preparing your garden beds is removing old plant material. This prevents pests and diseases from overwintering.
Tips:
- Remove Annuals: Pull out any vegetables or flowers that have finished producing.
- Dispose of Diseased Plants: Do not compost plants with visible signs of disease (such as powdery mildew, blight, or rust). Instead, bag and discard them.
- Chop and Compost Healthy Plants: Healthy plant debris can be shredded and added to your compost pile for nutrient recycling.
- Weed Thoroughly: Dig out weeds by the roots to stop them from returning stronger in spring.
Step 2: Enrich the Soil with Organic Matter
Soil fertility declines after a growing season, so replenishing it before winter is critical.
What to Add:
- Compost: Spread 2–3 inches of compost over your beds to restore nutrients.
- Aged Manure: Adds nitrogen and organic matter; ensure it’s well-composted to avoid burning roots.
- Leaf Mold: Fallen autumn leaves, shredded and added to soil, improve water retention and structure.
Work these amendments lightly into the top 6–8 inches of soil using a fork or spade. Over winter, the freeze-thaw cycle will naturally incorporate them further.
Step 3: Consider Cover Crops
Also known as “green manure,” cover crops are one of the best ways to prepare beds for winter. They improve soil health and provide a living mulch.
Best Cover Crops for Fall:
- Ryegrass: Suppresses weeds and prevents soil erosion.
- Clover: Fixes nitrogen in the soil for spring crops.
- Winter Peas: Add organic matter and enrich soil.
- Vetch: Improves fertility and breaks up compacted soil.
Plant cover crops in early to mid-fall so they can establish before frost. In spring, till them into the soil or cut them down to decompose as mulch.
Step 4: Mulch for Protection

Mulching is a key step to shield your soil and plant roots from freezing temperatures.
Benefits of Mulching:
- Insulates soil against temperature fluctuations.
- Reduces erosion from wind and rain.
- Prevents winter weeds from germinating.
- Conserves moisture during dry winter spells.
Best Mulch Materials:
- Straw or Hay: Great for vegetable beds.
- Shredded Leaves: Free, abundant, and effective.
- Wood Chips or Bark: Ideal for perennial beds.
Apply a 2–4 inch layer of mulch over bare soil. For perennial plants, mound mulch around the base to protect crowns and roots.
Step 5: Test and Balance Soil pH
Winter is the perfect time to correct soil imbalances, since amendments have months to break down and take effect.
- Test Your Soil: Use a simple soil testing kit or send samples to your local extension service.
- Adjust pH:
- Add lime to raise pH in acidic soils.
- Add sulfur to lower pH in alkaline soils.
- Incorporate Fertilizers: Phosphorus and potassium work best when added in fall.
Correcting imbalances now ensures nutrients are readily available for spring planting.
Step 6: Protect Perennials and Bulbs
If you have perennial herbs, flowers, or bulb plants in your garden beds, take extra care to protect them.
Tips:
- Cut Back Dead Growth: Trim perennials like daylilies, hostas, and coneflowers.
- Divide and Replant: Fall is the best time to divide crowded perennials.
- Insulate Bulbs: Add a thick mulch layer over tulips, daffodils, or garlic to prevent frost damage.
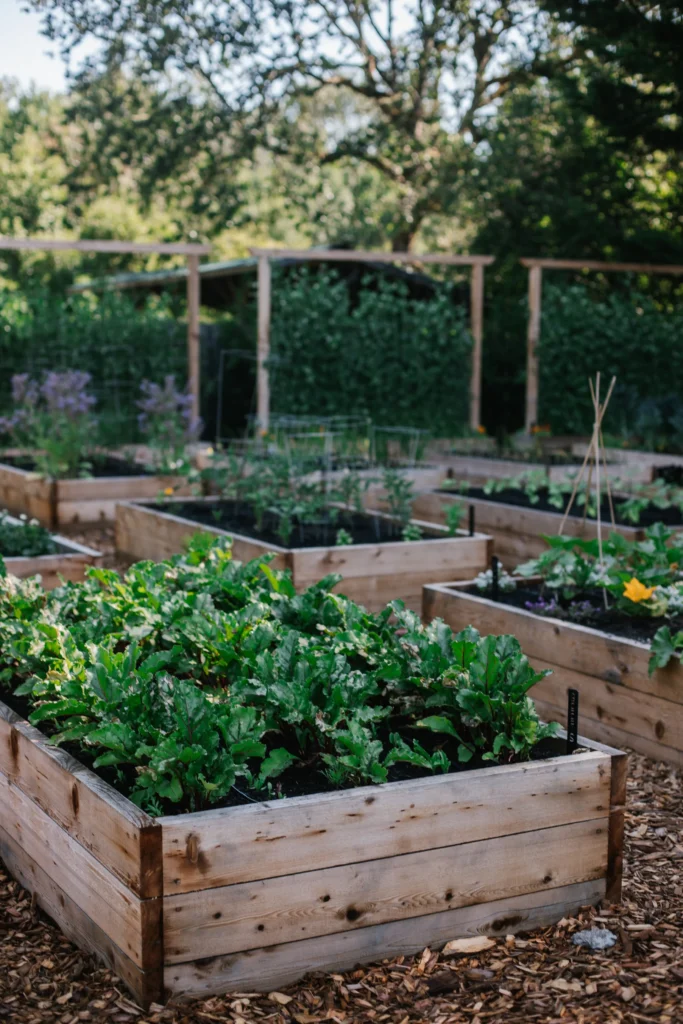
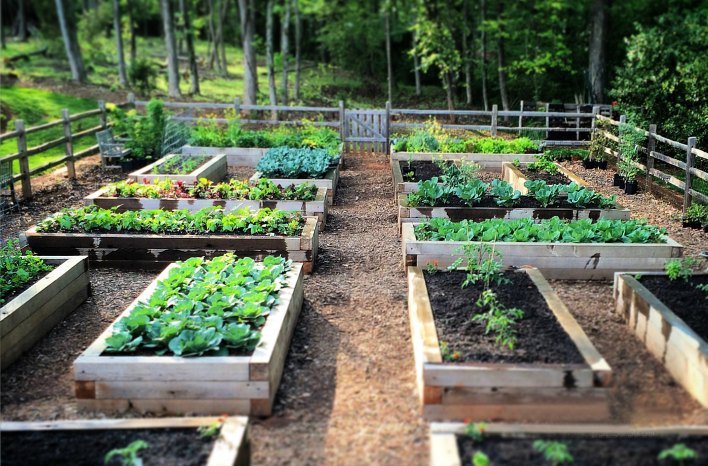
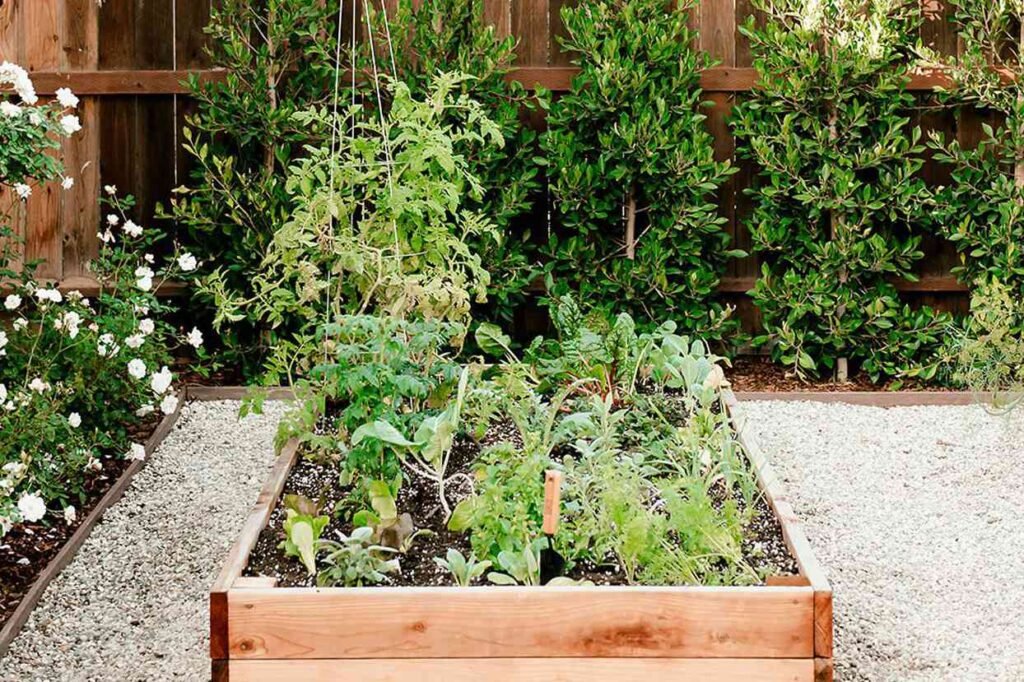
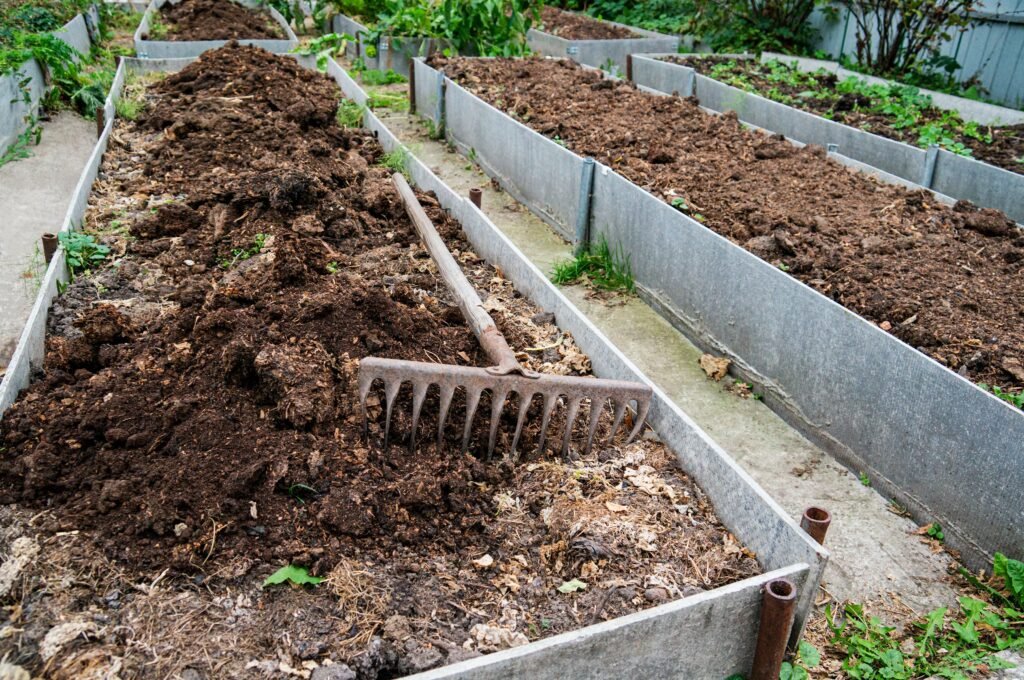
Step 7: Prepare Raised Beds and Containers
Raised beds and containers need special care before winter.
- Empty Containers: Dump out annuals and store containers indoors to prevent cracking from frost.
- Top Off Raised Beds: Add compost and mulch to raised beds to prevent nutrient loss.
- Cover with Tarp: Protect unused beds with a breathable tarp or frost cloth to reduce erosion and weed growth.
Step 8: Plan Ahead for Spring
Use this downtime to plan your next growing season. Winter-prepped beds make planting easier and more enjoyable.
- Sketch out next year’s garden layout.
- Rotate crops to avoid soil-borne diseases.
- Keep a journal of what worked well this year and what didn’t.
Bonus Tips for Winter Garden Success
- Install Cold Frames or Row Covers: If you’d like to extend your growing season, use cold frames or frost cloth to shelter hardy greens like kale and spinach.
- Water Before Freeze: Give soil a deep watering before the ground freezes to keep roots hydrated.
- Label Beds: Use weatherproof markers to identify where perennials, bulbs, or overwintering crops are planted.
Conclusion
Preparing your garden beds before winter is more than just tidying up—it’s about investing in the health and productivity of your soil and plants for the seasons ahead. By clearing debris, enriching the soil, planting cover crops, mulching, and protecting perennials, you’ll set the stage for a flourishing spring garden.
Instead of viewing winter as an ending, think of it as a time of renewal and rest for your garden. The care you put in now ensures that when the first signs of spring arrive, your garden will be ready to thrive.
So grab your rake, gather those fallen leaves, and give your garden beds the attention they deserve before winter hits—you’ll thank yourself when everything bursts back to life next year.