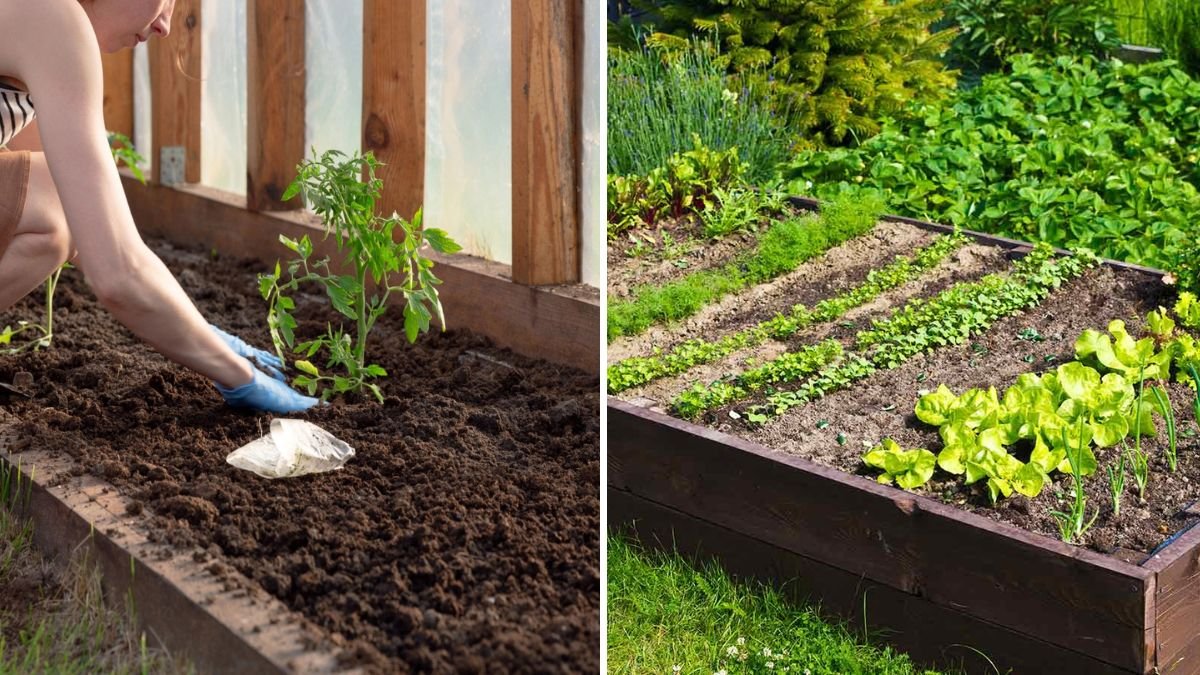
Spring is the most exciting time for gardeners. After months of dormancy, plants awaken, soils thaw, and the opportunity for vibrant growth begins. However, the secret to a successful spring garden starts well before the first seed is sown. Proper preparation of garden beds ensures healthy soil, strong plant growth, and abundant harvests throughout the growing season.
This guide outlines step-by-step strategies to prepare your garden beds for spring planting, including soil preparation, fertility management, pest control, and bed design. By investing time and effort now, you set the stage for a thriving, productive garden.
1. Clear and Clean Your Garden Beds
Before doing anything else, start by removing winter debris:
- Dead plant material: Cut back last season’s perennials, shrubs, and spent annuals.
- Weeds: Pull out weeds, including roots, to prevent early spring competition.
- Fallen leaves and branches: Rake up debris to improve airflow and sunlight penetration.
Benefits:
- Reduces disease and pest pressure.
- Prevents weeds from sprouting early.
- Creates a clean slate for planting and soil amendments.
Tip: Compost healthy plant material to recycle nutrients, but discard any diseased or moldy debris to avoid contamination.
2. Test and Improve Your Soil
Healthy soil is the foundation of a successful garden. Spring preparation includes testing soil fertility and structure.
Soil Testing:
- Use a home soil test kit or send a sample to a local extension service.
- Measure pH levels, nutrient content, and organic matter.
Amending Soil:
- pH adjustment: Most vegetables thrive in soil with pH 6.0–7.0. Add lime to raise pH or sulfur to lower it.
- Nutrient enrichment: Incorporate compost, aged manure, or organic fertilizers to replenish essential nutrients.
- Soil structure: Add sand or perlite to improve drainage in clay soils, or add compost to retain moisture in sandy soils.
Benefits:
- Ensures plants have access to the nutrients they need.
- Improves root development and water retention.
- Reduces stress on young seedlings.
Tip: Work amendments into the soil at least two weeks before planting to allow nutrients to integrate.
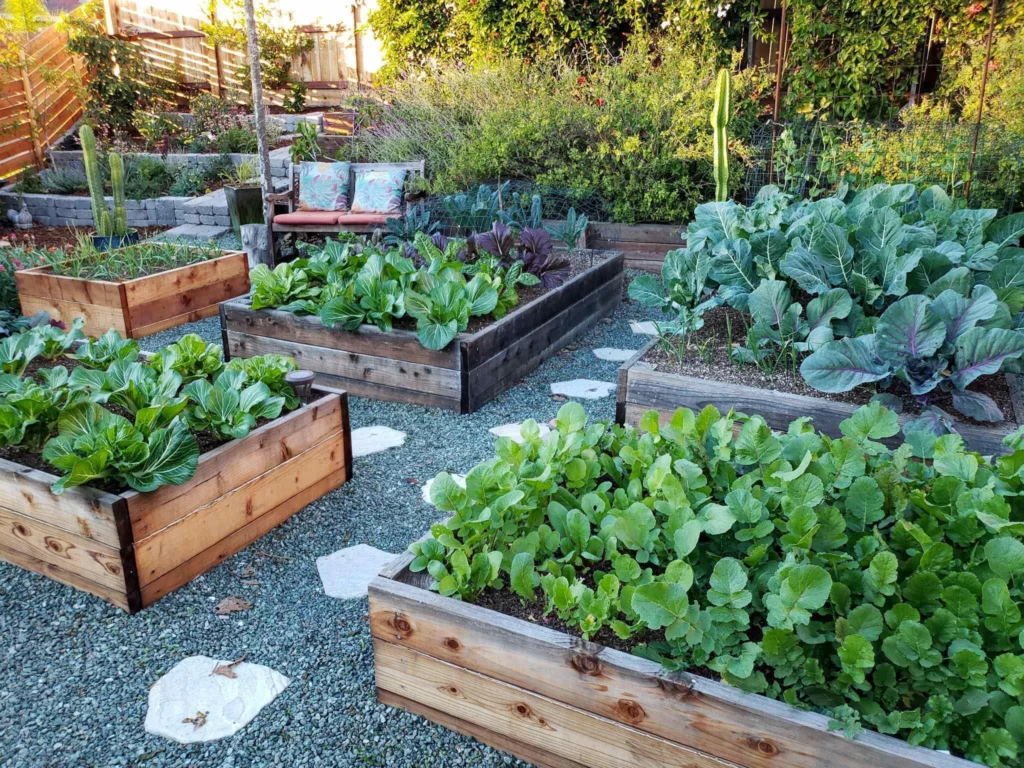
3. Loosen and Aerate the Soil
Compacted soil hinders root growth and water penetration. Aeration and loosening in early spring create an optimal environment for seeds and transplants.
Methods:
- Hand tools: Use a garden fork or spade to turn and loosen the soil.
- Tilling: For larger beds, consider shallow tilling, but avoid over-tilling, which can disrupt soil structure.
- Raised beds: If using raised beds, simply fluff the soil surface and mix in compost or organic matter.
Benefits:
- Promotes root penetration and stronger plants.
- Enhances oxygen circulation and microbial activity.
- Facilitates drainage, preventing waterlogged roots.
Tip: Avoid working soil when it’s soggy, as this can compact the soil further and damage structure.
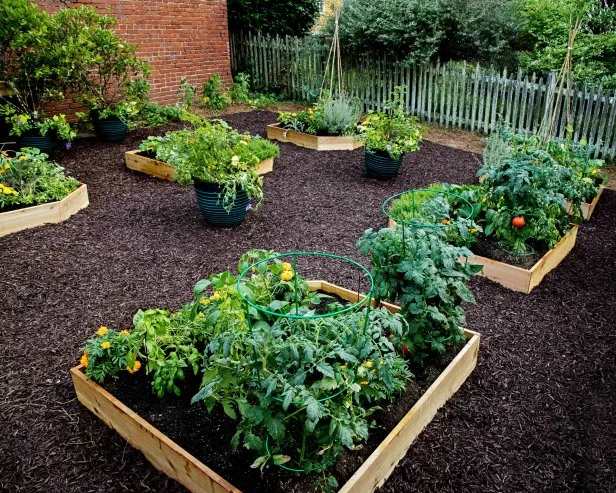
4. Plan Your Garden Layout
Before planting, plan the layout of your spring garden:
- Crop rotation: Avoid planting the same family in the same bed as last year to prevent disease and nutrient depletion.
- Spacing: Ensure adequate space for each plant to grow, preventing overcrowding and improving airflow.
- Companion planting: Strategically pair crops that benefit each other, such as tomatoes with basil or carrots with onions.
- Sunlight and microclimates: Position taller plants where they won’t shade shorter crops, and consider frost-prone areas.
Benefits:
- Maximizes yield and reduces disease.
- Improves sunlight exposure and nutrient use efficiency.
- Encourages beneficial insect activity and pollination.
Tip: Sketch your garden layout on paper to visualize spacing, rotation, and companion planting combinations.
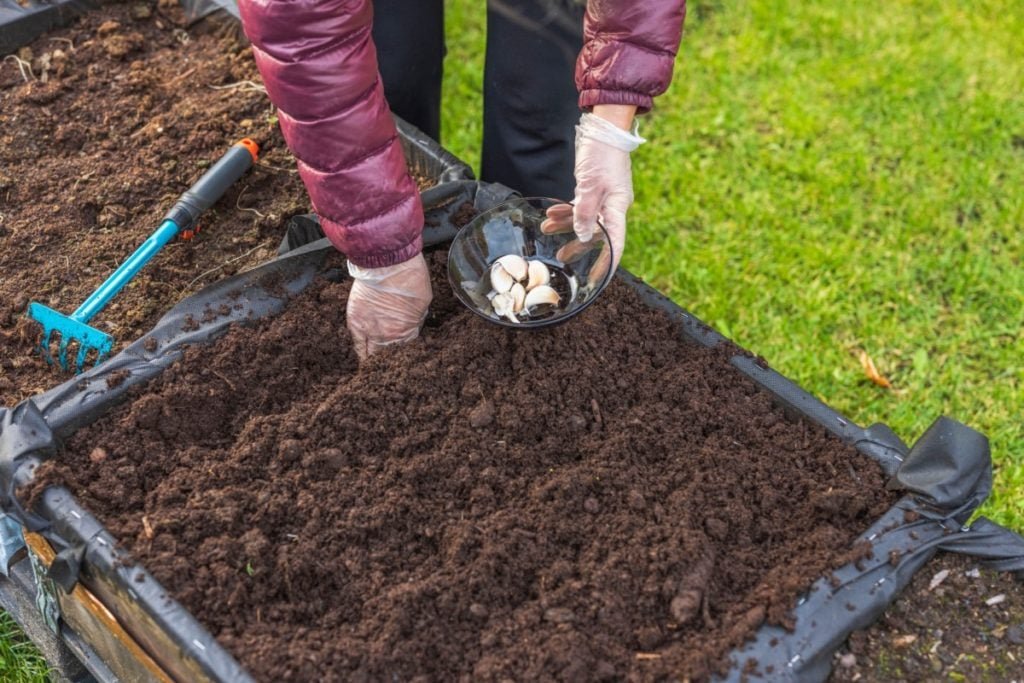
5. Add Organic Matter
Adding organic matter improves soil fertility, structure, and moisture retention:
- Compost: Rich in nutrients and beneficial microbes.
- Aged manure: Supplies nitrogen and other essential nutrients.
- Leaf mold: Enhances water-holding capacity and soil structure.
- Green manures/cover crops: Planting cover crops like clover or vetch in late winter can be turned into the soil in early spring.
Benefits:
- Supports vigorous plant growth.
- Enhances microbial life in the soil.
- Improves moisture retention and nutrient cycling.
Tip: Mix organic matter thoroughly into the top 6–8 inches of soil to ensure even distribution.
6. Address Pest and Disease Issues
Spring is the perfect time to reduce pest and disease pressure before new plants emerge:
- Inspect soil and beds: Remove diseased plants, fallen leaves, and crop residues.
- Beneficial insects: Encourage ladybugs, lacewings, and earthworms to naturally control pests.
- Organic treatments: Apply dormant oils or neem oil to control overwintering pests on shrubs and trees.
- Crop rotation: Avoid planting related crops in the same spot to prevent soil-borne diseases.
Benefits:
- Reduces early-season infestations.
- Encourages healthy, resilient plants.
- Minimizes the need for chemical interventions.
Tip: Mulching after planting can also help deter pests while conserving moisture.
7. Prepare Garden Beds for Frost Protection
Early spring can still bring frost, which may damage young seedlings:
- Row covers: Lightweight fabric protects plants from cold snaps while allowing sunlight and rain through.
- Mulching: Straw or leaf mulch provides insulation and retains warmth in the soil.
- Cold frames or cloches: Ideal for starting seeds or protecting delicate crops like lettuce, tomatoes, and peppers.
Benefits:
- Extends the growing season by protecting tender seedlings.
- Reduces stress from fluctuating temperatures.
- Ensures faster, more consistent growth in early spring.
Tip: Remove protective covers during sunny days to prevent overheating and provide airflow.
8. Plan for Irrigation and Drainage
Proper water management is essential for spring garden success:
- Check drainage: Ensure garden beds do not have standing water, as soggy soil can rot roots.
- Install irrigation: Consider drip systems or soaker hoses for consistent moisture.
- Mulch beds: Conserves water and reduces evaporation.
- Monitor rainfall: Adjust watering schedules according to weather conditions.
Benefits:
- Provides consistent moisture for seed germination and transplant growth.
- Reduces water stress and improves overall plant health.
- Saves time and effort with efficient watering systems.
Tip: Early morning watering is best to reduce evaporation and allow plants to dry before nightfall.
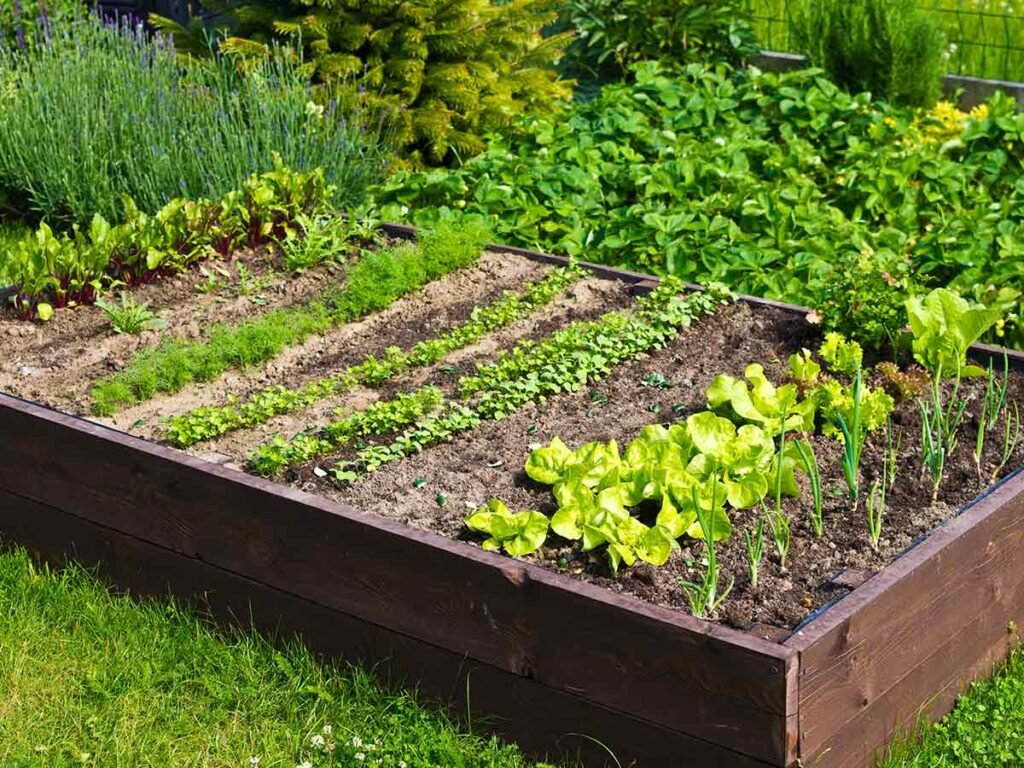
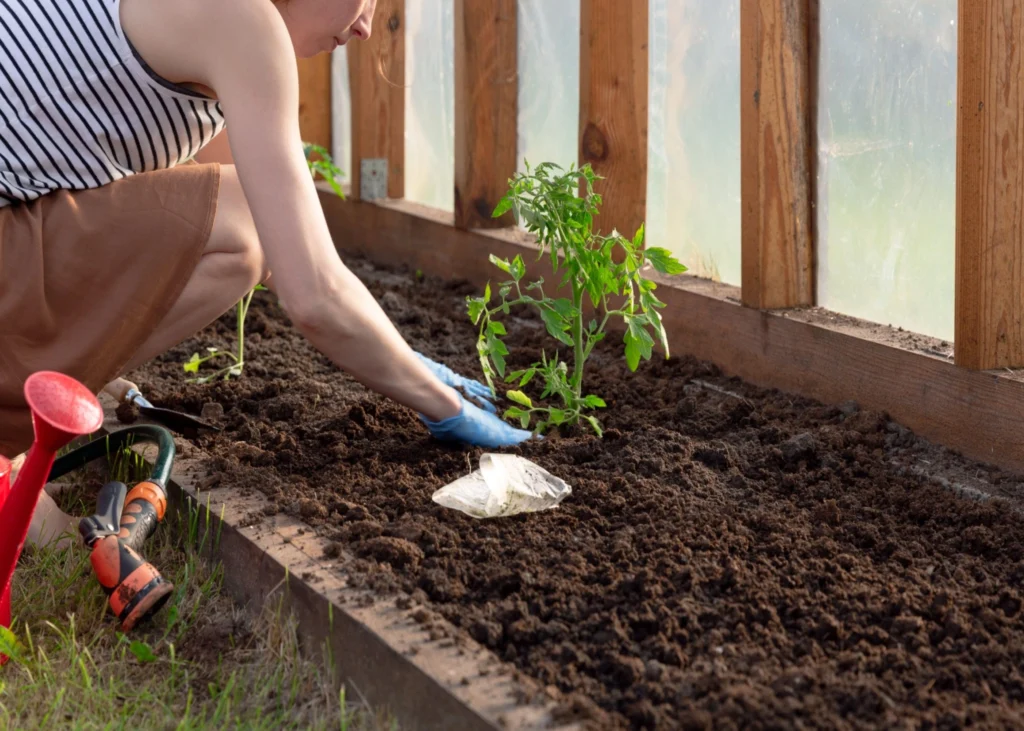
9. Seed Starting and Transplant Preparation
Spring preparation often involves starting seeds indoors or preparing transplants for outdoor planting:
- Indoor seed starting: Begin seeds 6–8 weeks before the last frost date to give seedlings a head start.
- Hardening off: Gradually acclimate indoor seedlings to outdoor conditions by exposing them to sunlight and outdoor temperatures for increasing periods over 7–10 days.
- Direct sowing: Prepare garden beds with loose, fertile soil for seeds that are sown directly, such as peas, carrots, and radishes.
Benefits:
- Extends the growing season and increases yields.
- Ensures strong, healthy seedlings that are less susceptible to transplant shock.
- Allows for staggered planting for continuous harvests.
Tip: Label seedlings clearly to avoid confusion during transplanting.
10. Benefits of Preparing Garden Beds in Advance
Investing time in bed preparation before planting has numerous advantages:
- Healthy soil: Well-amended soil supports vigorous root growth and high yields.
- Reduced pest pressure: Cleaning and rotating crops prevent early infestations and diseases.
- Efficient watering and nutrient use: Proper preparation improves water retention and nutrient availability.
- Time-saving: Once beds are prepared, planting and maintenance are easier and more enjoyable.
- Optimized plant health: Plants establish quickly, resist stress, and produce abundant harvests.
Tip: Keep a garden journal to track amendments, planting dates, and harvests for continuous improvement each year.
Conclusion
Preparing garden beds for spring planting is essential for a successful and productive growing season. By clearing debris, testing and amending soil, aerating beds, planning layouts, adding organic matter, managing pests, and protecting against frost, gardeners create optimal conditions for strong, healthy plants.
Spring gardening is not just about planting seeds—it’s about setting the stage for long-term success. Proper preparation ensures that your garden thrives, producing vibrant flowers, vegetables, and herbs throughout the season.
With careful planning, attention to soil health, and thoughtful pest management, your spring garden beds can become a flourishing paradise, yielding abundant crops, reducing maintenance challenges, and providing immense satisfaction to every gardener.