Aloe vera is one of the most beloved succulents worldwide. Not only is it easy to grow, but its leaves contain a gel renowned for soothing burns, moisturizing skin, and supporting overall wellness. If you’ve ever wished for a never-ending supply of aloe vera plants, propagation is the key. By learning the right techniques, you can multiply your plants efficiently and sustainably, keeping your home garden lush and healthy.
This guide covers everything you need to know about propagating aloe vera, including identifying offsets, soil requirements, container selection, and step-by-step propagation methods.
1. Understanding Aloe Vera Growth
Before attempting propagation, it’s important to understand how aloe vera grows:
- Perennial succulent: Aloe vera is a hardy perennial that grows in rosettes with thick, fleshy leaves.
- Offsets (pups): Aloe vera produces small offshoots, or “pups,” at the base of the parent plant. These pups are genetically identical to the parent and are the easiest way to propagate new plants.
- Root system: Aloe has shallow roots that spread horizontally, making it important to provide well-draining soil and sufficient space for propagation.
Understanding these growth patterns helps you identify the best candidates for propagation and ensures higher success rates.
2. Best Time to Propagate Aloe Vera
Timing is crucial for successful propagation:
- Spring or early summer: Aloe vera grows actively during warmer months, making this the ideal time for propagation.
- Avoid winter propagation: During colder months, aloe is often dormant, and propagation success decreases.
Tip: Propagating during the plant’s active growth period ensures the new plants establish quickly and remain healthy.
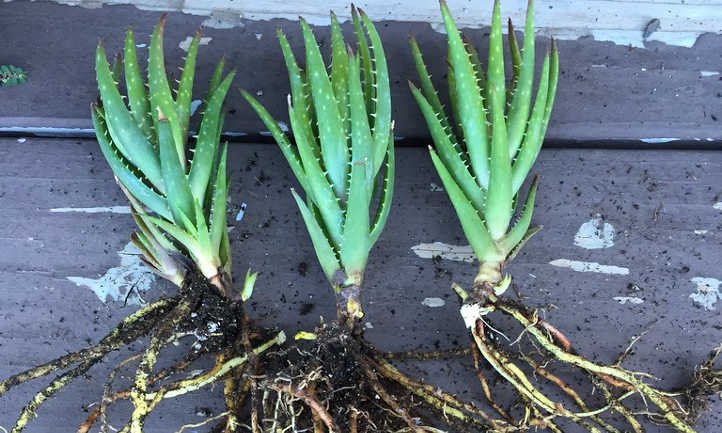
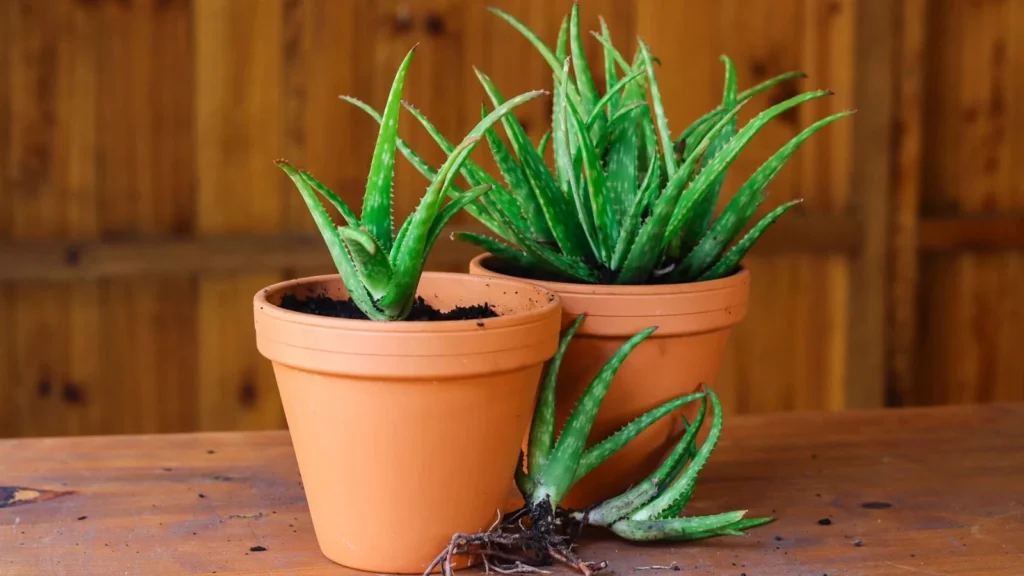
3. Identifying Healthy Offsets
Aloe vera offsets are small plants that grow near the base of the parent plant. Look for:
- Size: Pups should be at least 3–4 inches tall to survive independently.
- Root development: Check for visible roots emerging from the base of the pup. Rooted pups have a higher success rate when transplanted.
- Health: Choose offsets with firm, green leaves free from yellowing or disease.
Tip: Avoid separating pups that are too small or weak, as they may not survive.
4. Preparing for Propagation
Proper preparation ensures smooth transplantation:
- Tools: Use a clean, sharp knife or gardening shears to separate pups from the parent plant.
- Soil: Use a well-draining succulent or cactus mix. You can add sand or perlite for extra drainage.
- Containers: Choose small pots with drainage holes to prevent waterlogging.
Tip: Sterilizing your cutting tool reduces the risk of infection and fungal growth.
5. Step-by-Step Aloe Vera Propagation
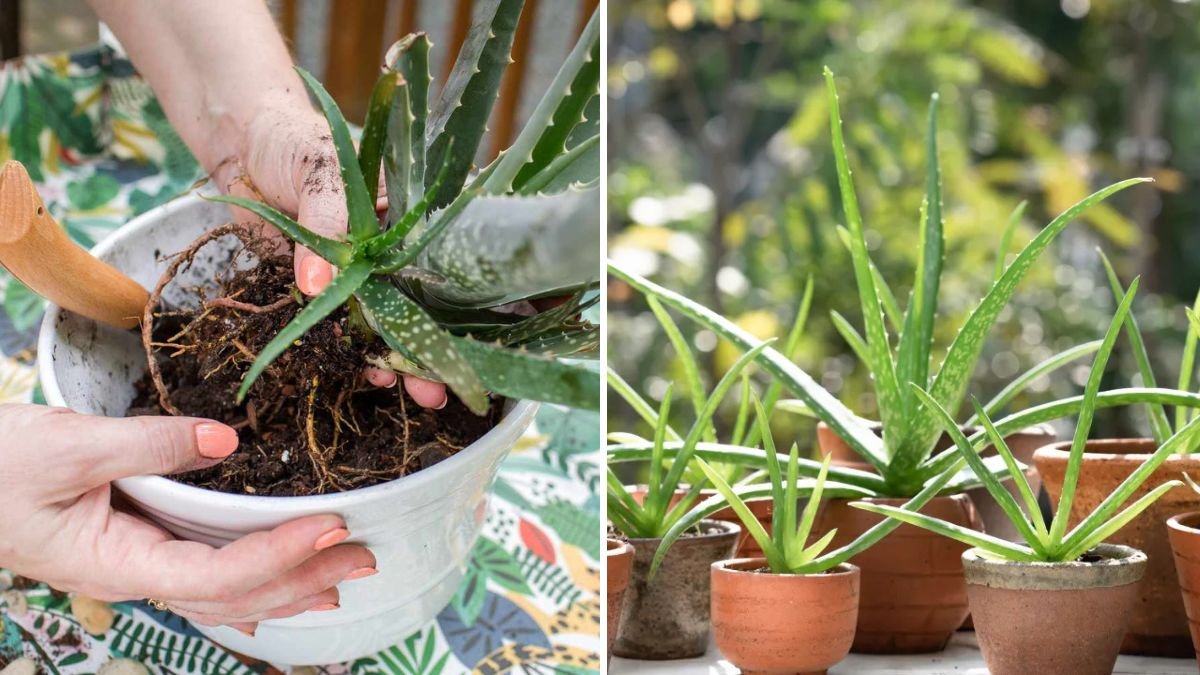
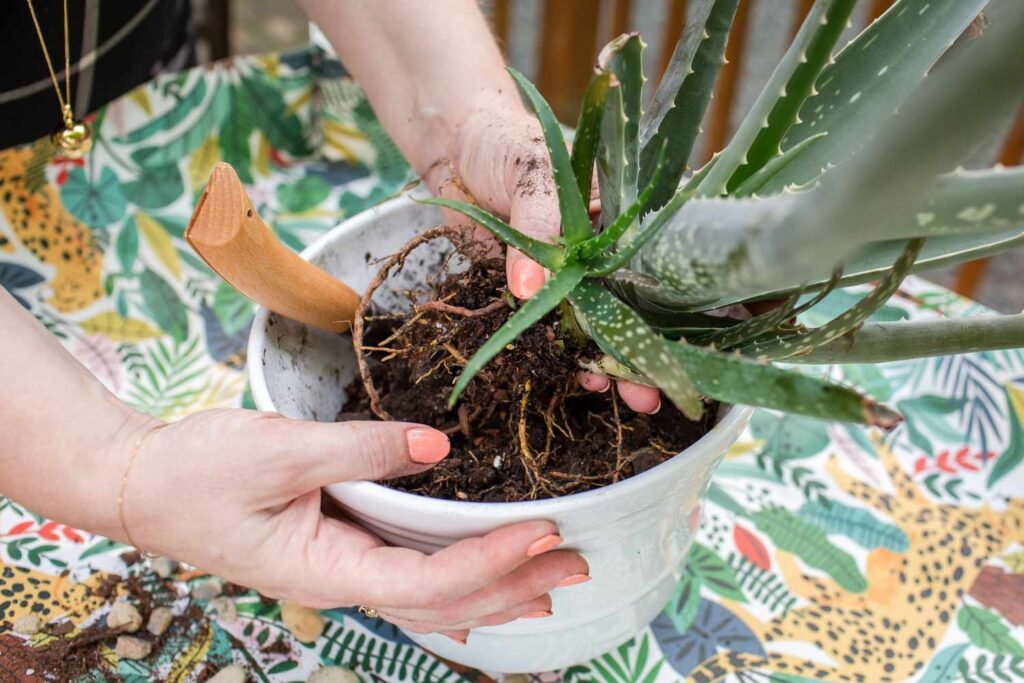
5.1 Separating Offsets
- Remove the parent plant from its pot gently.
- Brush away excess soil to expose the roots and pups.
- Identify offsets with healthy roots.
- Using a sharp, sterilized knife, carefully separate the pup from the parent plant, ensuring some roots remain attached.
5.2 Healing the Cuts
- Let the separated pups dry in a shaded area for 24–48 hours.
- Allow the cut edges to callous over; this prevents rot when planted.
5.3 Planting Pups
- Fill a small pot with well-draining soil.
- Plant the pup, burying the roots but keeping the leaves above the soil.
- Press soil gently around the base for stability.
- Water lightly, allowing the soil to settle.
Tip: Avoid overwatering after planting; aloe pups are susceptible to root rot.
6. Watering New Aloe Plants
Watering is critical during the first few weeks:
- First week: Avoid watering to allow roots to recover from separation.
- After establishment: Water sparingly, allowing the soil to dry between waterings.
- Seasonal adjustments: Water more during active growth (spring/summer) and reduce in winter.
Tip: Aloe thrives on neglect; underwatering is better than overwatering.
7. Light Requirements for Propagated Aloe
Light is crucial for healthy growth:
- Indirect sunlight: Place young aloe plants in bright, indirect light initially to prevent sunburn.
- Gradual acclimation: Slowly introduce them to more direct sunlight over 1–2 weeks.
- Optimal sunlight: Aloe grows best with 6–8 hours of bright, indirect sunlight daily.
Tip: Avoid sudden exposure to harsh sun, which can scorch tender leaves.
8. Fertilizing Young Aloe Plants
Fertilizing helps new plants establish stronger roots:
- Use a balanced, water-soluble fertilizer diluted to half strength.
- Fertilize once a month during active growth.
- Avoid over-fertilization, which can damage roots or cause weak, leggy growth.
Tip: Young aloe plants are sensitive; minimal fertilization is better than excessive feeding.
9. Common Mistakes in Aloe Propagation
Mistake 1: Separating pups too early
- Solution: Wait until offsets are at least 3–4 inches tall with visible roots.
Mistake 2: Planting in heavy soil
- Solution: Use a well-draining succulent or cactus mix to prevent rot.
Mistake 3: Overwatering
- Solution: Allow soil to dry completely between waterings.
Mistake 4: Exposing to harsh sunlight too soon
- Solution: Gradually acclimate new plants to direct light.
Tip: Paying attention to these details dramatically increases your propagation success.
10. Alternative Propagation Methods
While offsets are the easiest method, aloe vera can also be propagated via:
- Leaf cuttings: Less reliable, as aloe leaves often fail to root.
- Seed propagation: Slow and requires patience, usually taking months to grow into mature plants.
Tip: For beginners, offsets are the most reliable and fastest way to multiply aloe vera.
11. Caring for Newly Propagated Aloe
- Monitor soil moisture: Ensure soil is dry before watering.
- Avoid fertilizing too early: Wait until the plant establishes a strong root system.
- Provide stable temperature: Keep plants in 60–75°F (15–24°C) range.
- Watch for pests: Mealybugs occasionally target aloe; treat promptly.
Tip: Patience is key—new aloe plants take several weeks to establish and grow steadily.
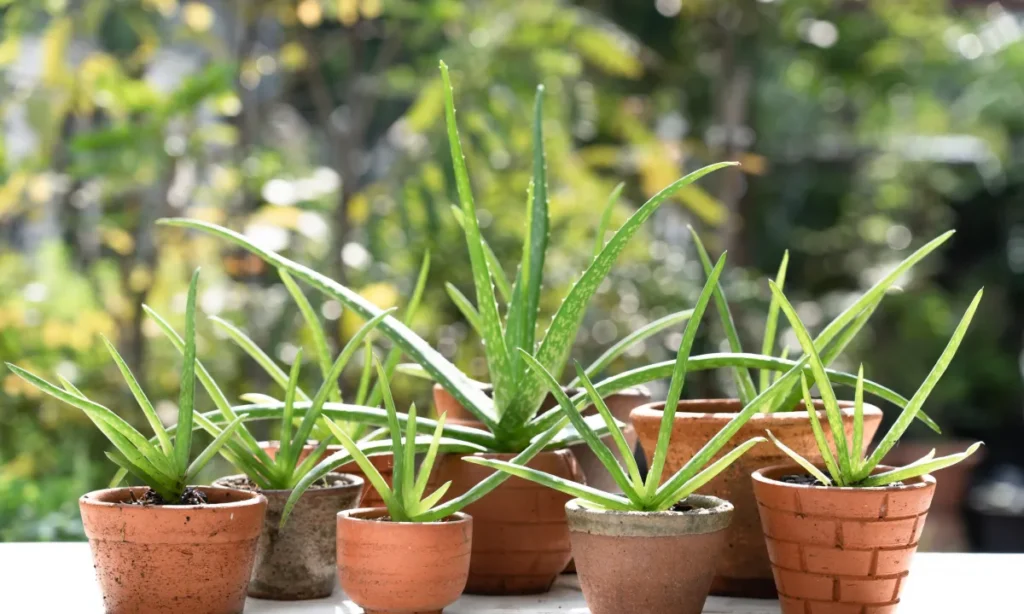
12. Benefits of Propagating Aloe Vera
- Endless supply: Enjoy multiple plants for your home, garden, or gifting.
- Cost-effective: Propagation is cheaper than buying new plants.
- Healthy growth: Separating pups allows the parent plant more space to thrive.
- Versatility: Propagated plants can be used indoors, in container gardens, or outdoor beds.
Tip: A well-maintained aloe garden ensures you always have fresh leaves for culinary, medicinal, and cosmetic uses.
13. Decorative and Functional Uses
Propagated aloe can enhance both your home decor and daily routines:
- Indoor display: Brighten windowsills, countertops, and shelves.
- Outdoor planting: Create drought-tolerant garden borders.
- Health applications: Fresh leaves can be used for soothing burns, moisturizing skin, and adding natural nutrients to smoothies.
- Gifting: Propagated aloe plants make thoughtful and practical gifts.
Tip: Pair aloe with other succulents in containers for a beautiful, low-maintenance arrangement.
14. Final Thoughts
Propagating aloe vera is a simple, rewarding process that allows you to multiply your plants and enjoy their benefits year-round. By following best practices—selecting healthy offsets, preparing soil and containers properly, watering carefully, and providing adequate light—you can create a thriving aloe garden with minimal effort.
Key takeaways:
- Propagate using offsets or pups for the highest success rate.
- Wait until pups are 3–4 inches tall with visible roots.
- Use well-draining soil and pots with drainage holes.
- Water sparingly, allow cuts to callous, and gradually acclimate new plants to sunlight.
- Practice patience and careful observation to ensure healthy, long-lasting plants.
With these steps, you can enjoy an endless supply of aloe vera—a beautiful, practical, and healthful addition to any home.