Repotting balcony plants is an essential part of container gardening. It promotes healthy growth, prevents root-bound conditions, replenishes soil nutrients, and keeps plants thriving in limited spaces. However, many gardeners hesitate to repot due to the potential mess, heavy soil handling, and the delicate process of handling roots and containers. With careful planning, the right tools, and organized techniques, repotting can be efficient, clean, and stress-free.
This article explores how to repot balcony plants without mess, covering preparation, plant selection, container choice, soil, step-by-step repotting techniques, and aftercare for optimal plant health.
1. Understanding the Importance of Repotting
Repotting balcony plants is more than moving a plant from one container to another. It benefits plants in several ways:
- Encourages Growth: Fresh soil provides essential nutrients, supporting lush foliage and blooms.
- Prevents Root-Bound Problems: Roots that circle tightly in a pot can stunt growth.
- Improves Drainage and Aeration: New soil ensures water and air reach roots efficiently.
- Allows Plant Division: Some perennials and herbs can be divided to create multiple plants.
- Enhances Aesthetics: Clean containers and refreshed soil improve the visual appeal of your balcony garden.
Understanding these benefits makes repotting a crucial part of balcony plant maintenance.
2. Signs That Your Balcony Plants Need Repotting
Before starting, identify whether your plants need repotting:
- Roots Growing Through Drainage Holes: Indicates the plant has outgrown its current pot.
- Stunted Growth: Slow growth despite proper care may suggest depleted nutrients.
- Soil Compaction: Soil that dries quickly or hardens, reducing moisture retention.
- Yellowing or Drooping Leaves: A sign of nutrient deficiency or poor root health.
- Top-Heavy or Tipped Plants: Indicates the plant has grown too large for its container.
Recognizing these signs ensures repotting is timely and effective.
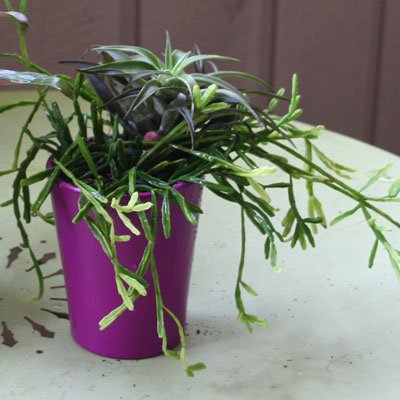
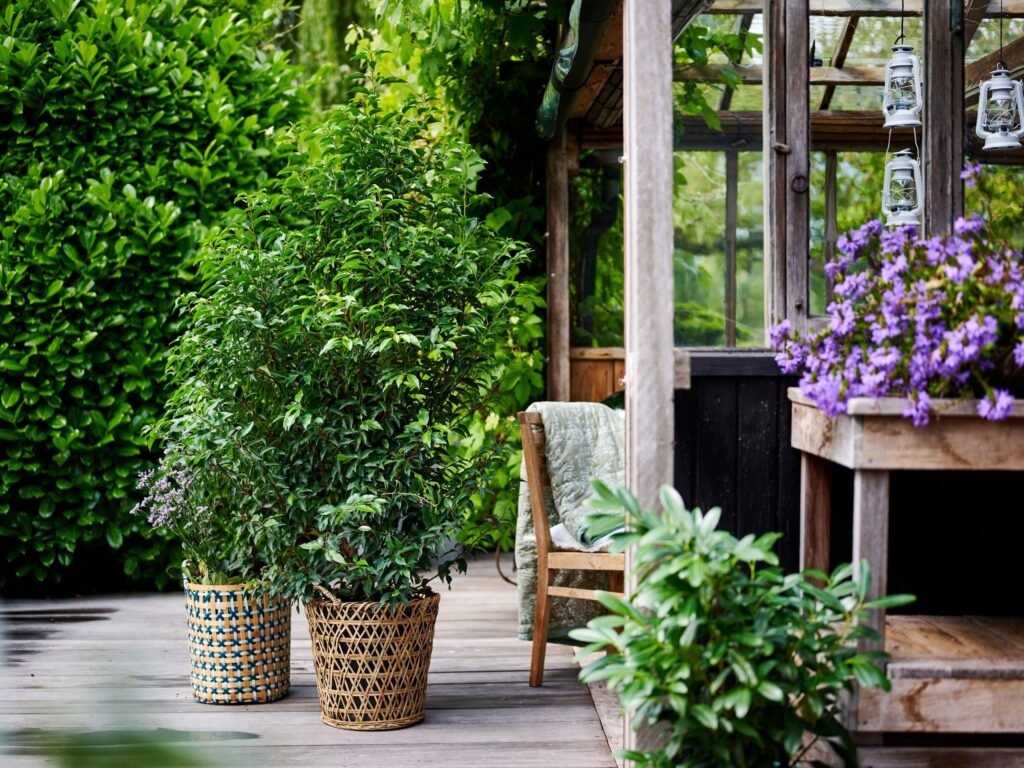
3. Selecting the Right Containers
Choosing appropriate containers minimizes mess and supports healthy growth:
- Material: Plastic, terracotta, ceramic, or self-watering pots. Plastic is lightweight and easy to clean; terracotta allows breathability but can be heavier.
- Size: Move up one to two sizes larger than the current pot to give roots space to grow. Avoid excessively large pots to prevent waterlogging.
- Drainage: Ensure containers have sufficient holes to prevent standing water.
- Shape and Accessibility: Wide-mouthed pots make root handling easier and reduce soil spillage.
The right container supports root development, drainage, and clean repotting.
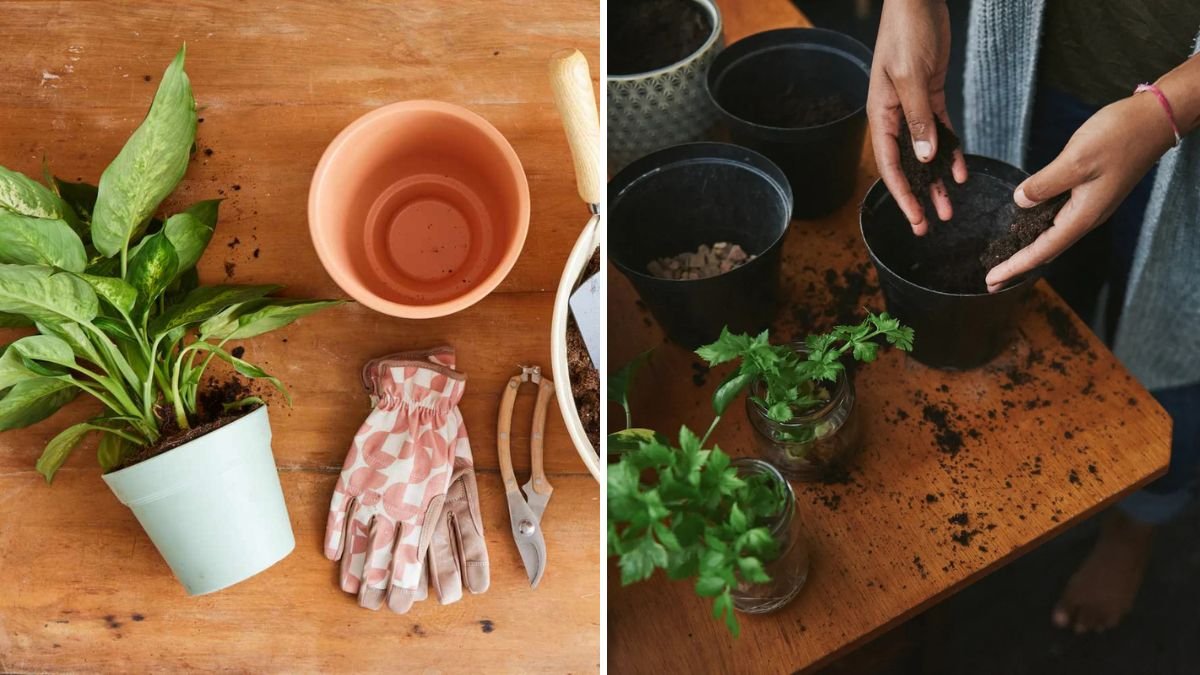
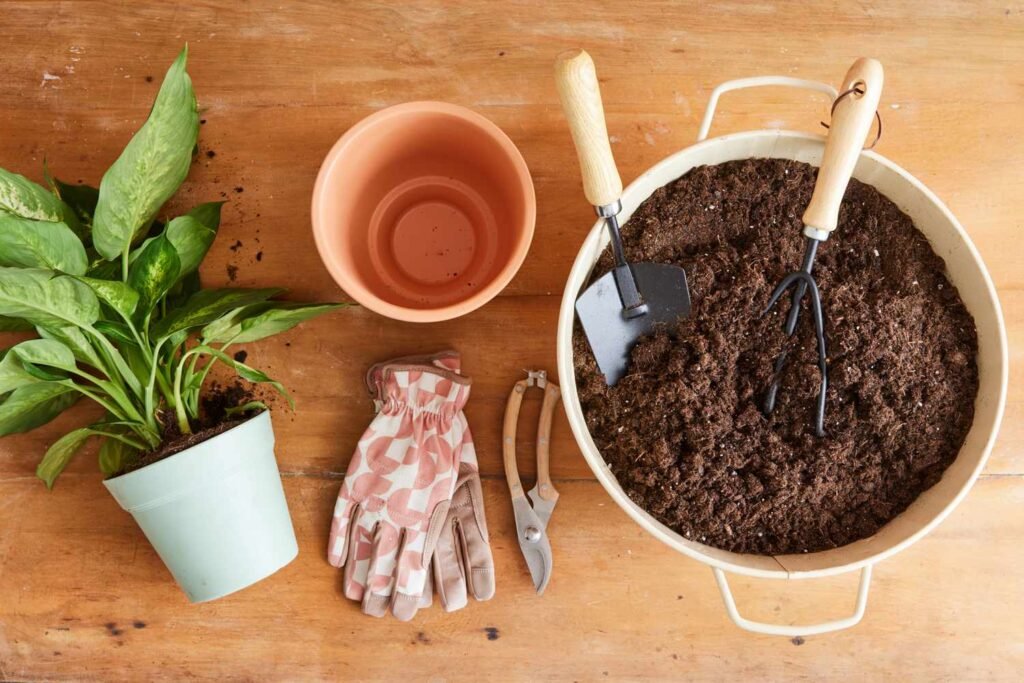
4. Preparing the Workspace
Proper preparation significantly reduces mess:
- Protect the Balcony Surface: Lay newspapers, plastic sheets, or trays under the pot.
- Gather Tools: Prepare gloves, small trowels, scissors, a watering can, and fresh potting soil.
- Have a Waste Container Ready: For old soil, dead roots, or plant debris.
- Pre-Moisten Soil: Slightly damp soil reduces dust and is easier to handle.
- Wear Gloves: Protects hands and reduces soil contact.
Organizing your workspace keeps the process clean, efficient, and stress-free.
5. Choosing the Right Potting Soil
Potting soil varies depending on plant type:
- General Potting Mix: Suitable for most flowering and foliage plants.
- Cactus or Succulent Mix: Fast-draining for plants sensitive to excess moisture.
- Herbs and Edibles: Nutrient-rich soil with good drainage and slightly acidic to neutral pH.
- Moisture-Retentive Mix: Includes coconut coir, peat moss, or compost for tropical foliage.
Fresh soil replenishes nutrients, improves water retention, and ensures strong, healthy roots.
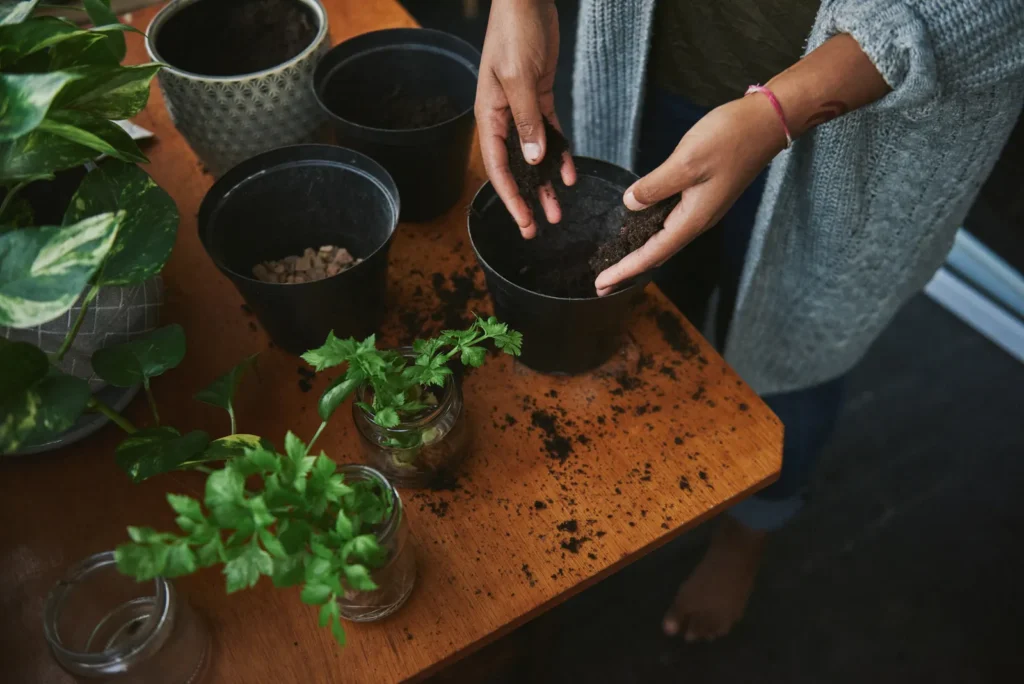
6. Step-by-Step Repotting Technique
Follow these steps for a mess-free repotting process:
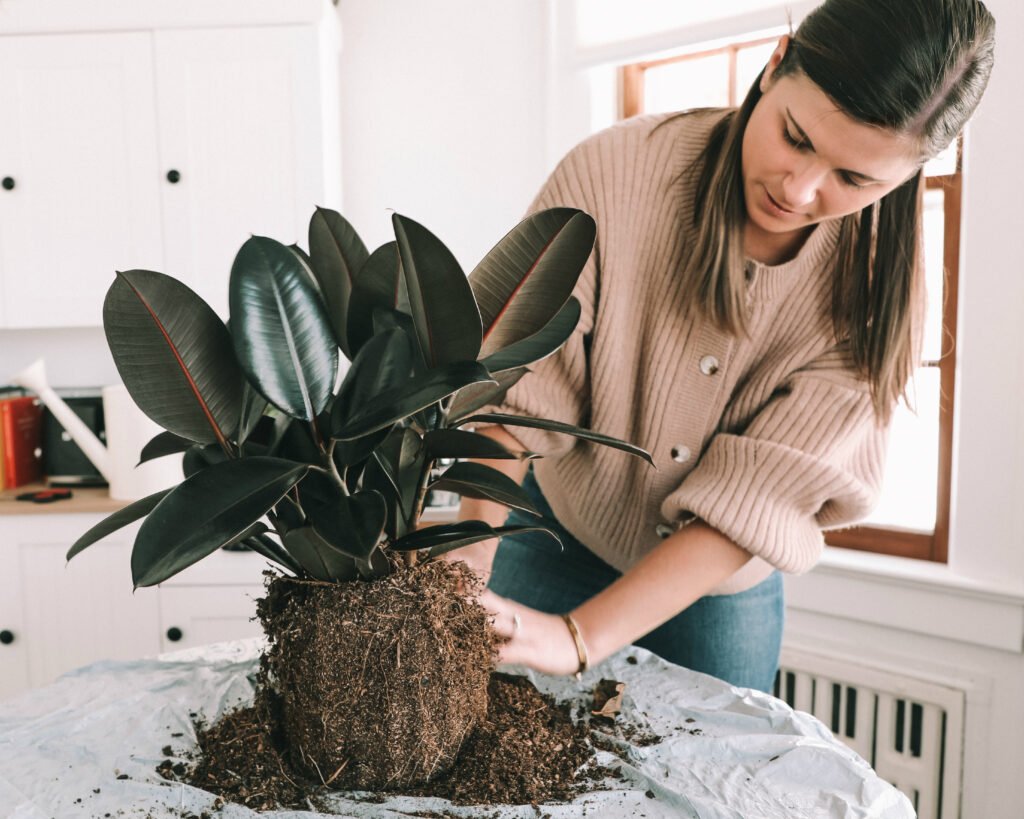
Step 1: Remove the Plant from Its Current Pot
- Water the plant lightly a day before to reduce stress.
- Gently tap the pot sides or use a trowel to loosen soil.
- Hold the plant at its base and carefully slide it out.
Step 2: Inspect and Prune Roots
- Check for circling or dead roots.
- Trim off brown, mushy, or damaged roots with clean scissors.
- Untangle tightly wound roots carefully to encourage outward growth.
Step 3: Prepare the New Pot
- Place a layer of fresh soil at the bottom.
- Position the plant centrally, ensuring the root crown sits slightly below the pot’s rim.
- Fill around the roots with soil, pressing lightly but not compacting excessively.
Step 4: Water and Settle
- Water thoroughly to help soil settle around roots.
- Add more soil if necessary after watering.
Step 5: Clean Up
- Remove spilled soil immediately.
- Wipe containers, surfaces, and tools to maintain a clean balcony.
7. Minimizing Mess During Repotting
Repotting can be clean if certain precautions are taken:
- Use a Tray or Basin: Contain loose soil and water within a tray.
- Pre-Mix Soil in a Bucket: Reduces spills during filling.
- Work Slowly: Avoid rushing, which can create dust and scattered soil.
- Layer Soil Gradually: Add soil in small increments to avoid overflow.
- Use Foldable Mats or Newspaper: Easy to fold and discard after work.
These techniques keep your balcony tidy and reduce post-repot cleanup.
8. Aftercare for Repotted Balcony Plants
Repotting stresses plants, so proper care is essential:
- Initial Shade: Keep plants out of harsh sun for a few days.
- Watering: Maintain consistent moisture but avoid waterlogging.
- Fertilization: Wait 2–3 weeks before applying fertilizers to allow roots to settle.
- Pruning and Shaping: Remove dead leaves and gently shape the plant.
- Monitoring: Watch for signs of shock, such as wilting or yellowing, and adjust care accordingly.
Correct aftercare ensures rapid recovery and strong growth.
9. Tips for Balcony-Specific Repotting
Balcony conditions require extra considerations:
- Wind Protection: Use stable containers or place against walls to prevent tipping.
- Drainage Management: Use saucers or trays to catch excess water, preventing mess.
- Compact Containers: Maximize space with tiered or vertical arrangements.
- Mobility: Choose lightweight or movable pots for easier handling during repotting.
- Seasonal Timing: Early spring or late winter is ideal for repotting most balcony plants.
These tips help maintain healthy plants while keeping the balcony clean.
10. Choosing the Right Tools
Using proper tools simplifies repotting:
- Hand Trowel: For digging and transferring soil.
- Scissors or Pruners: For trimming roots or damaged leaves.
- Watering Can with Fine Nozzle: Gentle watering to avoid soil displacement.
- Gloves: Protect hands from dirt and plant sap.
- Soil Scoop or Bucket: Convenient for transferring soil into containers.
The right tools make repotting quicker, cleaner, and safer.
11. Advantages of Mess-Free Repotting
Mess-free repotting offers several benefits:
- Time Efficiency: Saves time on cleanup.
- Reduced Stress: Cleaner process reduces stress for both plant and gardener.
- Healthy Plants: Proper techniques prevent root damage and disease.
- Aesthetic Preservation: Keeps balcony surfaces, furniture, and railings clean.
- Safety: Minimizes slips, spills, and accidents caused by scattered soil or water.
Following organized procedures ensures a pleasant gardening experience.
12. Common Mistakes to Avoid
- Overwatering Immediately: Can lead to root rot before roots acclimate.
- Using Oversized Pots: Causes excessive soil moisture retention and slower plant growth.
- Ignoring Root Inspection: Dead or circling roots reduce plant health.
- Rushing the Process: Hasty repotting increases mess and plant stress.
- Neglecting Aftercare: Failing to monitor newly repotted plants may stunt recovery.
Avoiding these mistakes ensures successful and mess-free repotting.
Conclusion
Repotting balcony plants doesn’t have to be a messy, daunting task. With careful planning, proper tools, organized workspace, and attention to soil, containers, and plant health, repotting can be an efficient, enjoyable, and clean process.
Understanding when to repot, selecting suitable containers and soil, and following step-by-step techniques ensures plants thrive without causing unnecessary dirt or stress. Attention to aftercare, seasonal considerations, and balcony-specific challenges guarantees healthy, lush plants and a tidy, inviting space.
By adopting mess-free methods, balcony gardeners can enjoy beautiful, thriving plants, enhanced aesthetics, and a stress-free gardening experience, turning even small urban spaces into vibrant green retreats.