
Urban living, limited outdoor space, and busy lifestyles have fueled the popularity of container gardening. Whether you live in an apartment, a townhouse, or simply lack a backyard, container gardening allows you to grow flowers, vegetables, and herbs in confined spaces like balconies, patios, or windowsills. The beauty of container gardening is that it can be done on a budget, using recycled materials, affordable soil, and simple DIY solutions. This article explores practical strategies to start a container garden on a budget, including container selection, soil preparation, plant choices, watering systems, and maintenance, providing a comprehensive guide for cost-conscious gardeners.
What is Container Gardening?

Container gardening is a method of growing plants in portable containers rather than in the ground. Containers can be pots, boxes, barrels, or any vessel capable of holding soil and supporting plant growth. This approach offers flexibility, mobility, and control over soil quality, making it ideal for small spaces, urban environments, and seasonal gardening.
Benefits of Container Gardening
- Space Efficiency: Grow plants in small areas such as balconies, patios, or rooftops.
- Soil Control: Customize soil types for specific plants without depending on garden soil.
- Mobility: Move containers to optimize sunlight exposure or protect plants from harsh weather.
- Pest and Disease Management: Reduced risk of soil-borne diseases and easier pest control.
- Cost-Effective: With smart choices, container gardening can be achieved with minimal investment.
Step 1: Choosing Containers on a Budget
Container selection is crucial and can significantly impact cost. Creative options include:
- Recycled Household Items: Old buckets, crates, jars, and even tin cans can serve as planters.
- Upcycled Pallets or Wooden Boxes: Convert broken furniture or pallets into stylish container gardens.
- Dollar Store Finds: Small pots and trays are inexpensive and versatile.
- Plastic Bottles and Jars: Cut or repurpose bottles as mini-planters for herbs or seedlings.
- Egg Cartons for Seedlings: Biodegradable and cost-free, perfect for starting seeds.
Tips: Ensure all containers have drainage holes to prevent root rot. If drainage is missing, drill small holes or create a makeshift layer of gravel or broken pottery at the bottom.
Step 2: Affordable Soil Preparation
Soil quality is key to container gardening success. While pre-packaged potting mixes can be expensive, budget-friendly alternatives exist:
- DIY Potting Mix: Combine garden soil, compost, and sand in a 2:1:1 ratio for nutrient-rich, well-draining soil.
- Compost: Use homemade compost from kitchen scraps for free organic matter.
- Coconut Coir or Peat: Affordable alternatives to enhance water retention and aeration.
- Leaf Mold: Collect fallen leaves, shred, and mix into soil for added nutrients.
Tips: Avoid using garden soil alone as it can compact in containers and reduce drainage.
Step 3: Selecting Cost-Effective Plants

Choosing plants that are inexpensive, easy to grow, and high-yielding helps stretch your budget.
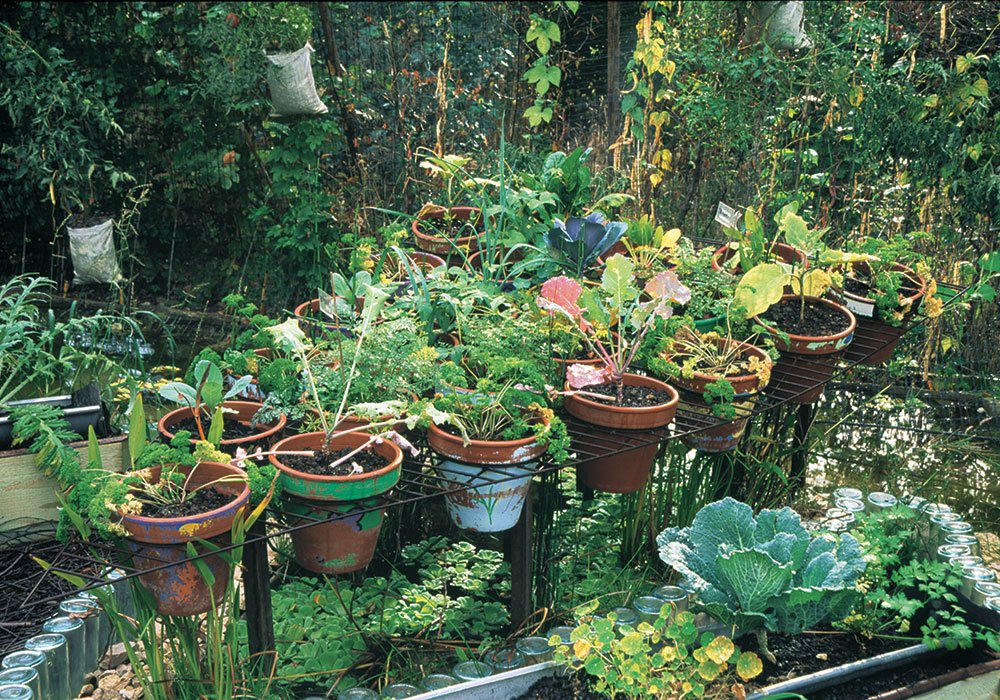
Vegetables and Herbs:
- Leafy Greens: Lettuce, spinach, kale—fast-growing and ideal for small containers.
- Herbs: Basil, mint, parsley, chives—low-cost, compact, and versatile.
- Radishes and Carrots: Small-rooted vegetables that thrive in shallow containers.
- Cherry Tomatoes and Peppers: Compact, high-yield varieties for limited spaces.
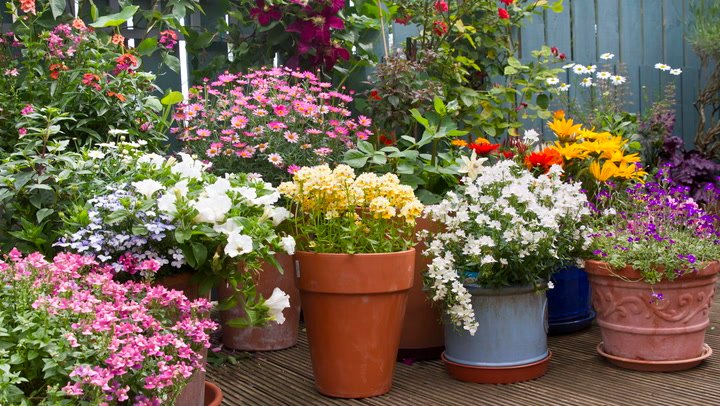
Flowers and Ornamentals:
- Marigolds, Pansies, and Petunias: Affordable, colorful, and resilient.
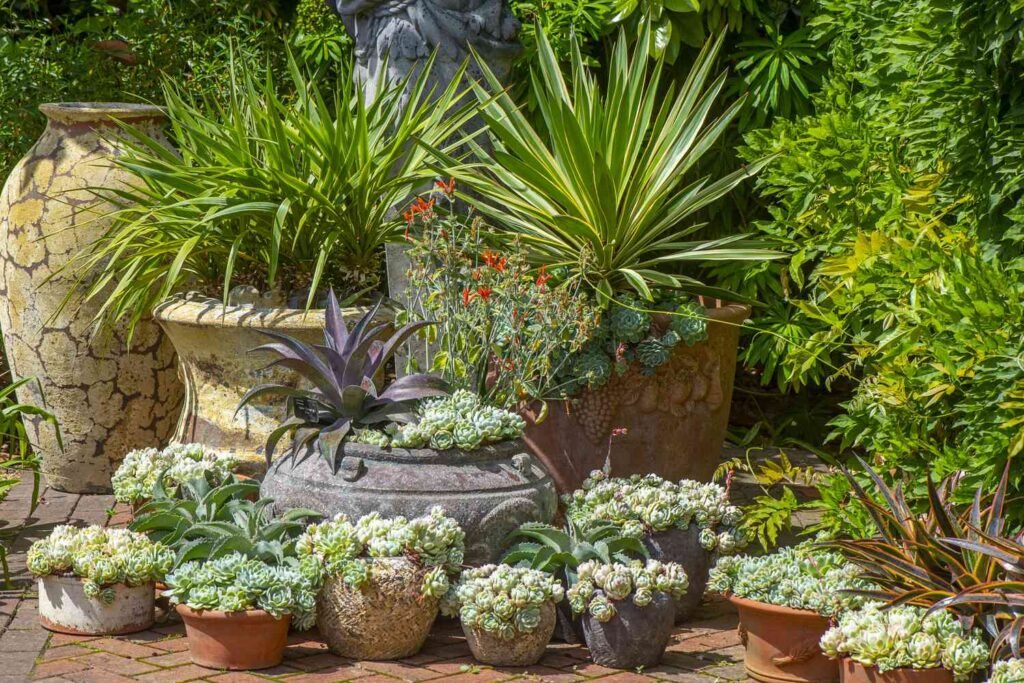
- Succulents: Require minimal soil and water, perfect for budget-friendly arrangements.
- Recycled Seedlings: Use community garden or seed swap resources for free or low-cost plants.
Tips: Start plants from seeds rather than buying mature plants to save money and increase variety.
Step 4: DIY Watering Solutions
Water management is essential in container gardening. Budget-conscious gardeners can implement simple watering solutions:
- Self-Watering Bottles: Invert a water-filled bottle with small holes into the soil for slow release.
- Wicking System: Use cotton string to draw water from a reservoir into the container gradually.
- Plastic Tray Reservoirs: Place pots on trays with water at the bottom to allow self-watering.
- Mulching: Use shredded leaves, straw, or newspaper to retain soil moisture.
Tips: Monitor watering needs as containers dry out faster than ground soil, especially in hot climates.
Step 5: Fertilizing on a Budget
Container plants require periodic nutrients. Affordable options include:
- Kitchen Scraps: Eggshells, coffee grounds, and vegetable peelings provide calcium, nitrogen, and organic matter.
- Homemade Compost Tea: Steep compost in water to create a nutrient-rich liquid fertilizer.
- Banana Peels: Chop and bury in soil to supply potassium and phosphorus.
- Used Tea Leaves: Sprinkle around the base of plants for trace nutrients.
Tips: Avoid over-fertilizing; small, frequent applications are better than large doses that risk burning roots.
Step 6: Maximizing Vertical and Tiered Spaces
For small spaces, vertical and tiered arrangements maximize planting area without additional containers:
- Stacked Pots: Place pots on shelves or use plant stands to grow multiple layers.
- Hanging Planters: Utilize ropes, hooks, or baskets to suspend plants from ceilings or railings.
- Wall-Mounted Containers: Attach recycled bottles, jars, or fabric pockets to walls for a green vertical garden.
- Pallet Gardens: Upcycle old pallets to create multi-tiered planting beds.
Benefits: Increases productivity without requiring more floor space, creating a lush, layered garden.
Step 7: Maintenance Tips for Budget-Friendly Gardening
- Pruning and Harvesting: Regularly remove dead leaves and harvest produce to encourage growth.
- Pest Management: Use natural deterrents like neem oil, soap sprays, or companion planting instead of costly pesticides.
- Rotate Plants: Switch crops seasonally to prevent soil nutrient depletion.
- Repurpose Containers: Reuse old pots and trays for successive plantings to save money.
- Monitor Soil Moisture: Ensure consistent watering; dry soil reduces plant productivity.
Creative DIY Ideas to Save Money
- Eggshell Seed Starters: Start seeds in eggshells and plant directly into containers.
- Tin Can Herb Garden: Decorate used cans and grow herbs on windowsills.
- Bottle Tower Garden: Stack plastic bottles vertically for small, space-efficient vegetable growth.
- Community Seed Swaps: Exchange seeds with neighbors to diversify plants at no cost.
These ideas combine cost savings with eco-friendly practices, making gardening accessible to anyone.
Advantages of a Budget Container Garden
- Cost Savings: Reduces reliance on expensive soil, fertilizers, and pots.
- Eco-Friendly: Recycles household items and minimizes waste.
- Space Efficiency: Optimizes small spaces without compromising productivity.
- Educational: Great for teaching children about plant growth and sustainability.
- Flexibility: Easily adaptable to any indoor or outdoor small-space environment.
Conclusion
Starting a container garden on a budget is not only achievable but also rewarding. By using recycled containers, creating affordable soil mixes, selecting cost-effective plants, and implementing DIY watering and fertilizing systems, anyone can cultivate a thriving garden without overspending. Vertical and tiered arrangements maximize space while innovative solutions like self-watering bottles, eggshell fertilizers, and upcycled planters enhance sustainability. Budget container gardening combines creativity, practicality, and environmental consciousness, proving that a beautiful, productive garden is possible even in small spaces with limited resources. By following these strategies, gardeners can enjoy fresh produce, beautiful flowers, and the therapeutic benefits of greenery without breaking the bank.