Garlic is a kitchen staple known for its robust flavor, health benefits, and versatility. While most people buy garlic bulbs from stores, growing your own garlic at home is surprisingly easy, cost-effective, and rewarding. One of the simplest and most effective methods is planting the garlic base—the clove itself. This method is perfect for gardeners of all levels, whether you have a backyard garden, balcony, or even small containers. In this article, we’ll guide you through a step-by-step process to grow garlic from its base quickly and easily, along with tips to maximize yield and maintain healthy plants.
Why Grow Garlic at Home?
Growing garlic at home has several benefits:
- Freshness and Flavor: Homegrown garlic is more aromatic, flavorful, and tender than store-bought bulbs.
- Health Benefits: Garlic is rich in antioxidants, supports heart health, and has natural antimicrobial properties.
- Cost Savings: Growing your own garlic saves money, especially if you use cloves from previous harvests.
- Control Over Growth: You can grow organic garlic free from chemicals and pesticides.
- Easy Maintenance: Garlic is hardy, low-maintenance, and requires minimal care.
Whether you’re a seasoned gardener or a beginner, growing garlic from the base is accessible and yields impressive results.
Choosing the Right Garlic
Selecting the right type of garlic is crucial for a successful harvest. Garlic is generally classified into two main types:
- Softneck Garlic: Commonly grown in warmer climates. Softneck varieties produce many cloves per bulb and are excellent for braiding. Examples include ‘Silverskin’ and ‘Artichoke’ garlic.
- Hardneck Garlic: Suited for cooler climates. Hardneck varieties produce fewer cloves but have robust flavor and produce scapes. Examples include ‘Rocambole’ and ‘Purple Stripe’ garlic.
Choose a variety suited to your local climate and personal taste preference. For container or terrace gardening, softneck garlic is generally more adaptable.
Preparing Garlic for Planting
Garlic planting begins with preparing the cloves properly.
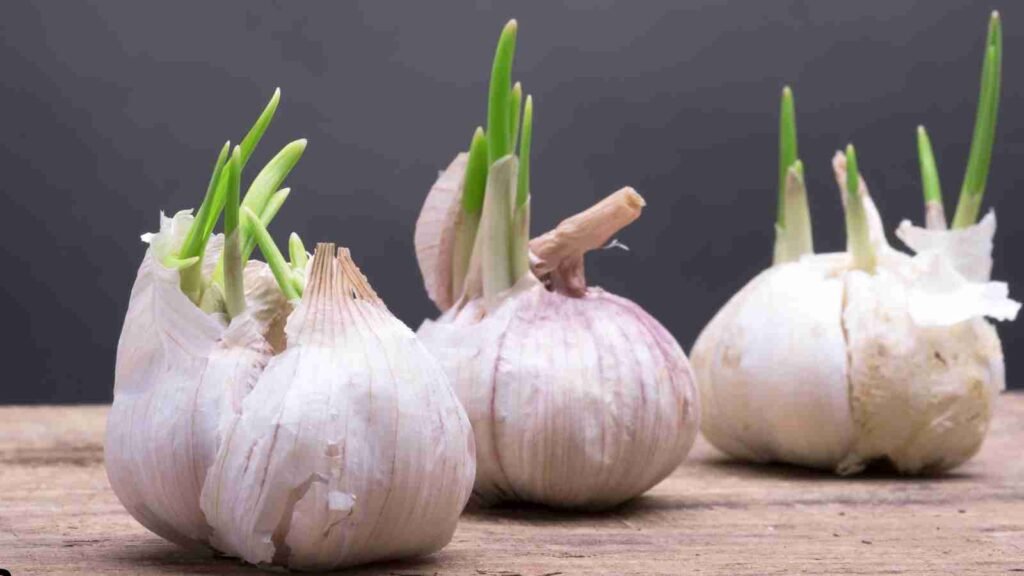
- Select Healthy Bulbs:
- Use fresh, firm bulbs free from mold, sprouting, or damage.
- Avoid store-bought garlic treated to prevent sprouting; organic garlic is ideal.
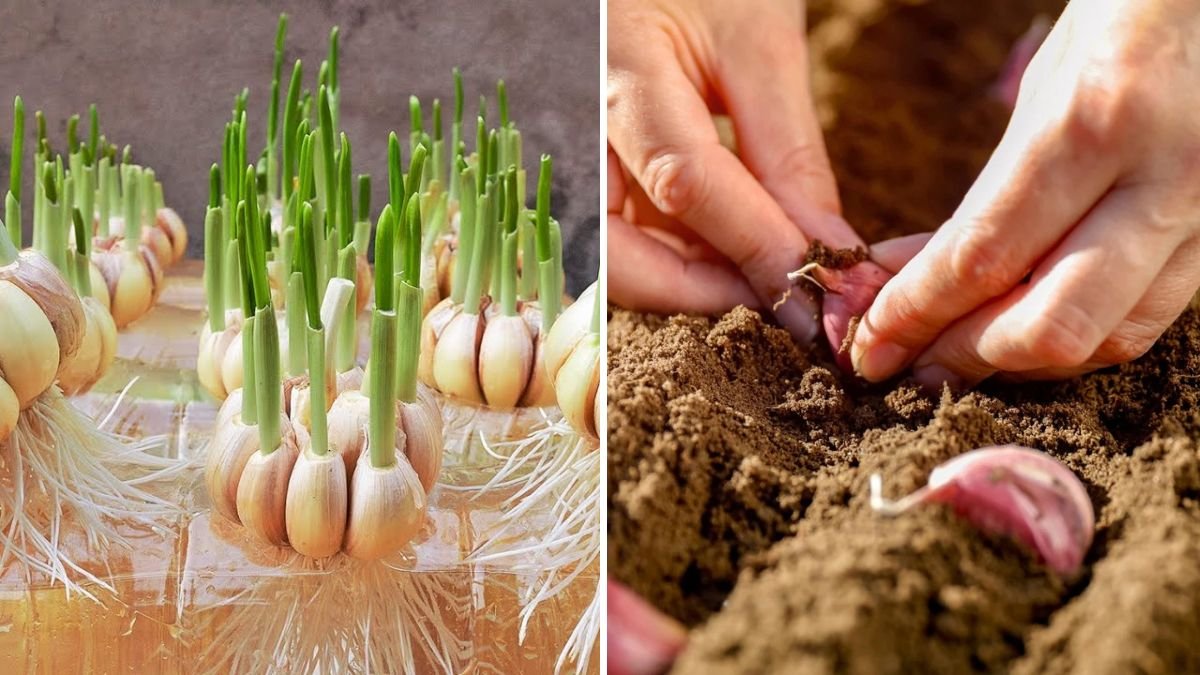
- Separate Cloves:
- Carefully break the bulb into individual cloves, leaving the papery skin intact.
- Each clove will grow into a full garlic bulb, so select the largest and healthiest cloves for planting.
- Soak the Cloves (Optional):
- Some gardeners soak cloves in water or a mild organic fertilizer solution for a few hours to boost germination.
Proper preparation ensures strong root development and vigorous growth.
Choosing the Right Location
Garlic thrives in sunny, well-drained locations. Consider these factors:
- Sunlight: Garlic requires at least 6–8 hours of direct sunlight per day.
- Soil: Loose, fertile, and well-draining soil is essential. Heavy clay or waterlogged soil can hinder bulb growth.
- Containers: If planting in containers, choose pots at least 8–10 inches deep to accommodate roots and bulbs.
Whether in a backyard garden bed, raised planter, or balcony container, selecting the right spot is crucial for successful growth.
Planting Garlic from the Base
Planting garlic from cloves is simple and effective. Follow these steps:
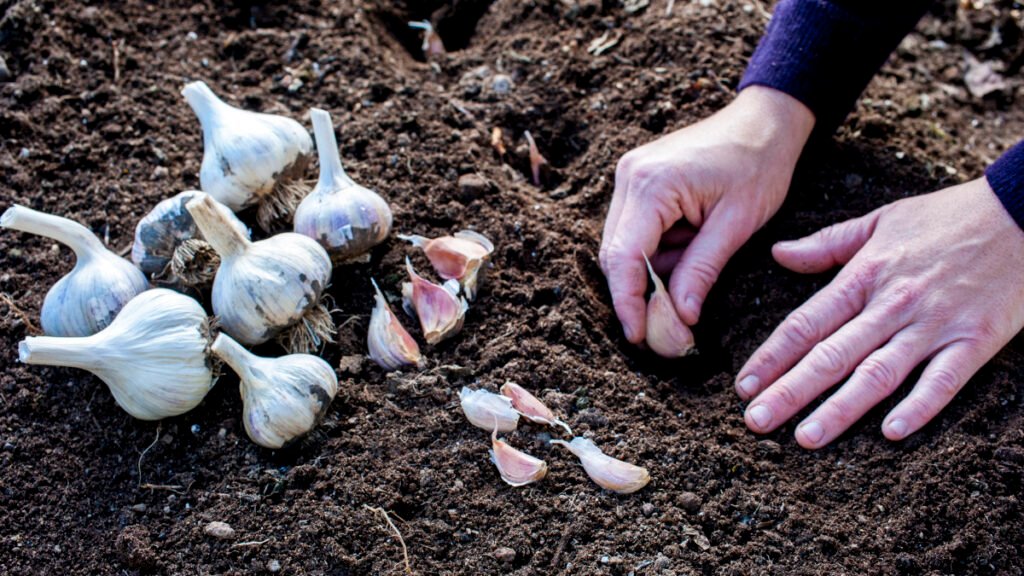
- Prepare the Soil:
- Loosen the soil and mix in compost or organic matter for nutrients.
- Garlic prefers slightly acidic to neutral soil with a pH of 6.0–7.0.
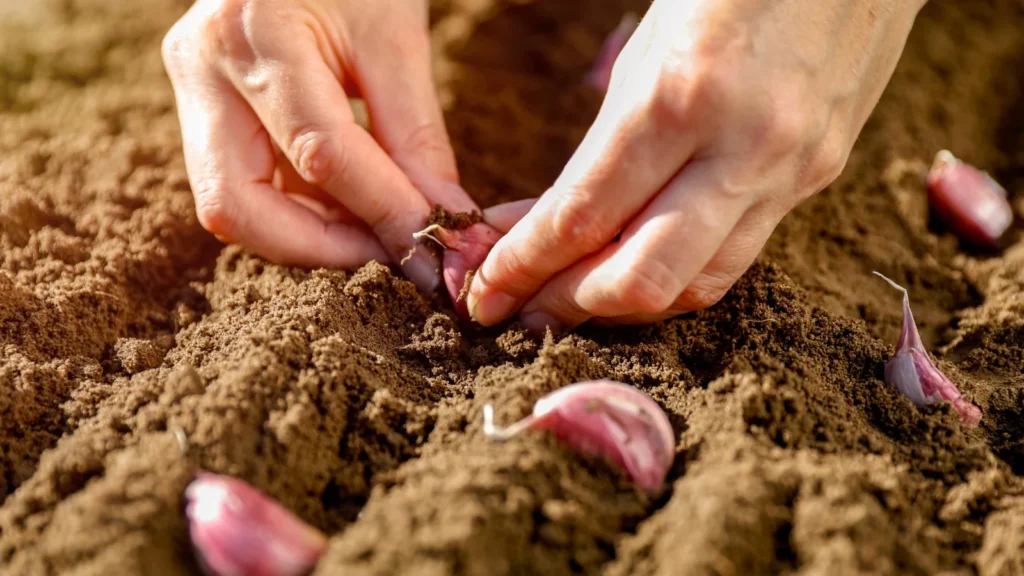
- Planting Depth and Orientation:
- Plant each clove about 2 inches deep, with the pointed tip facing upwards.
- Space cloves 4–6 inches apart to allow room for bulbs to develop.
- Watering:
- Water the cloves gently after planting to settle the soil.
- Keep the soil consistently moist but avoid overwatering.
Planting the garlic base correctly ensures proper root establishment and healthy bulb formation.
Caring for Garlic Plants
Garlic is relatively low-maintenance, but proper care enhances growth and yield:
- Watering:
- Water garlic regularly, especially during dry spells.
- Reduce watering as bulbs mature to prevent rot.
- Mulching:
- Apply a layer of straw or organic mulch to retain moisture, regulate temperature, and suppress weeds.
- Fertilization:
- Apply balanced organic fertilizers during the growing season.
- Nitrogen-rich fertilizer supports leaf growth, while potassium and phosphorus promote bulb development.
- Weed Control:
- Keep the planting area free from weeds that compete for nutrients.
- Mulching also helps reduce weed growth naturally.
- Monitoring Pests and Diseases:
- Garlic is generally pest-resistant but can occasionally be affected by aphids, thrips, or fungal diseases.
- Inspect plants regularly and use organic controls if needed.
Consistent care ensures strong, healthy garlic plants and a bountiful harvest.
Understanding Garlic Growth Stages
Garlic undergoes several growth stages from clove to bulb:
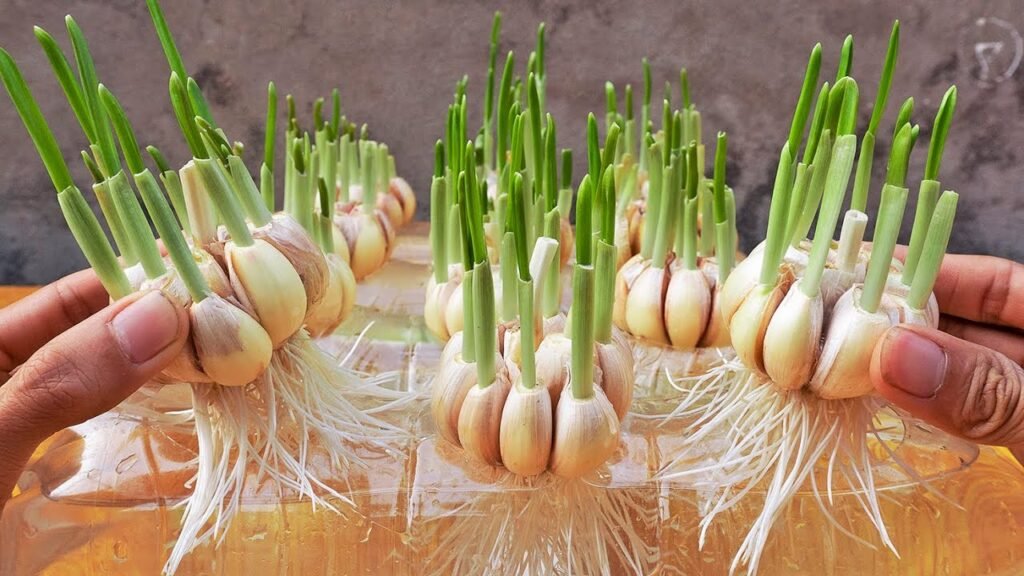
- Sprouting: Cloves sprout within 2–4 weeks, forming green shoots.
- Vegetative Growth: Leafy shoots grow vigorously, absorbing sunlight and nutrients.
- Bulb Formation: After several months, the plant diverts energy to form bulbs underground.
- Maturity: Leaves begin to yellow and die back, signaling that bulbs are ready for harvest.
Understanding these stages helps you provide optimal care and know when to harvest.
Harvesting Garlic
Harvesting garlic at the right time is crucial for maximum flavor and storage life:
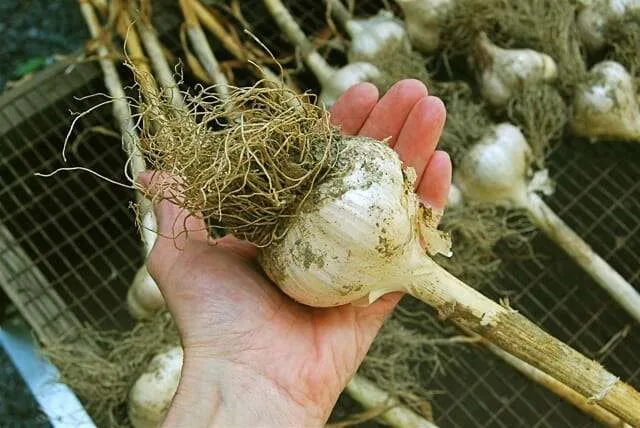
- Timing: Garlic is usually ready to harvest 8–9 months after planting. Watch for yellowing and drying leaves.
- Method: Carefully loosen the soil around bulbs with a garden fork and lift them gently.
- Curing: Hang harvested bulbs in a well-ventilated, shaded area for 2–3 weeks to dry. Proper curing enhances flavor and storage life.
Proper harvesting and curing result in large, flavorful bulbs that can be stored for months.
Storage and Usage
Once cured, garlic can be stored in a cool, dry, and dark place. Store bulbs in mesh bags, baskets, or hanging bundles to maintain airflow and prevent mold. Homegrown garlic can be used fresh in cooking, roasted, pickled, or even replanted for the next season.
Benefits of Growing Garlic by Planting the Base
- Easy and Quick: Minimal setup is needed, and cloves grow into full bulbs with simple care.
- High Yield: Each clove produces a complete garlic bulb.
- Urban Gardening Friendly: Can be grown in small spaces, containers, or terraces.
- Cost-Effective and Sustainable: Reuse cloves from previous harvests and reduce reliance on store-bought garlic.
- Health Benefits: Enjoy fresh, chemical-free garlic with full nutritional value.
This method is perfect for beginners, urban gardeners, and anyone looking to grow fresh, flavorful garlic at home.
Tips for Success
- Select the largest, healthiest cloves for planting.
- Plant cloves with the pointed tip facing upward.
- Maintain consistent moisture but avoid waterlogging.
- Apply mulch to retain soil moisture and suppress weeds.
- Fertilize periodically with organic nutrients for optimal growth.
- Monitor for pests and take preventive action if needed.
- Harvest bulbs when leaves begin to yellow and cure properly.
Following these tips ensures a successful, high-yield garlic harvest from the simplest method—planting the base.
Conclusion
Growing garlic by planting the base is quick, easy, and surprisingly rewarding. With minimal effort, you can enjoy fresh, flavorful, and healthy garlic right from your backyard, balcony, or terrace. By selecting the right variety, preparing cloves correctly, and providing proper care, even beginners can achieve impressive results.
This method of planting garlic is perfect for urban gardening enthusiasts, home cooks, and anyone seeking a sustainable source of fresh produce. From sprouting to harvesting, garlic grows with minimal maintenance, making it one of the most satisfying crops to cultivate at home.
Start today, and within months, you’ll have a supply of homegrown garlic ready to elevate your meals and your health!